The new Google Now Launcher has hotword detection and one-swipe access to Google Now, but personally, it's not enough to convert me away from other launchers like Apex or Nova. Just because it's Google's official launcher for stock Android doesn't make it better than all the rest.
However, thanks to a root-only app called Xposed GEL Settings, I have a newfound love for the Google Now Launcher on my Samsung Galaxy S3, and it's now my default launcher. With this module, you can remove unwanted apps, hide the Google Search bar, and even resize app icons. Everything you could ever wanted from an Android launcher.
If you haven't already done so, make sure you root your GS3 (you'll be making system level changes to the launcher), get the Xposed Framework (needed to install the module), and install the Google Now Launcher (previously known as the Google Experience Launcher, which is why the module is called "Xposed GEL Settings").
Step 1: Install the Xposed GEL Settings Module
Head over to the Download section of Xposed Installer and search for Xposed GEL Settings, then hit Download and Install the most recent version.
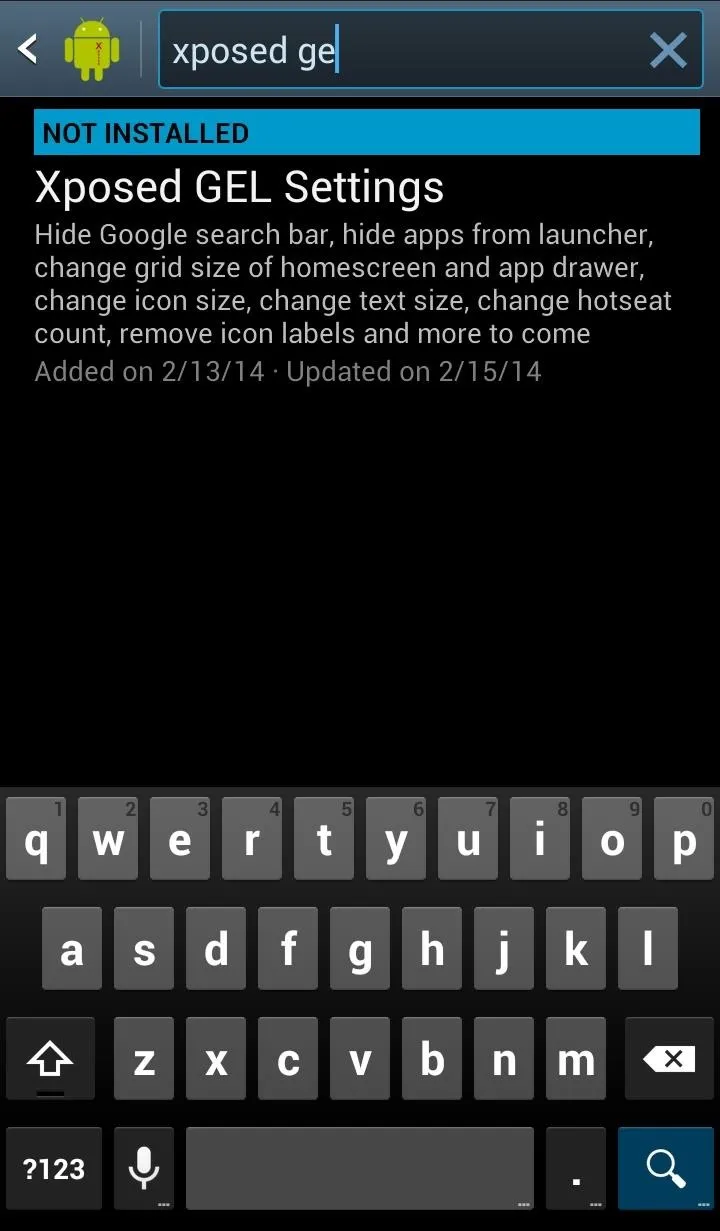
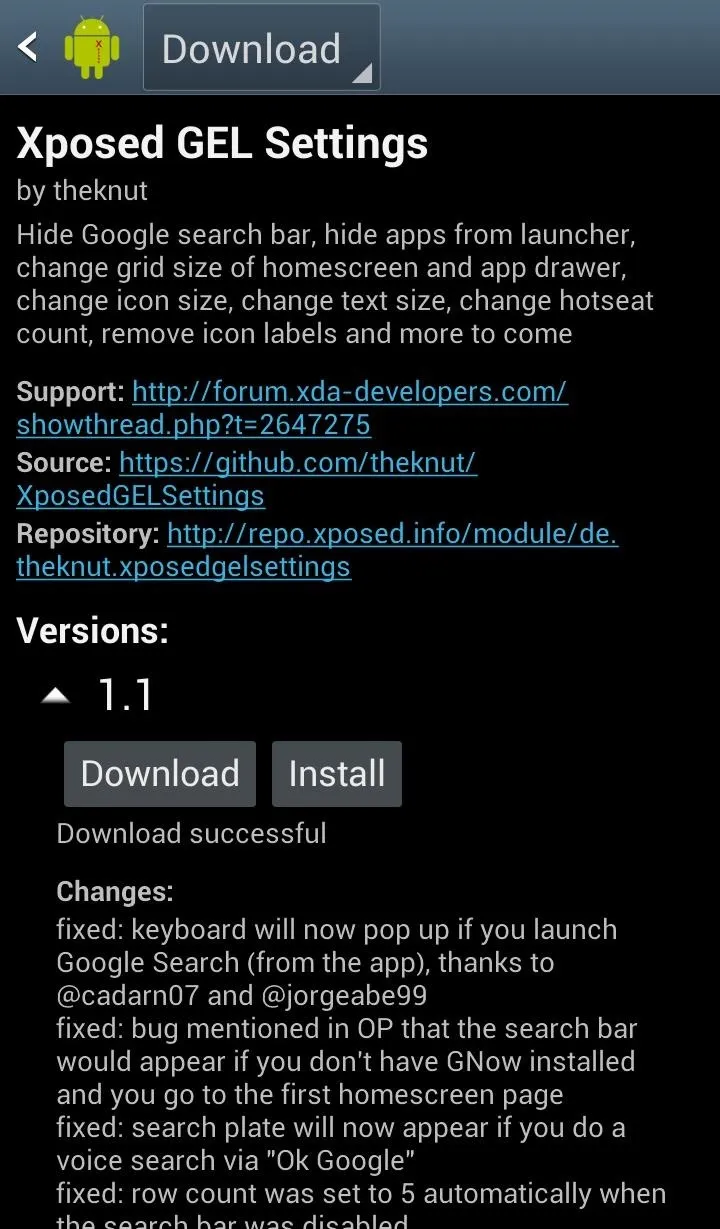


After installation, all you need to do is enable it in the Modules section and Reboot the device.
Using Xposed GEL Settings to Customize Google Now Launcher
There are a ton of different options that can be enabled, all of which are almost instantly enabled with just a restart of the launcher, not your device. You can toggle the persistent Search bar, change up the grid size of the home screens (and app drawer), hide apps, change background colors, toggle wallpaper scrolling, and more.
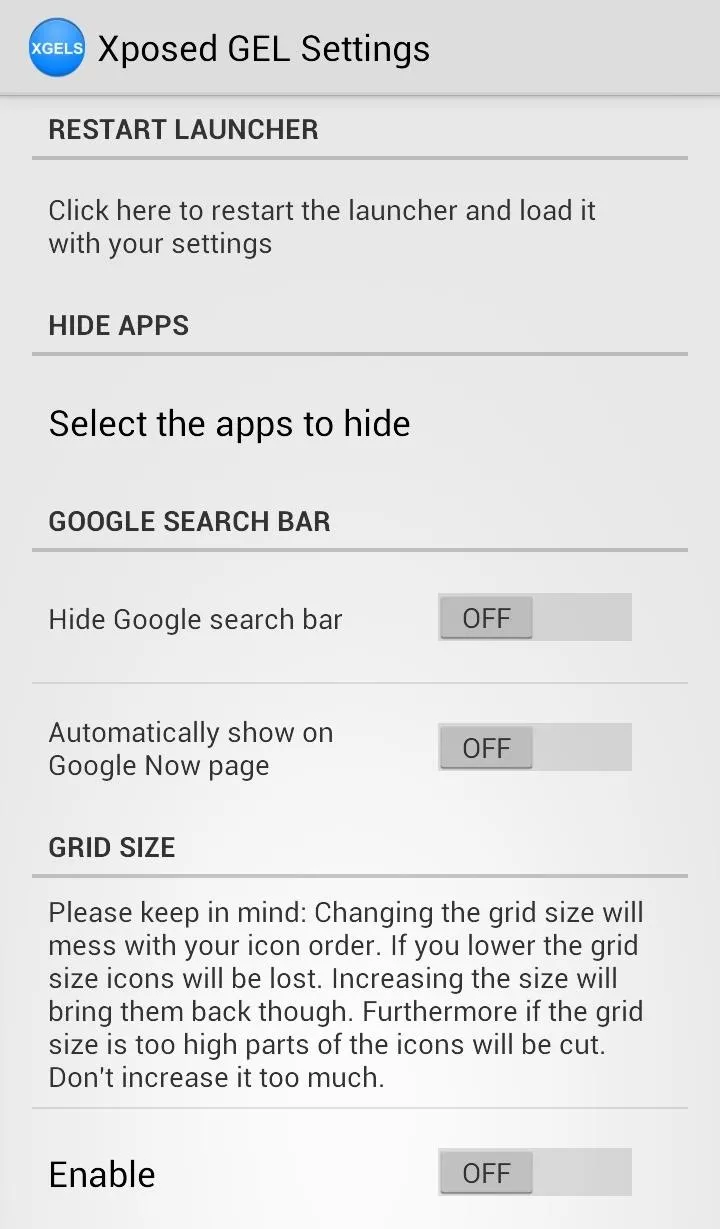
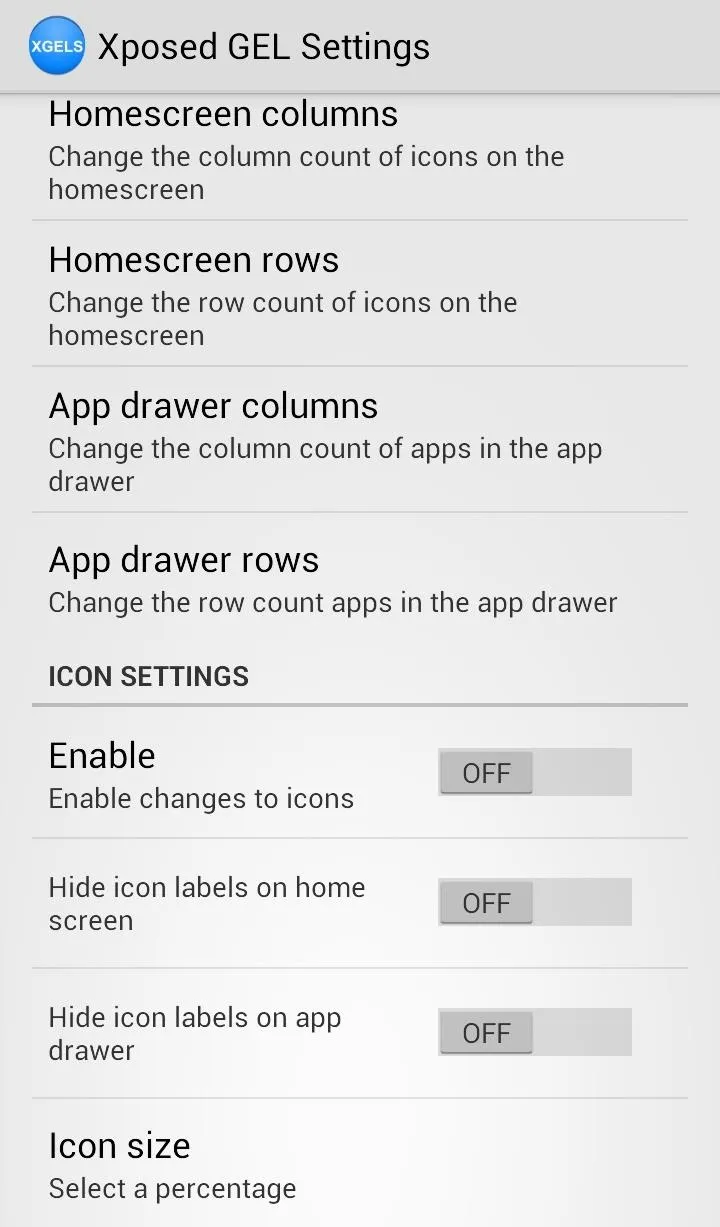


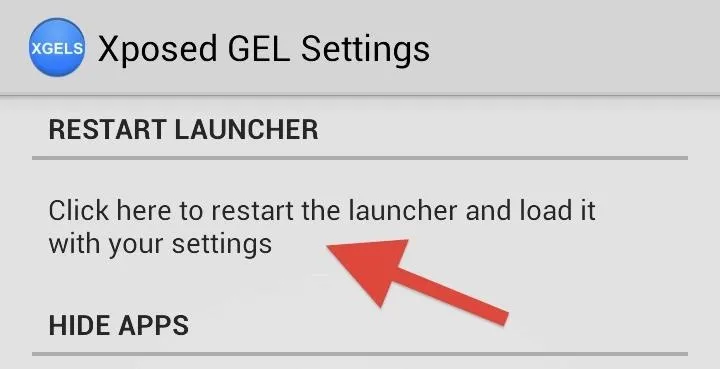
Just make sure to Restart Launcher to activate the changes.
Step 2: Remove the Google Search Bar
If you want to remove the ever-present Search bar that appears on every home screen, just enable Hide Google Search Bar in Xposed GEL Settings.

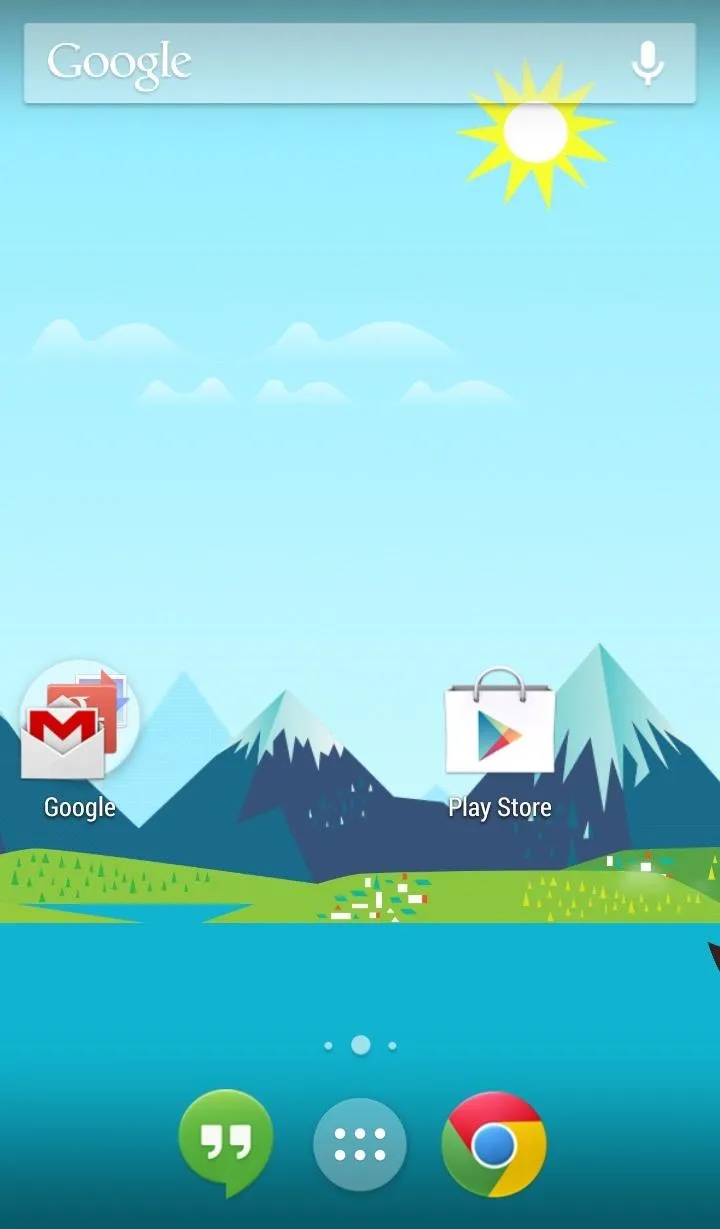
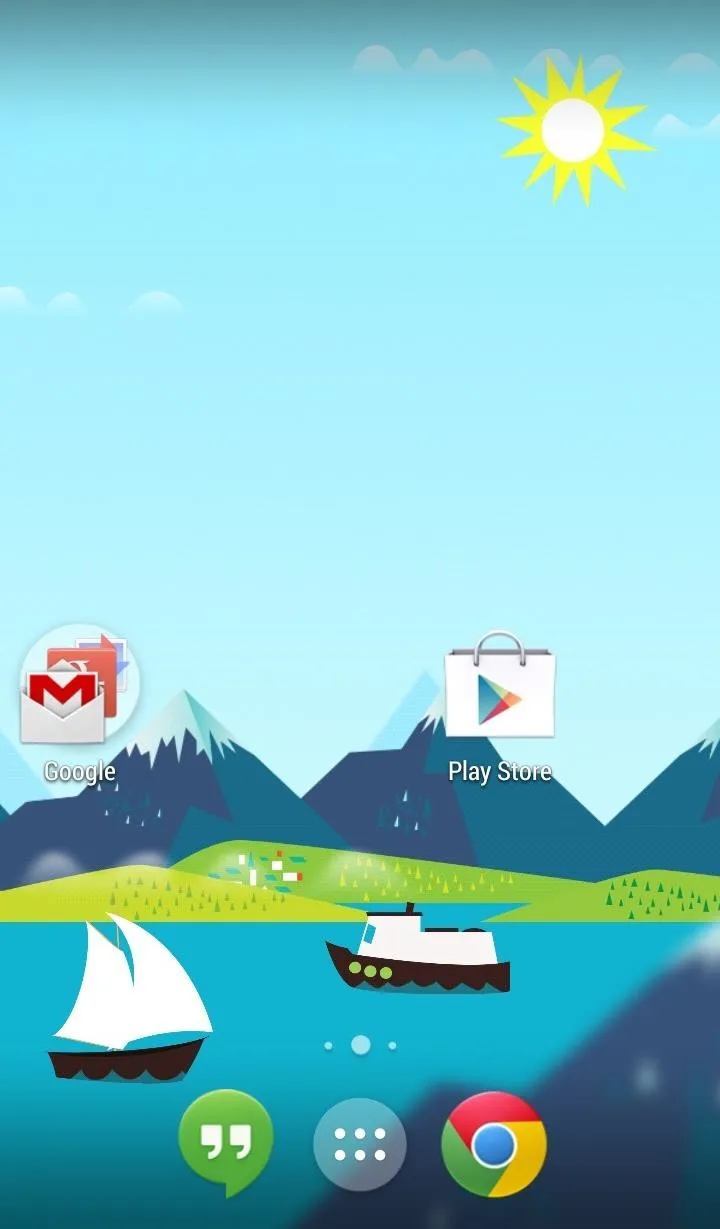


It's as easy as that. The Google Search bar will still appear in Google Now, by swiping all the way to the right, if you toggle "Auto hide" on.
Step 3: Add More Apps to the App Drawer
You want more rows and columns in the app drawer? Well go ahead and add them. I may have went a little overboard with my 10 column app drawer, but sometimes you have to go big or go home.
When making changes like this to the grid, you will need to Enable changes to the grid inside of GEL Settings.
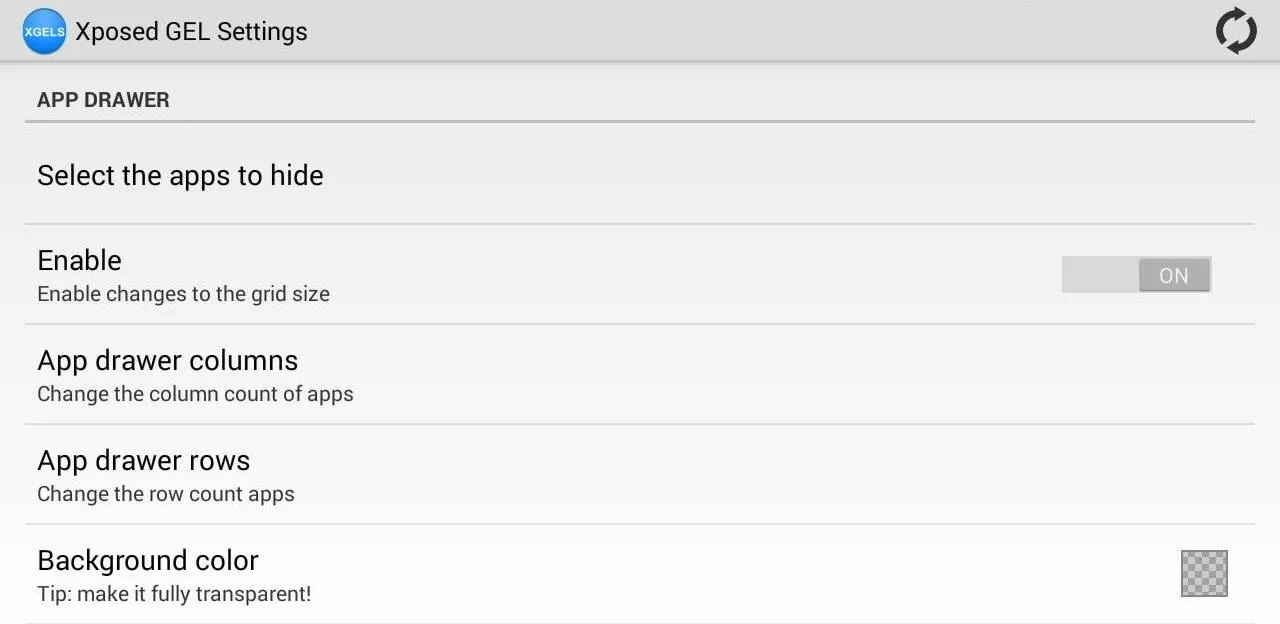
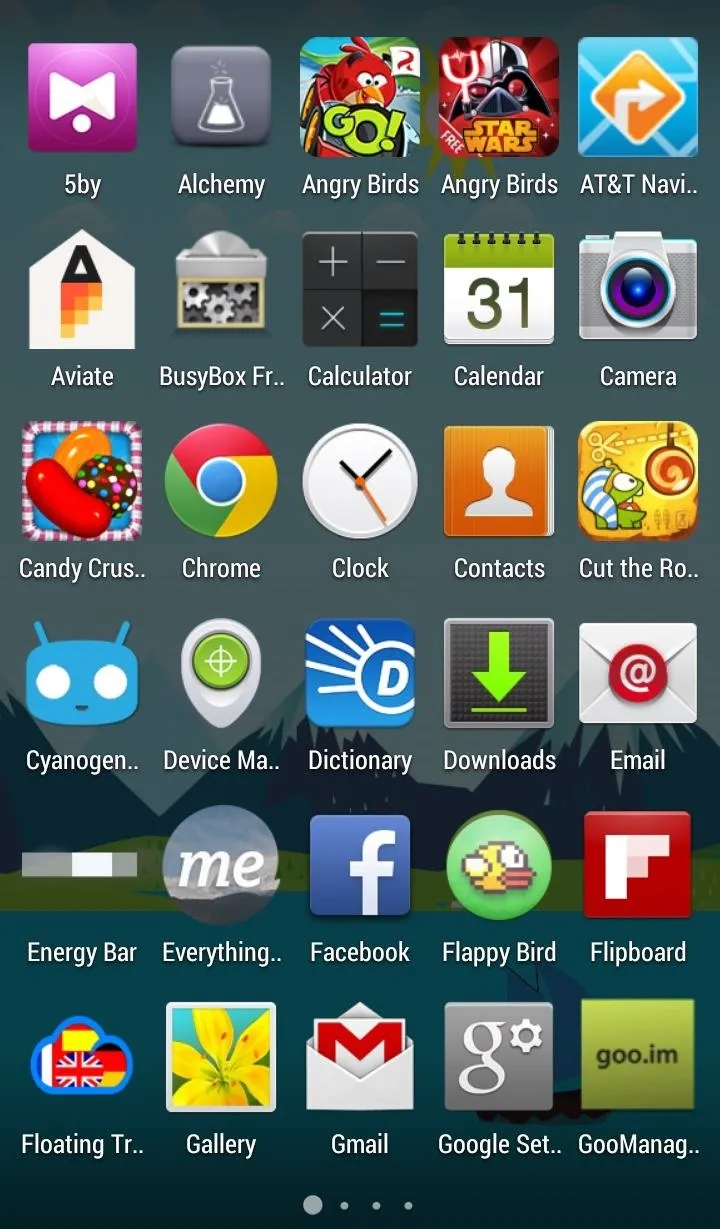
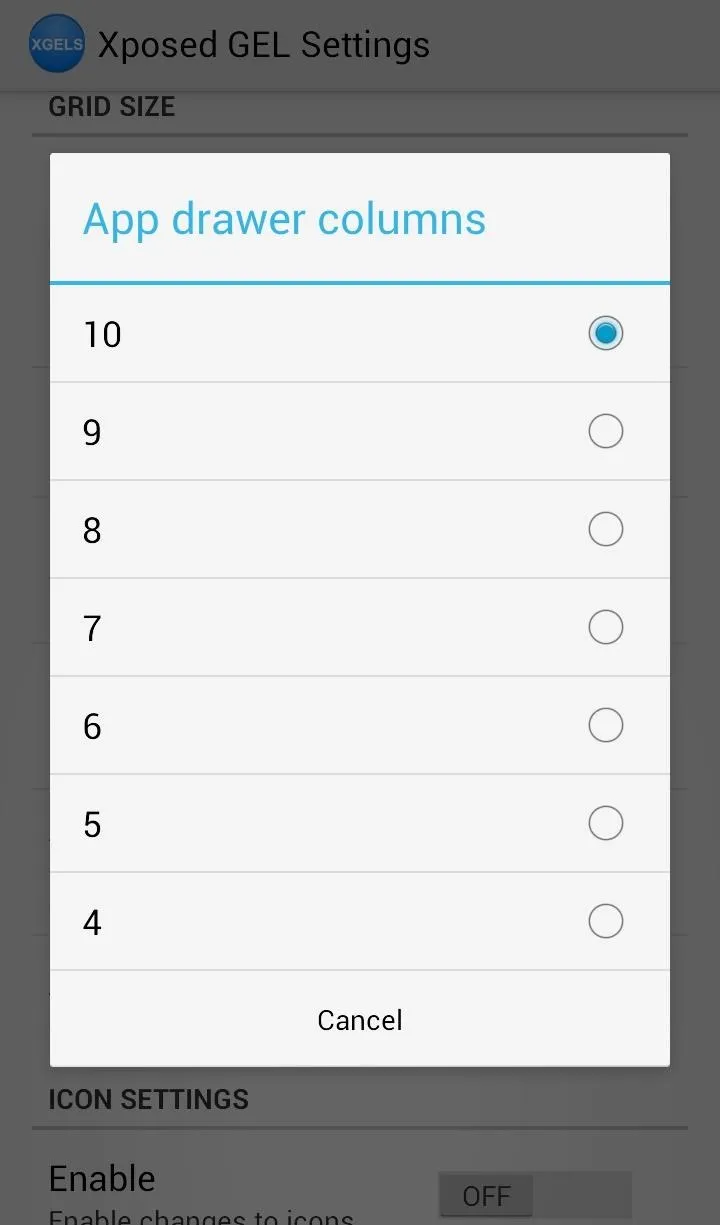
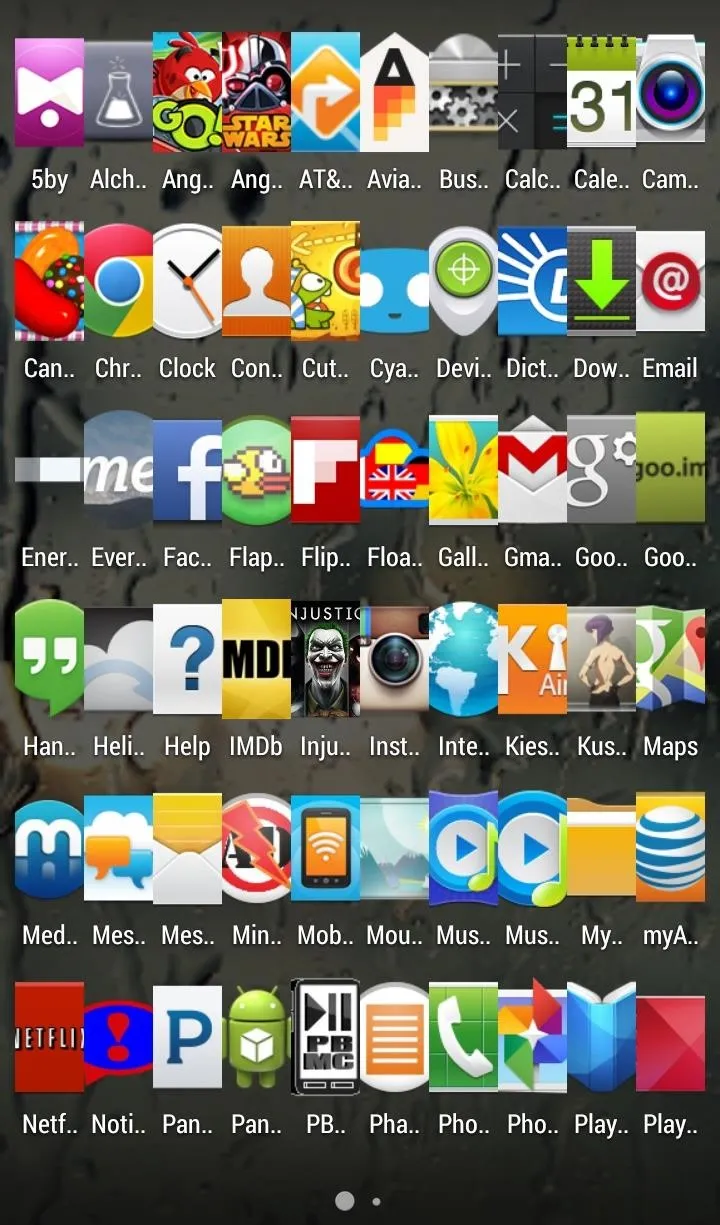


Making changes is so easy, you might as well try all the different combinations. The same changes to rows and columns can be done to the home screen as well.
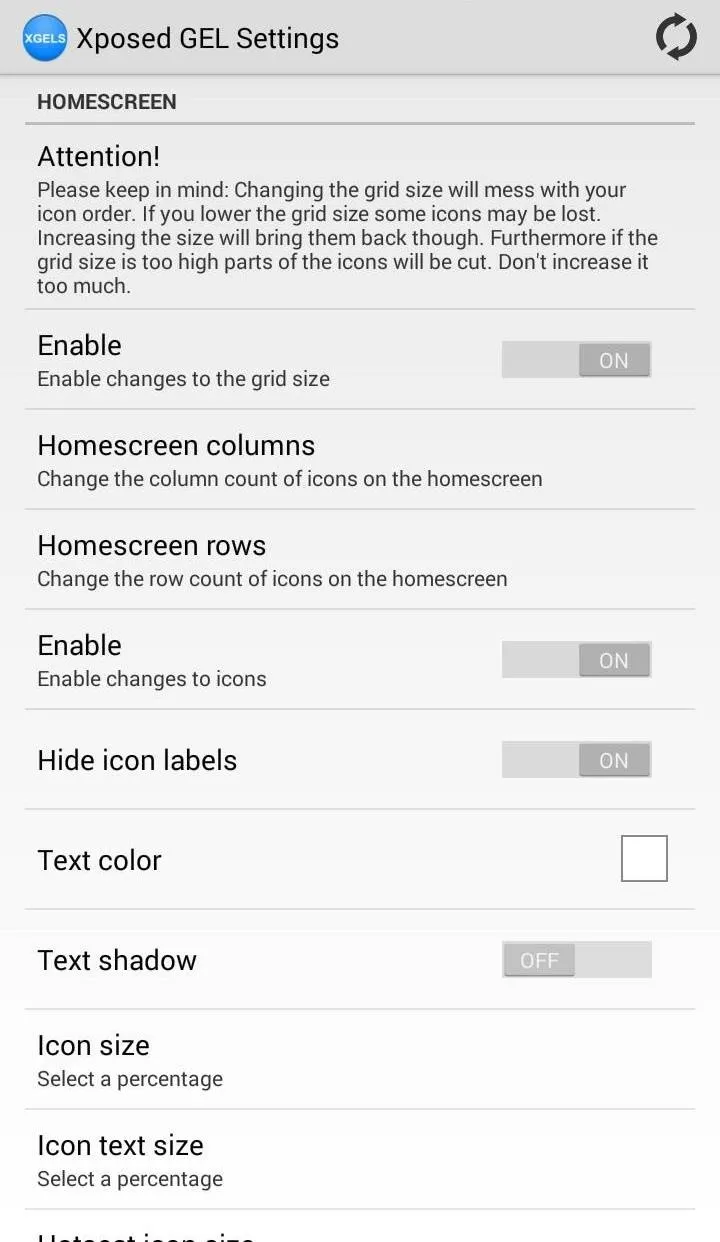
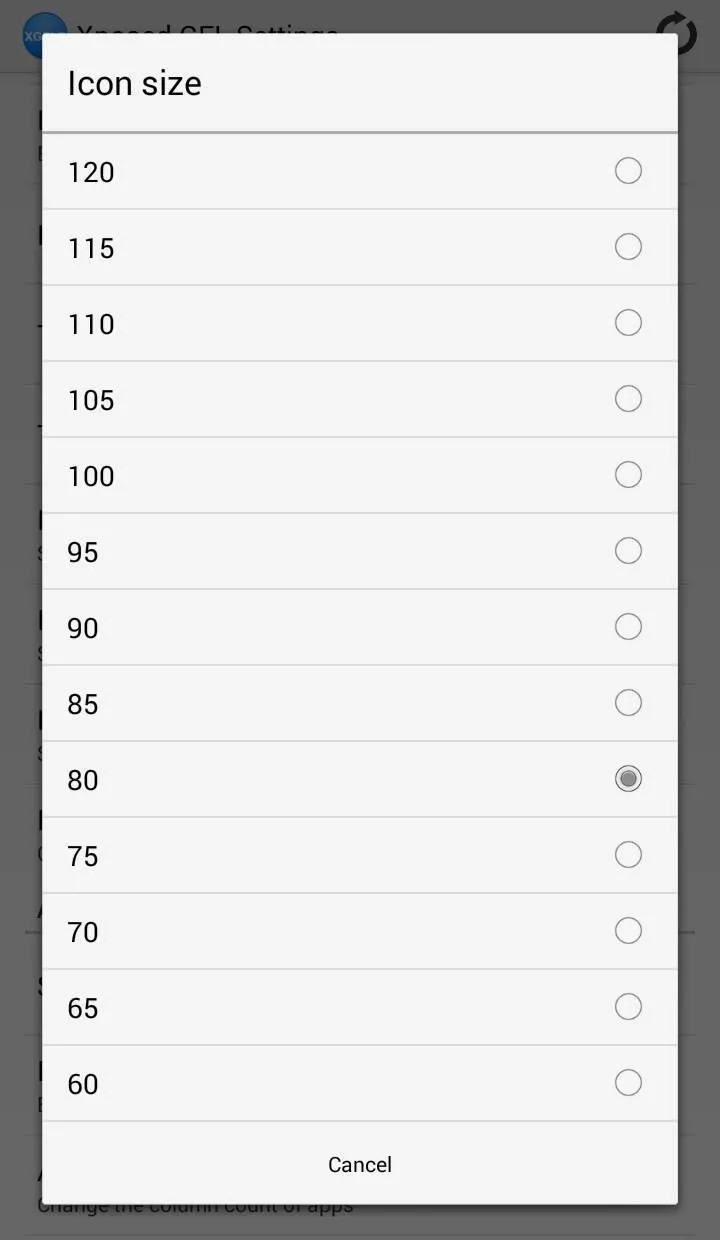


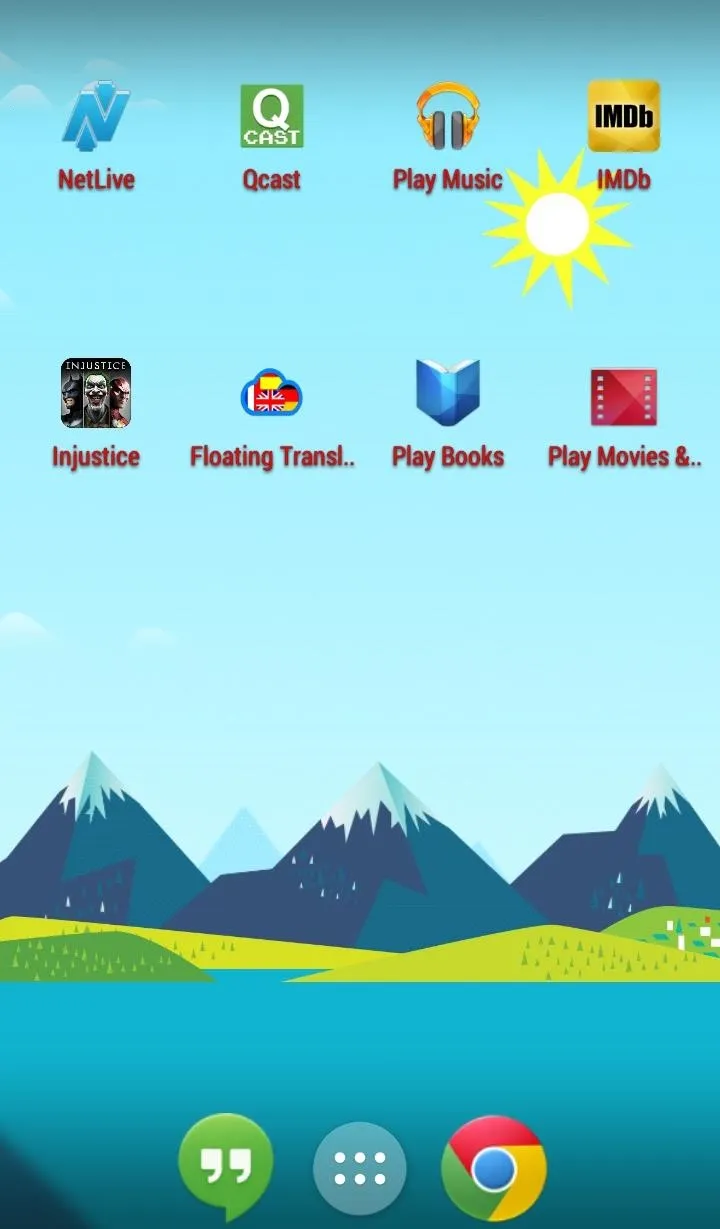
When you make changes to the grid like this, you may want to change the icon sizes so that they fit the screen better and don't become crammed. Personally, I also toggle "Hide icon labels" on the home screen, as the icons are enough for me to tell what the app is, and it looks cleaner.
Step 4: Hide App Icons
To hide unnecessary or unwanted applications from your app drawer, just tap "Select the apps to hide" and you can, well, select the apps you want to hide.
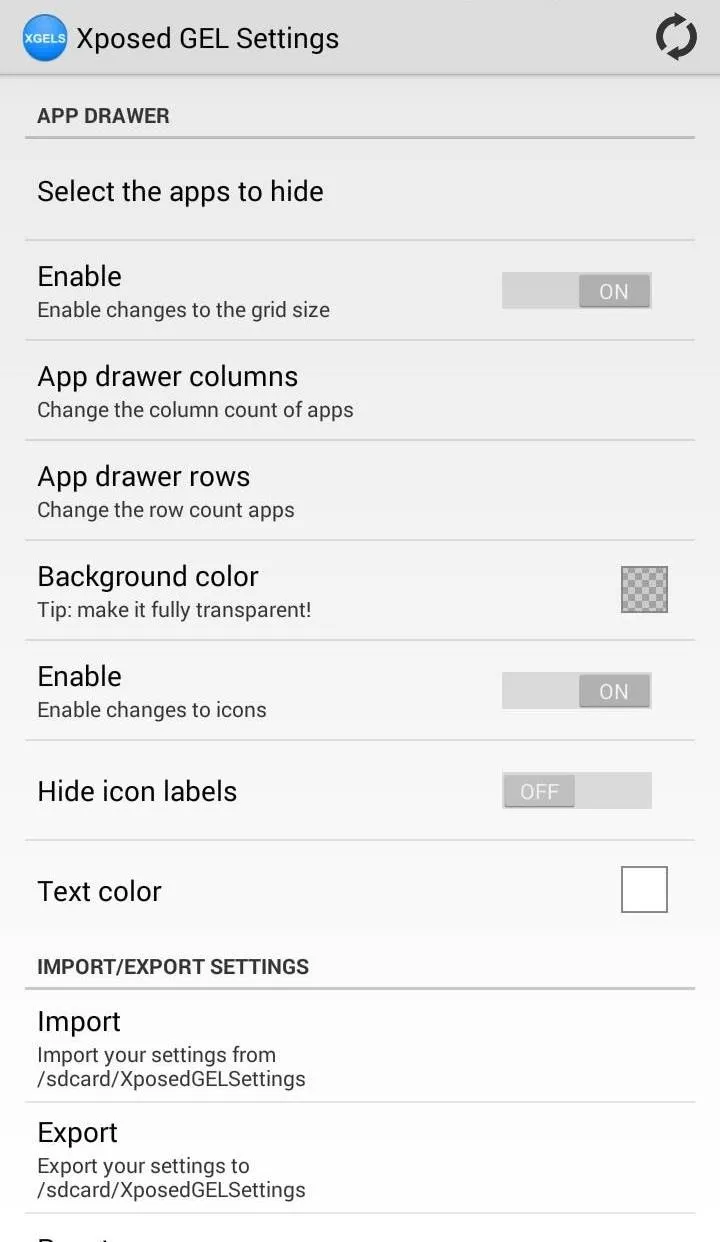
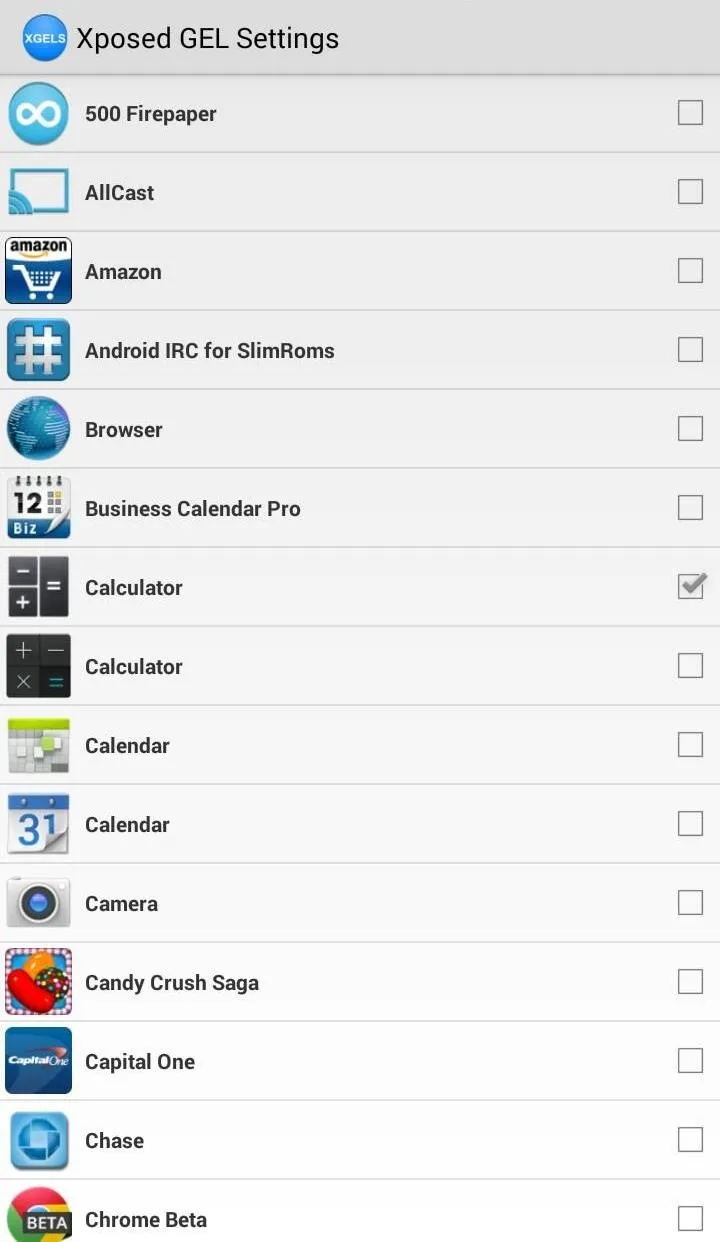


Check each of the apps you want gone from your app drawer and restart the launcher. Did you download the Lenovo Super Camera or CALCU calculator? Hide the extraneous camera or calculator icons in a snap.
If you want to unhide them, simply head back into the settings and uncheck them.
Step 5: Change App Icon Sizes & Other Home Screen Features
The options here are almost endless. You can decrease the icon size, remove icon names, change the text size, and so on.
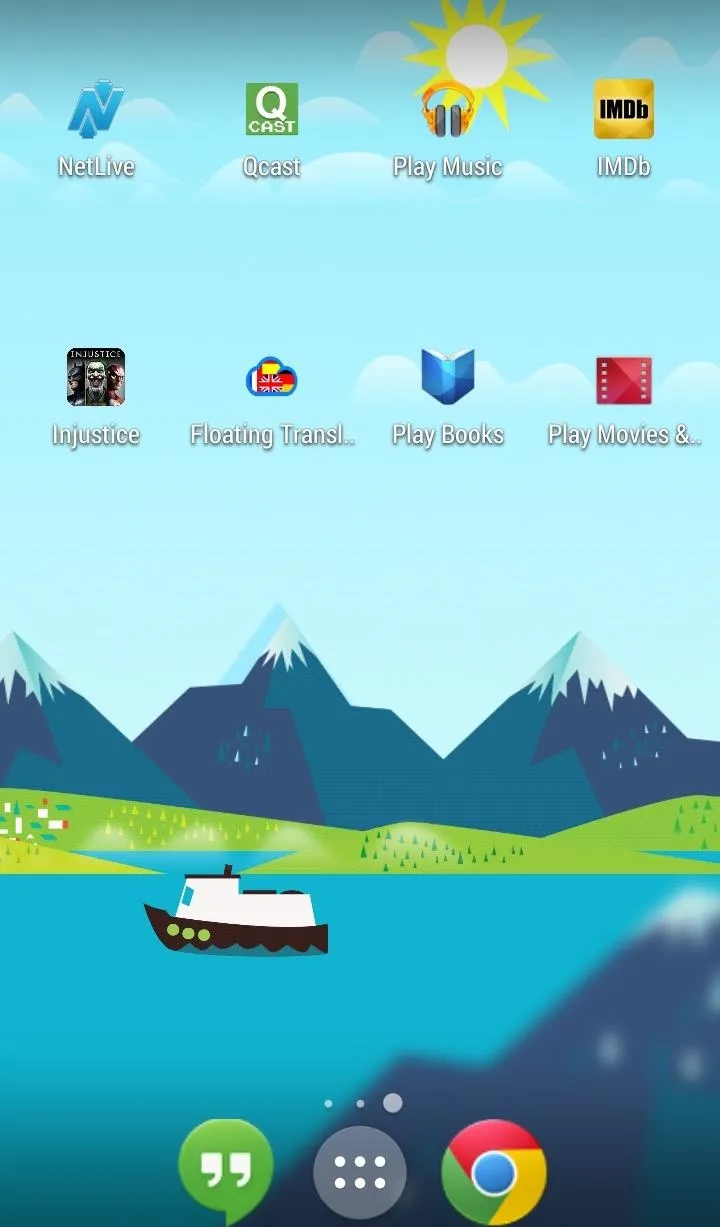
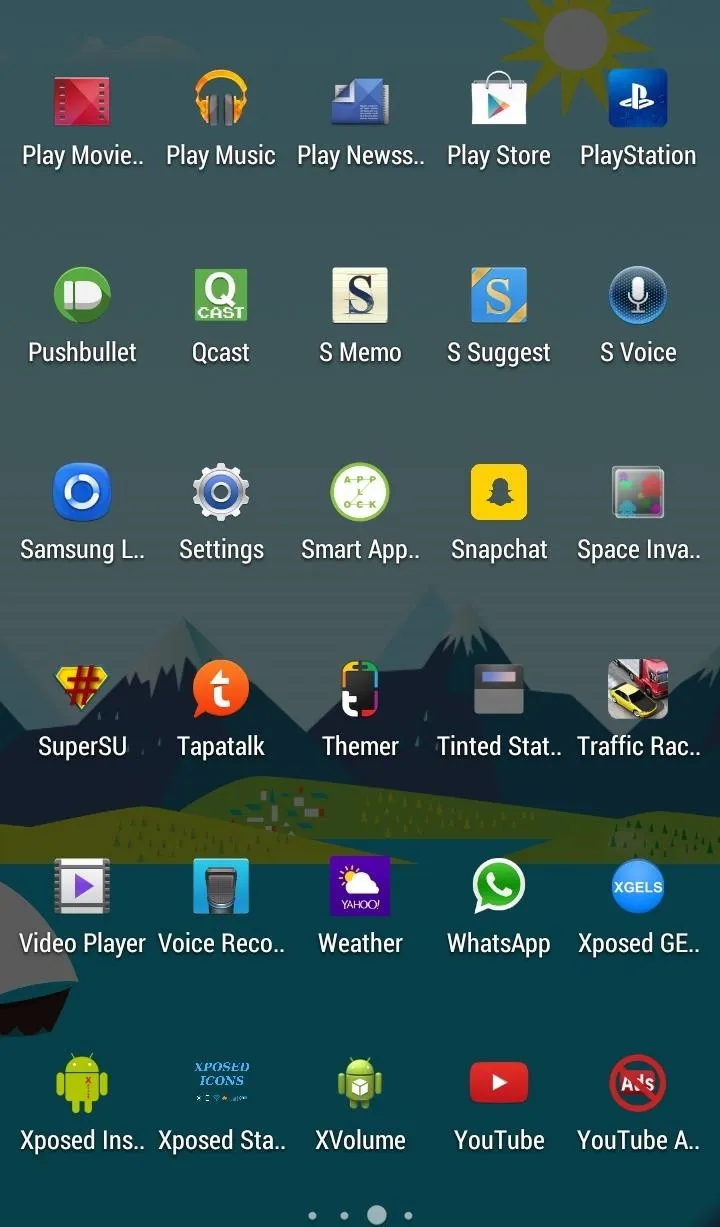
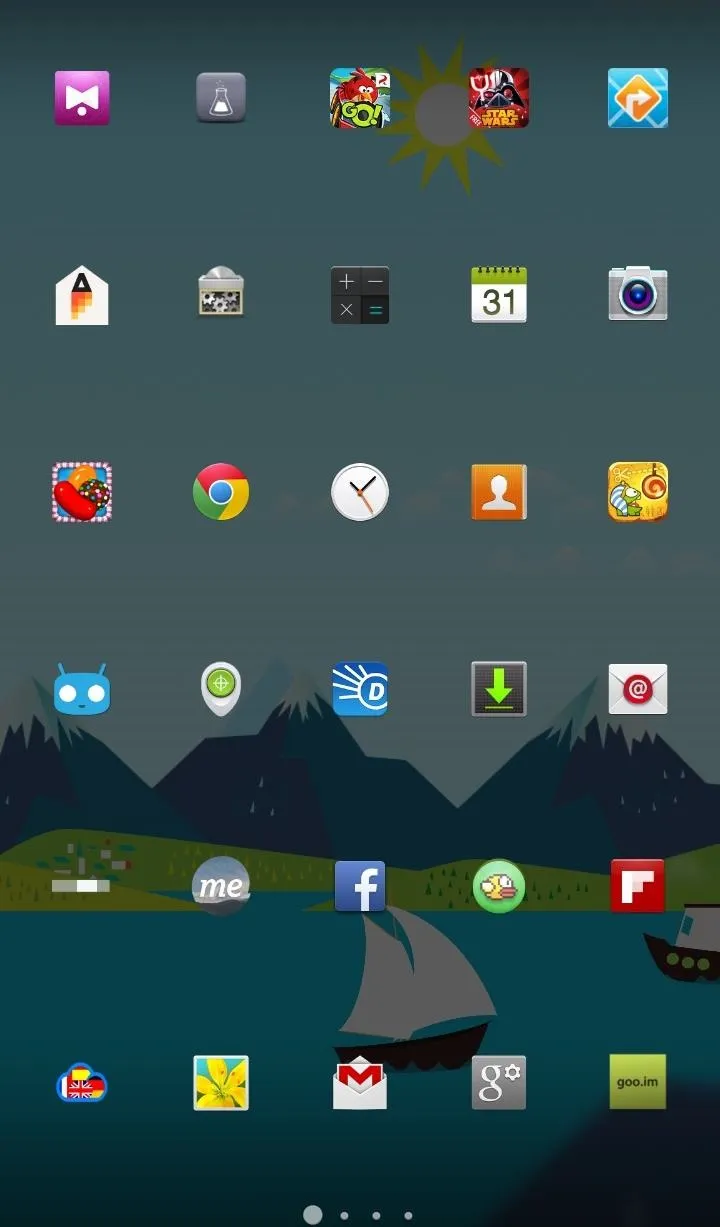


Under the "Homescreen" section, you'll have a couple of options relating to "Hotseat", which is the term used for the persistent icon row at the bottom of the screen. You can adjust the icon sizes and the number of them. I like to keep mine just slightly bigger than the home screen icons, so they stand out a little bit more.
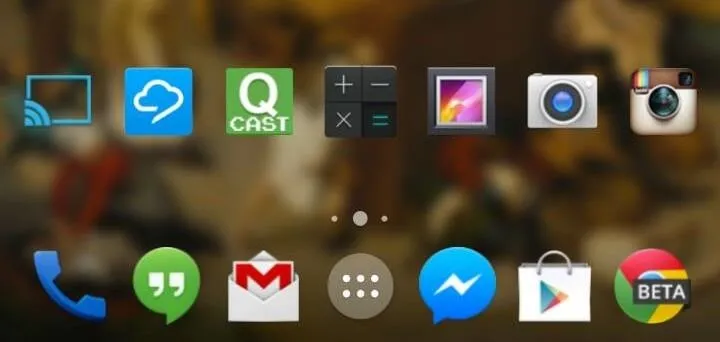
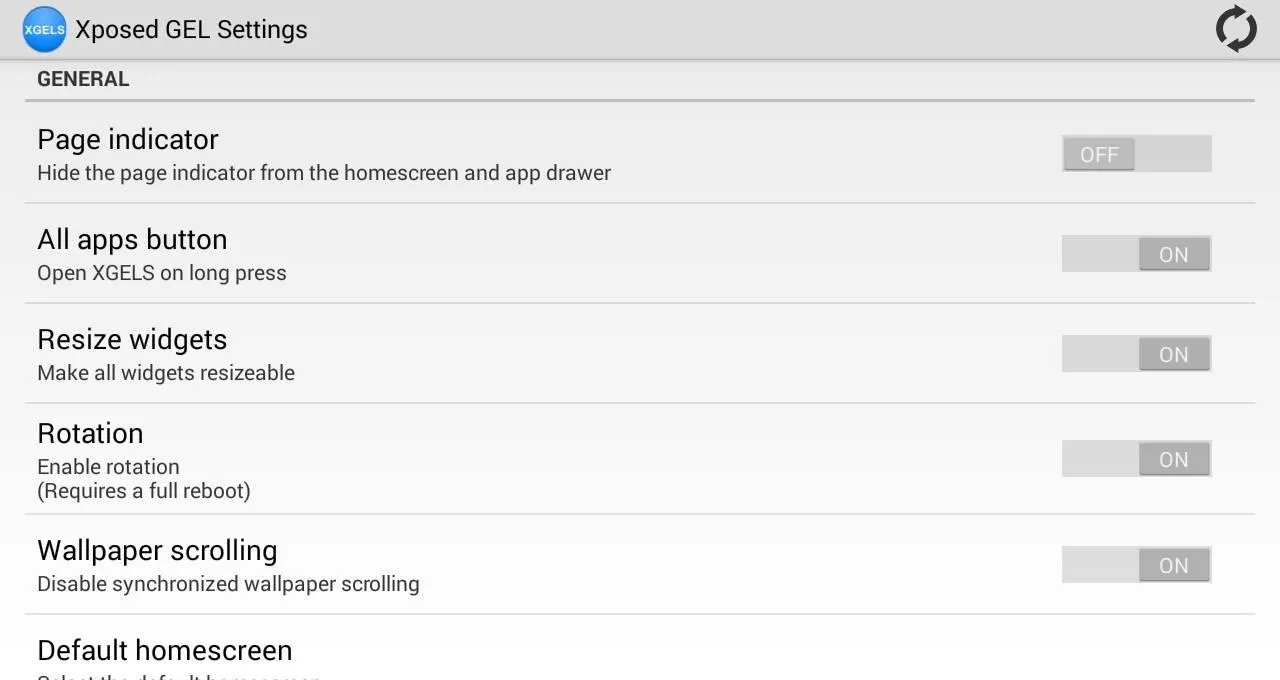
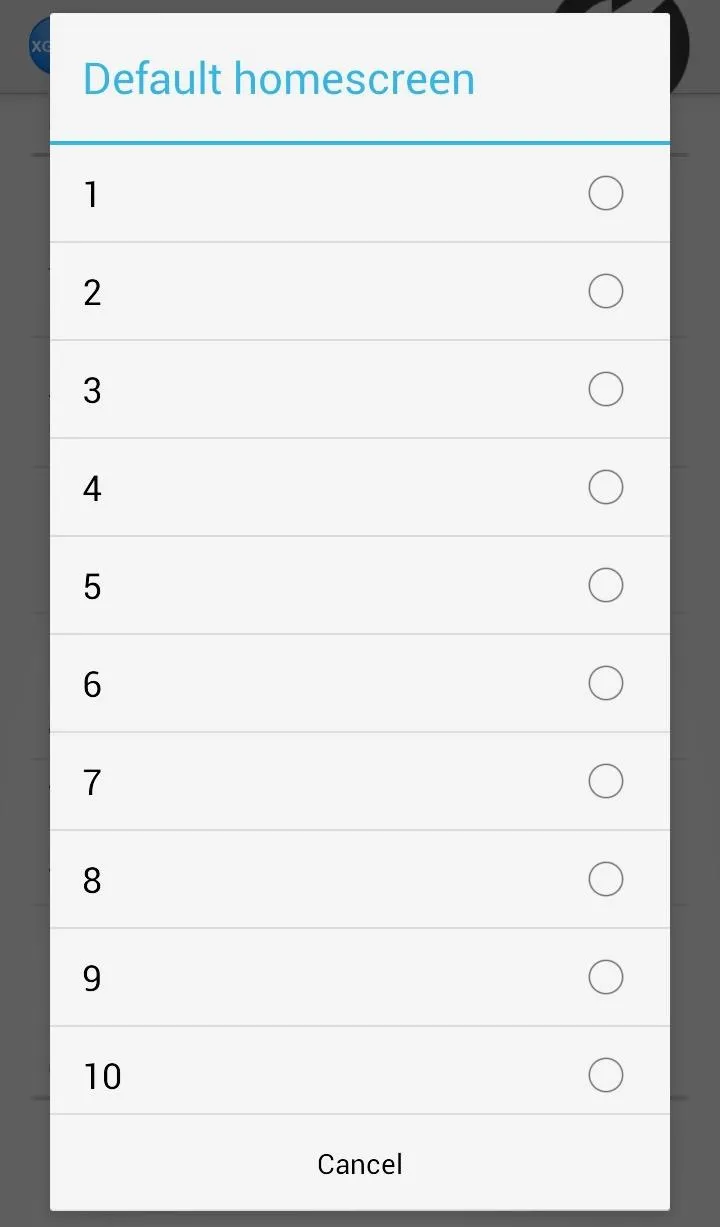
Other options include the ability to hide the page indicator (the three dots in the above picture), open this modules settings when you press and hold the app drawer button, the ability to resize widgets, enable home screen rotation, wallpaper scrolling, and choosing the default home screen.
Step 6: Customize Anything Else You Want
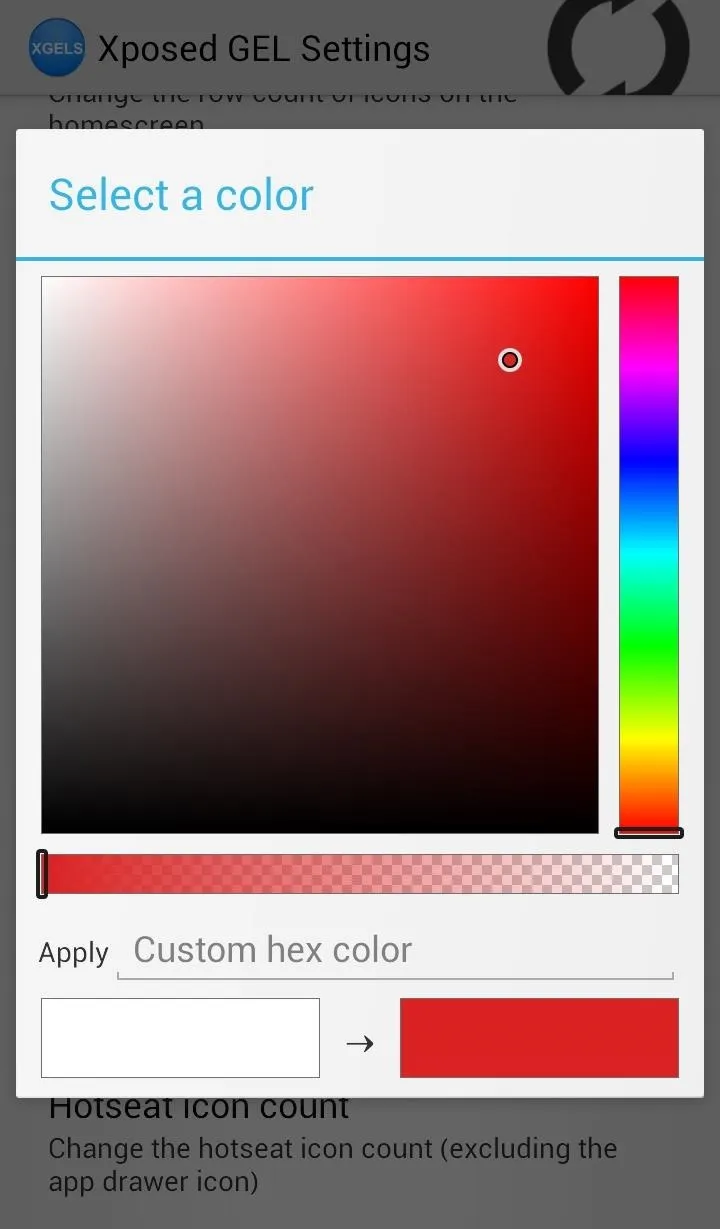
With every update comes new features and new things you can adjust like text color, default home screen, and widget sizes. Text color can be changed using the color wheel or a HEX code, while home screen and widget resizing can be enabled in settings.


Make all of these changes in the Xposed GEL Settings app and scroll to the top to restart the launcher, and you're all set.



Comments
No Comments Exist
Be the first, drop a comment!