When it comes to added features, no manufacturer out there can hold a candle to Samsung. Whether it's a remote control for all of your electronics, a heart rate and stress level monitor, or a seemingly-magical stylus, Galaxy devices always have as much functionality as possible packed in.
This is certainly still the case when it comes to the camera app on Samsung flagships. Aside from the top-of-the-line hardware specs, the Galaxy camera has plenty of awesome shooting modes.
A new camera mode for current-generation Galaxy devices may actually be one of Samsung's best yet. It allows you to capture still images, but select certain areas that will have subtle motion. While these images are saved as standard GIFs, there is nothing traditional about them, so your creative side just got a new toy to play around with.
Step 1: Installing the 'Animated Photo' Addon
This new shooting mode is available for all current-generation Galaxy flagships, so the S5 and Note 4 are certainly supported. It is also available for a handful of older models, so even if you're not running the latest and greatest, it may still work for your phone or tablet.
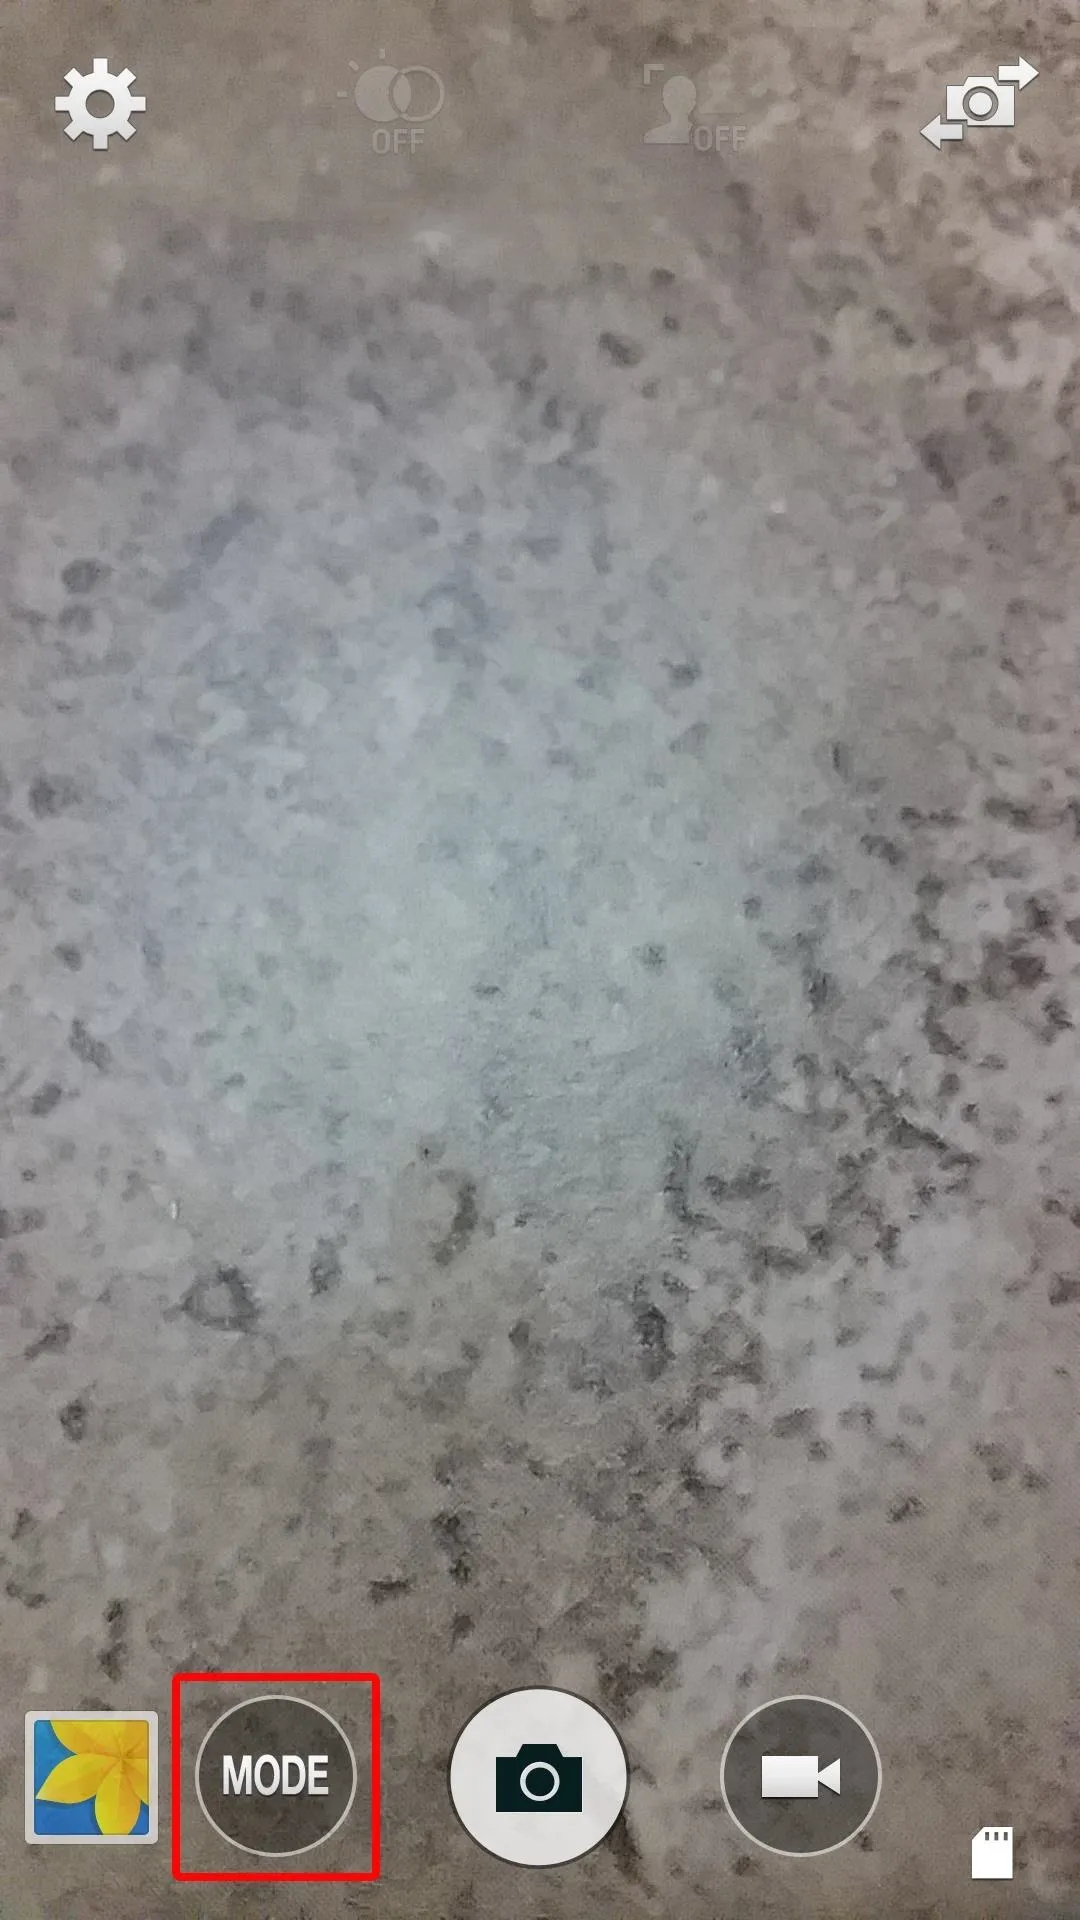
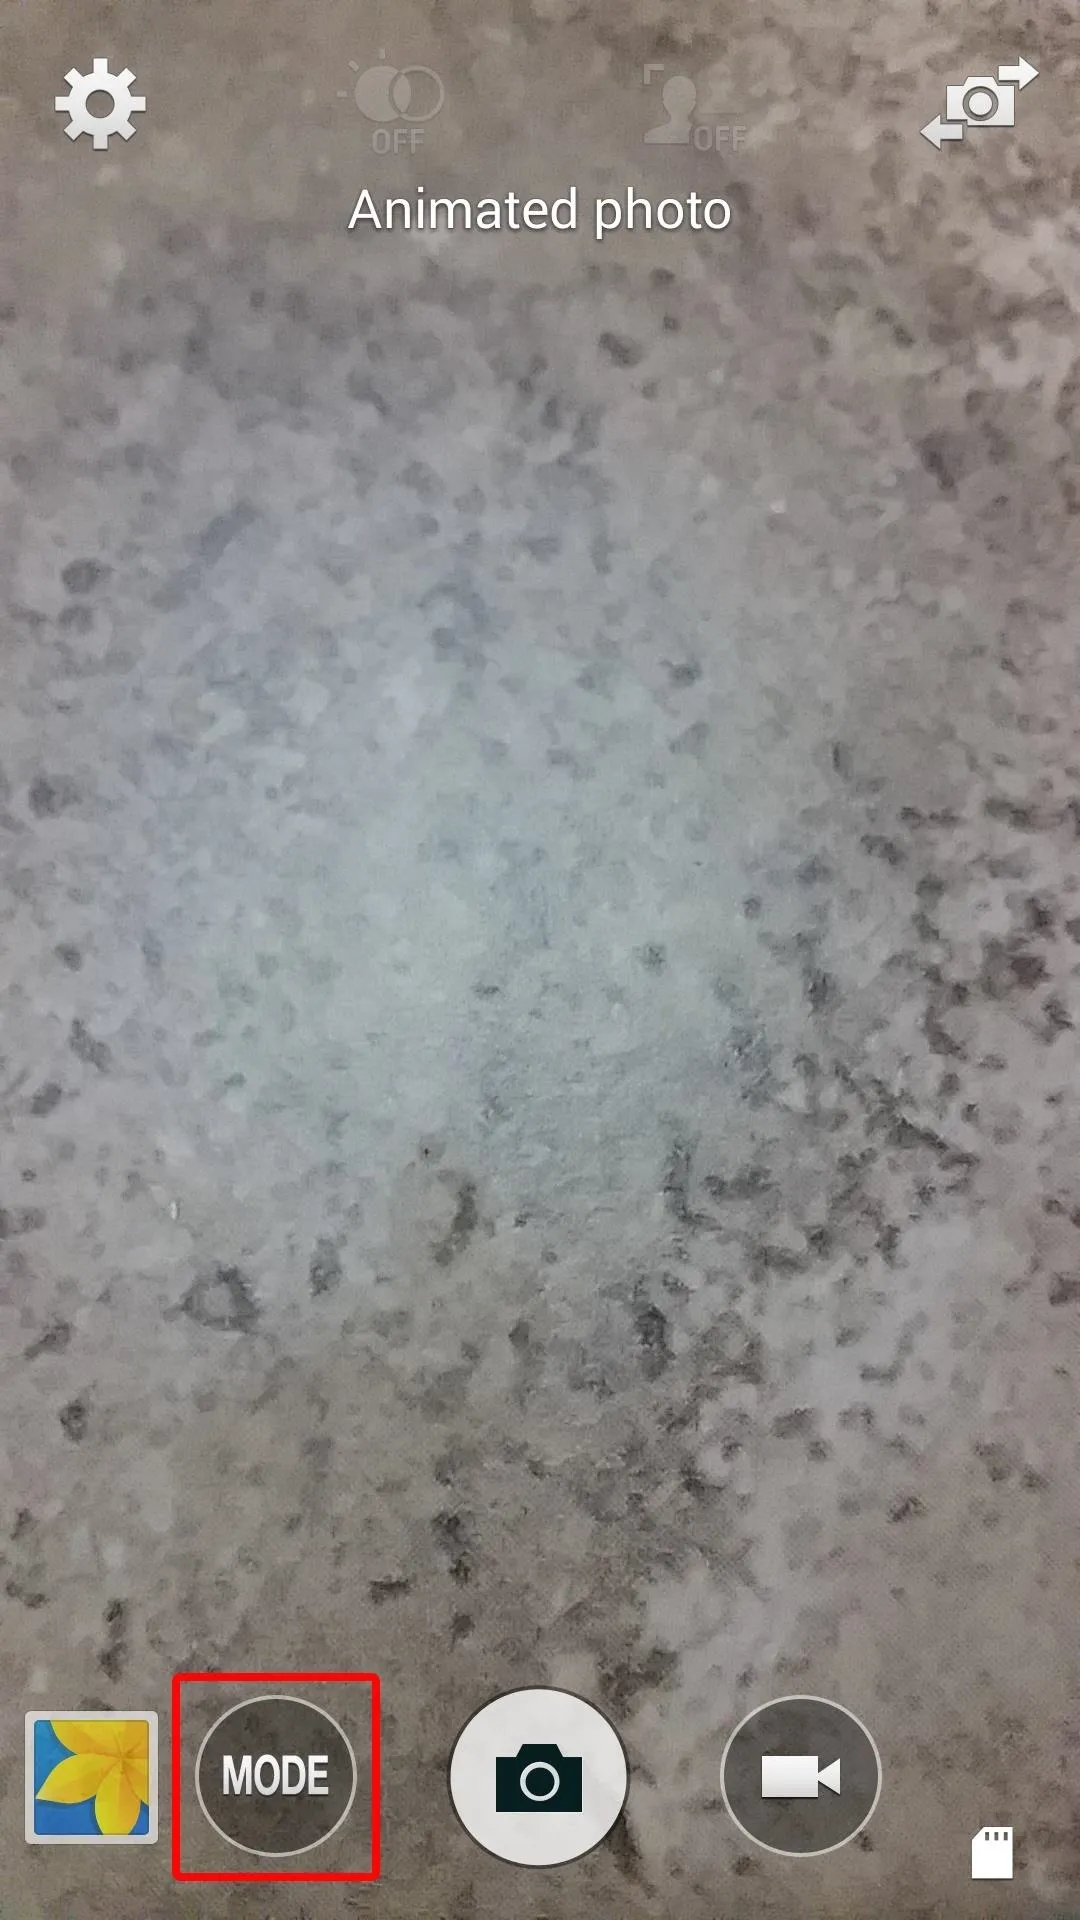
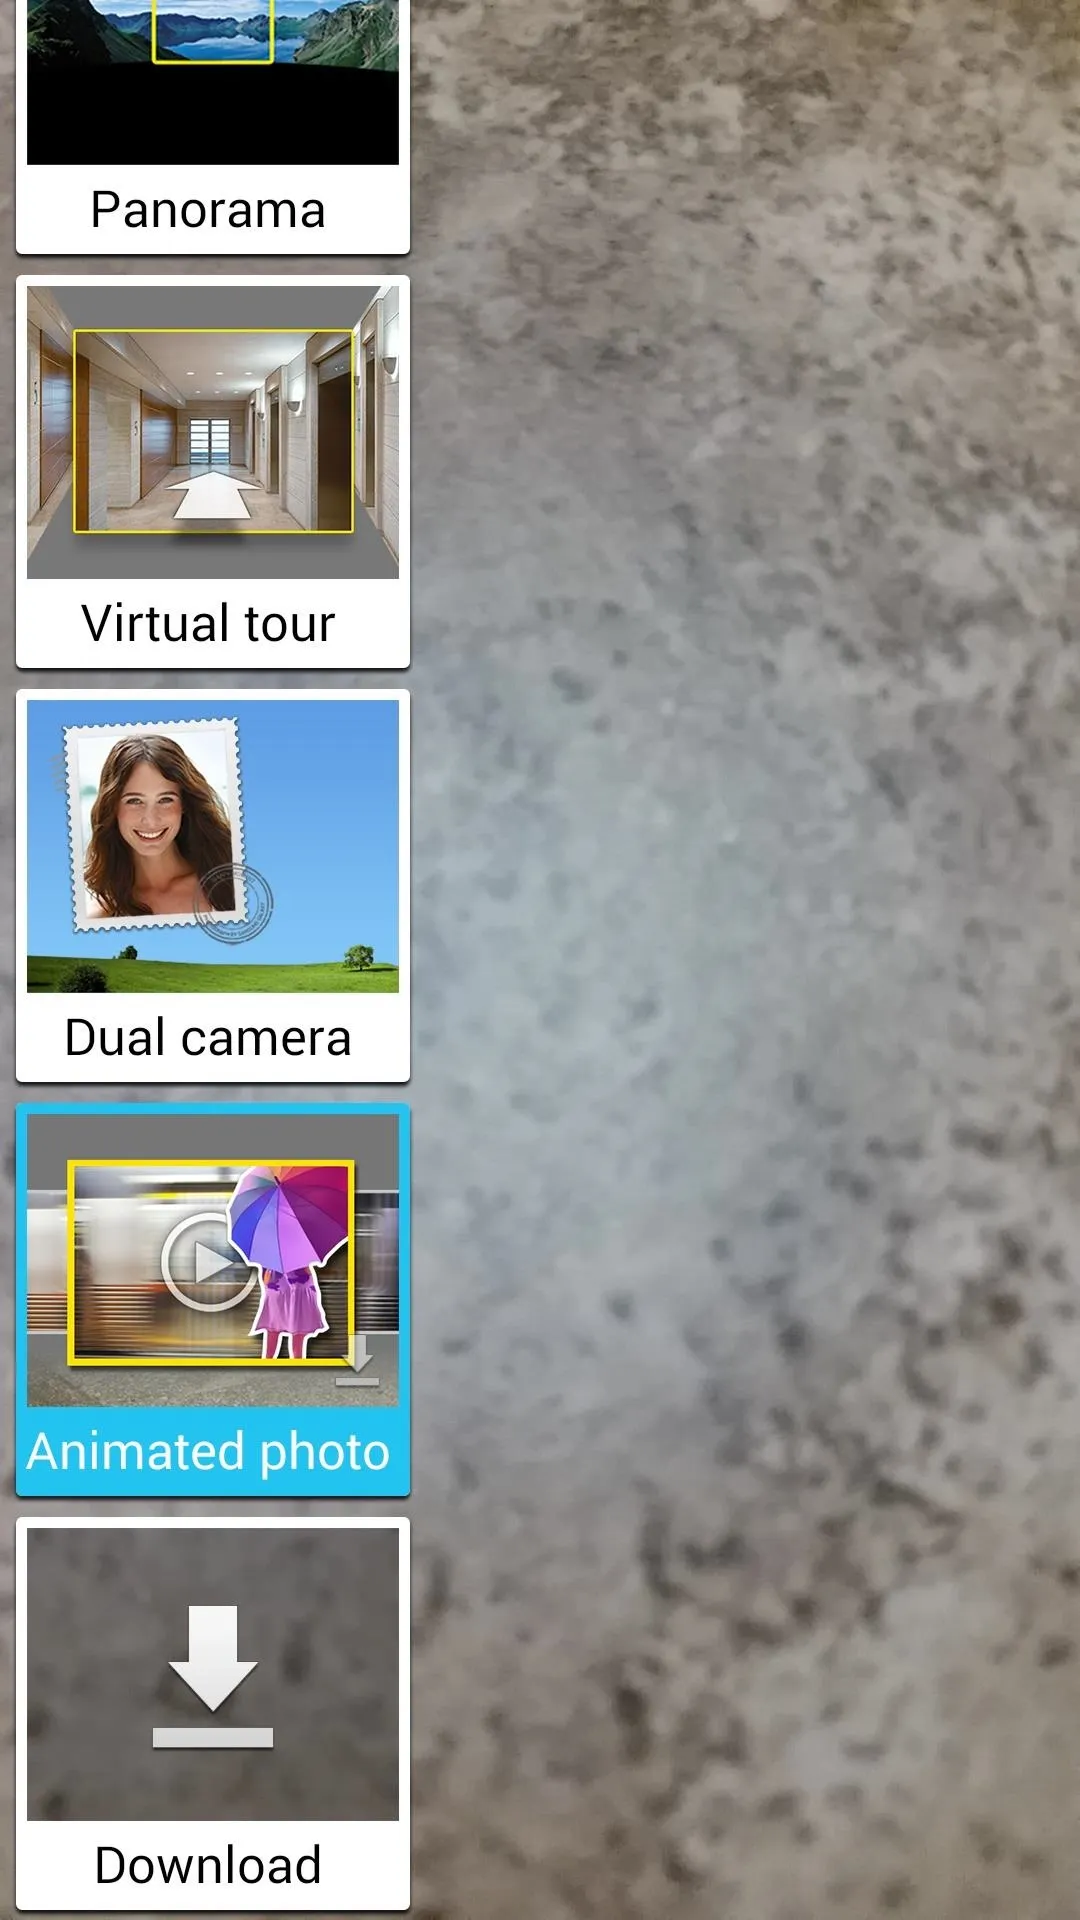
To begin, open your camera app and tap the "Mode" button. From here, scroll down to the bottom and select "Download."
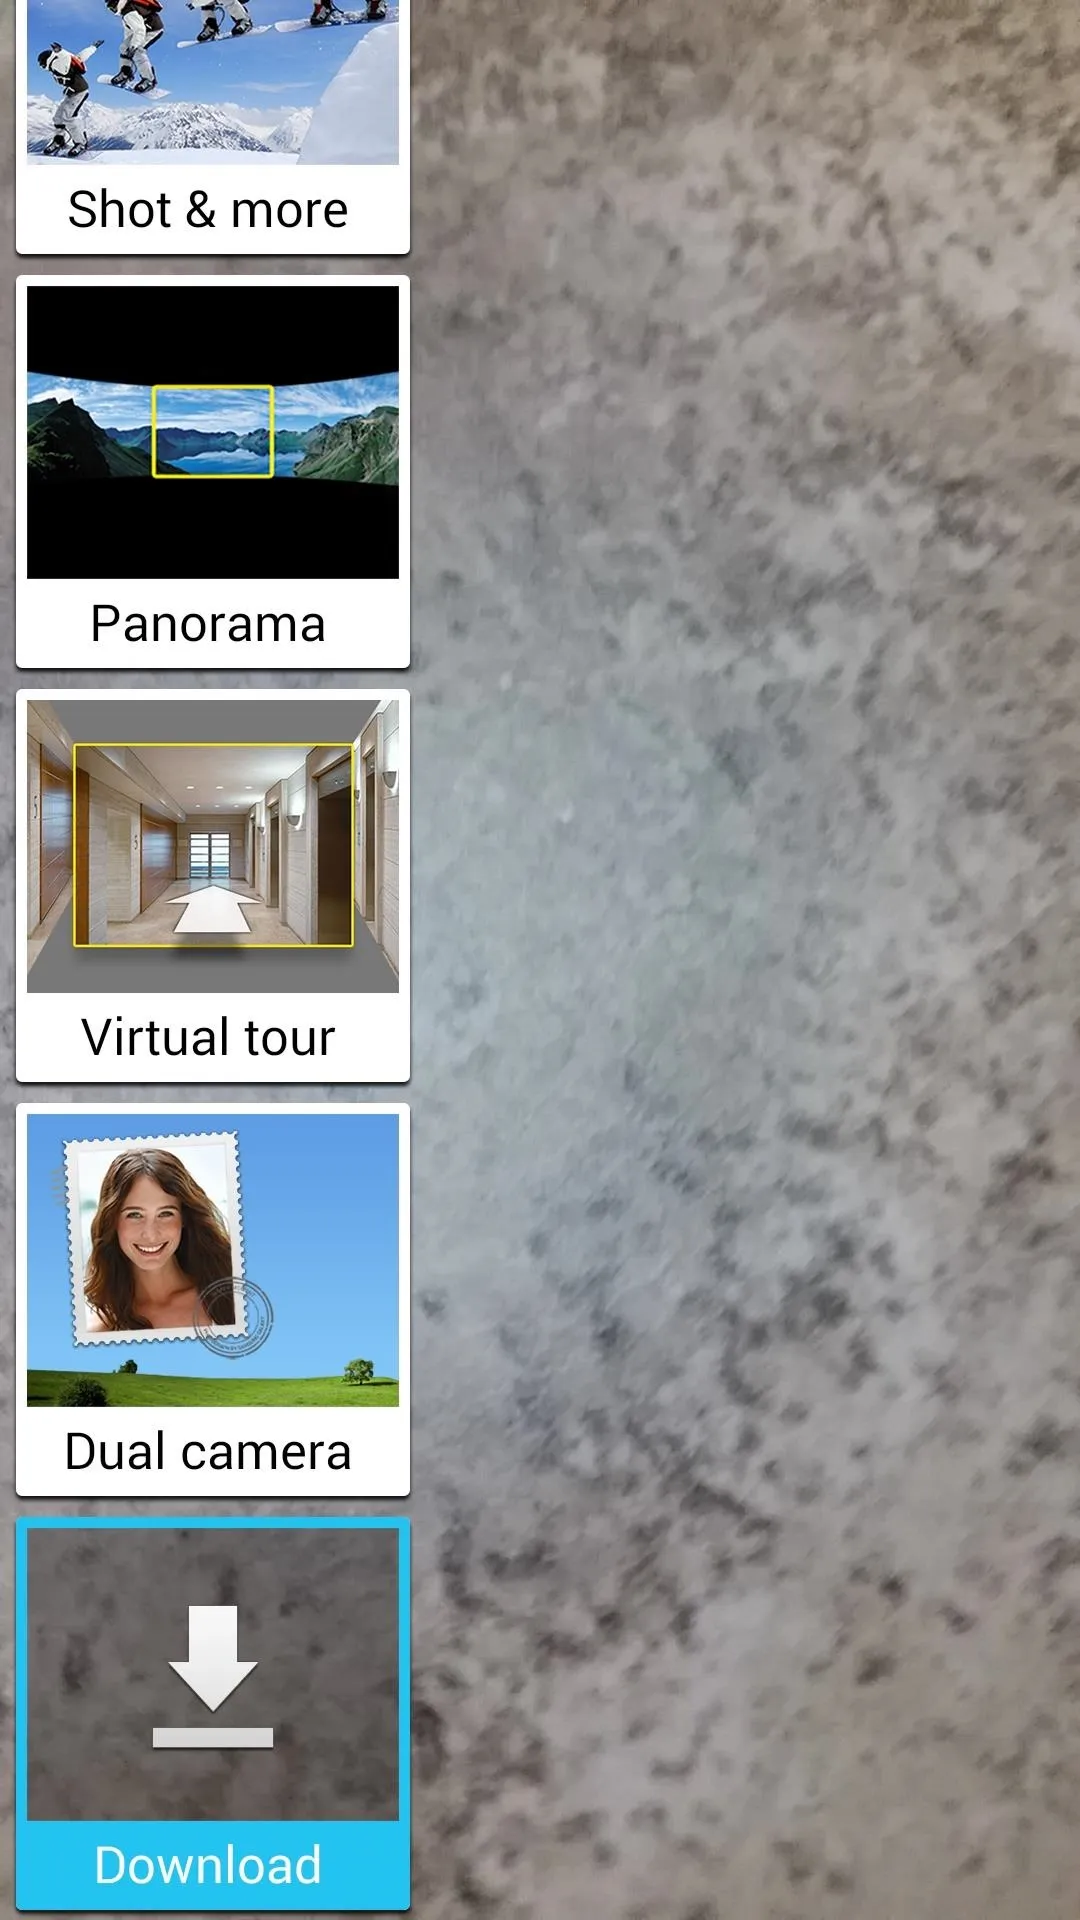


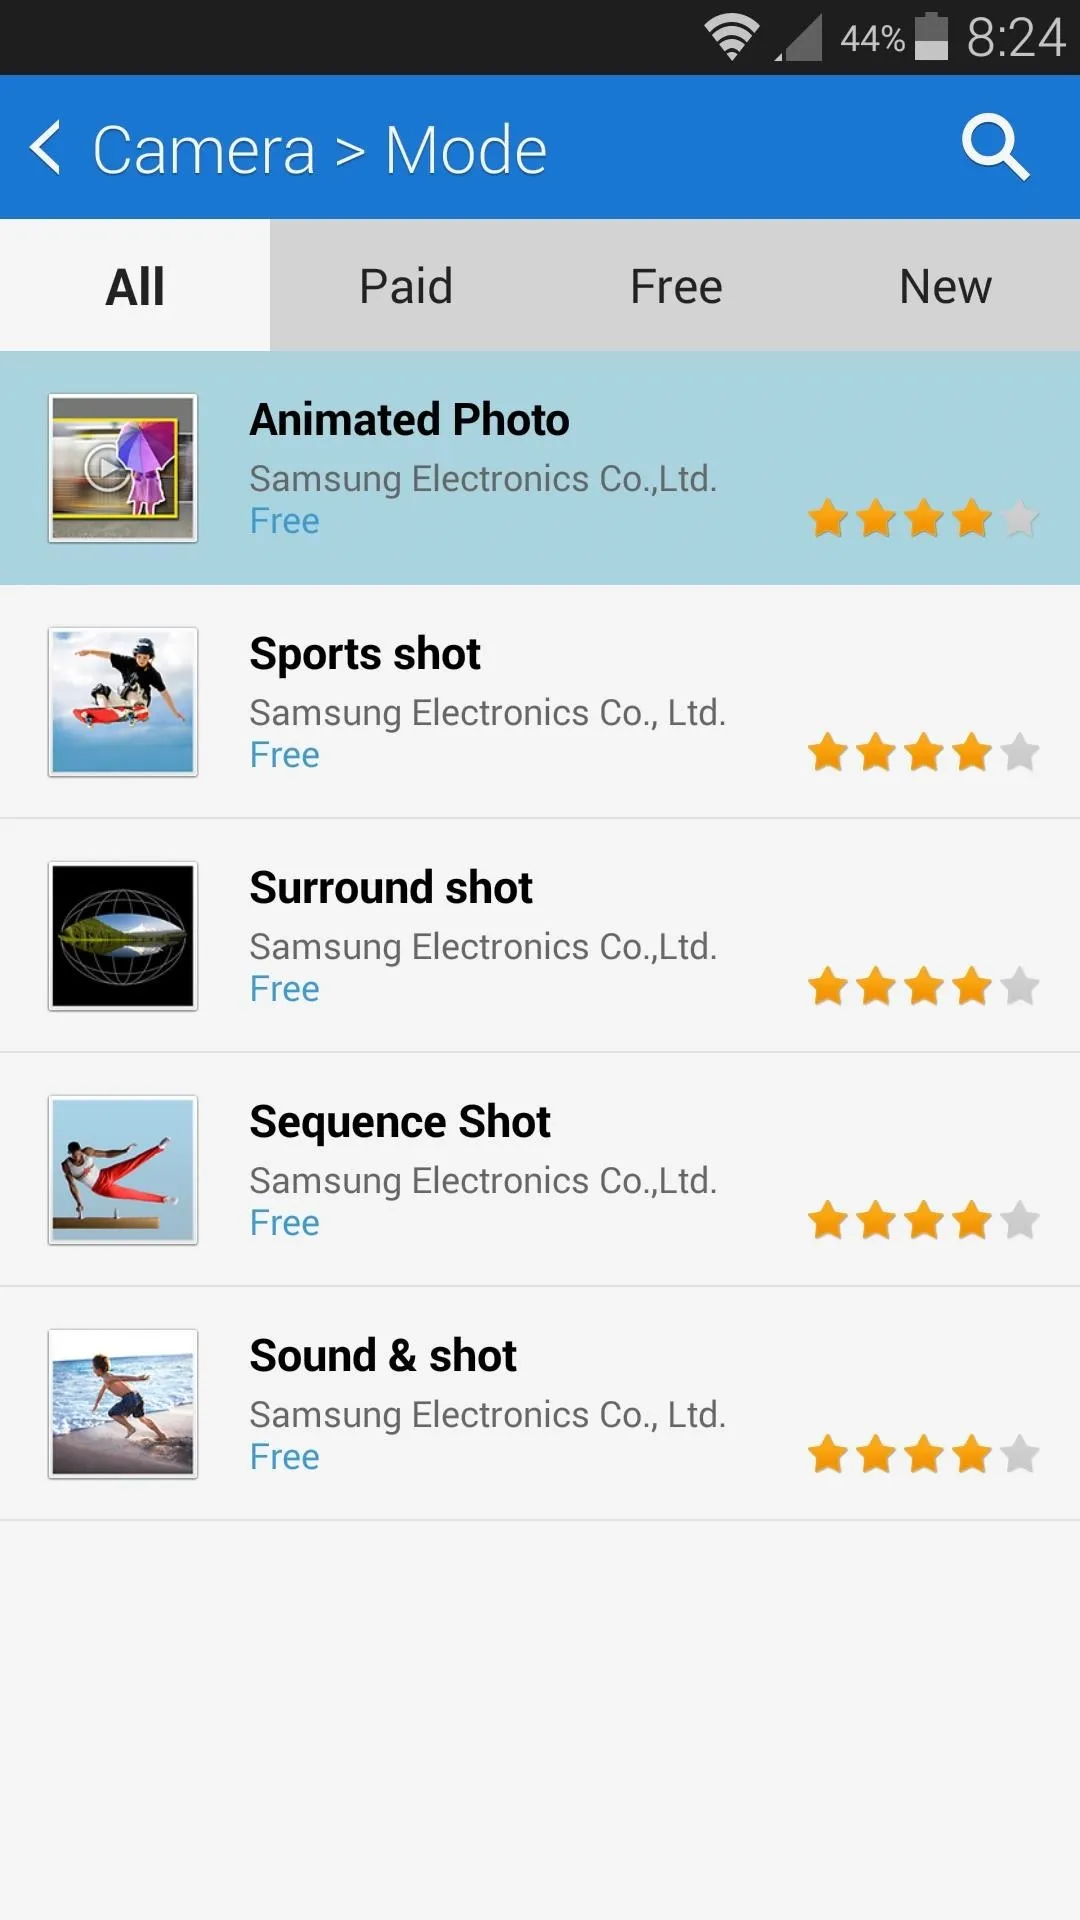
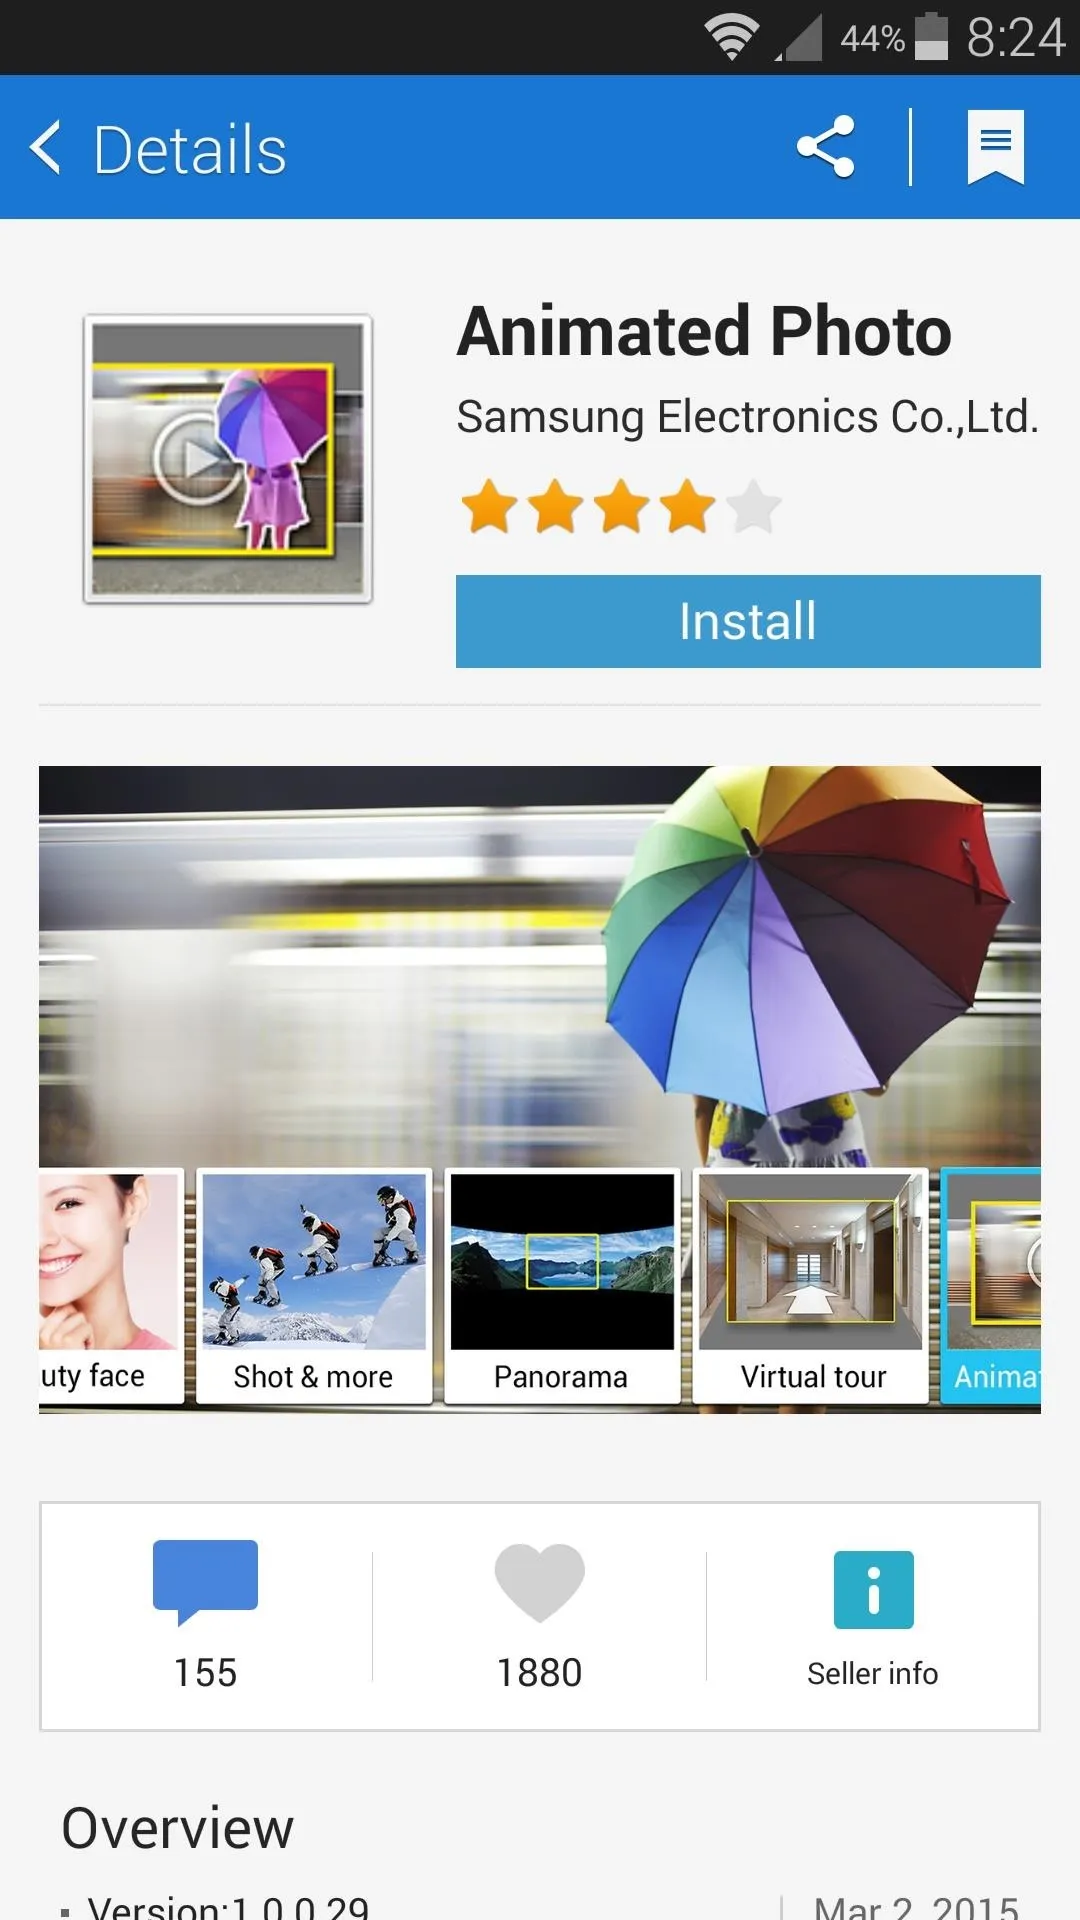
This will take you to the camera mode section of the Galaxy Apps store. Choose the "Animated Photo" addon from this list, then install it from the subsequent page. Note that you'll need to sign up for a Samsung account (for free) if you haven't done so already.


Step 2: Capturing Animated Photos
With the Animated Photo addon installed, head back to your camera app to give it a try. From here, use the "Mode" selector to choose "Animated Photo."


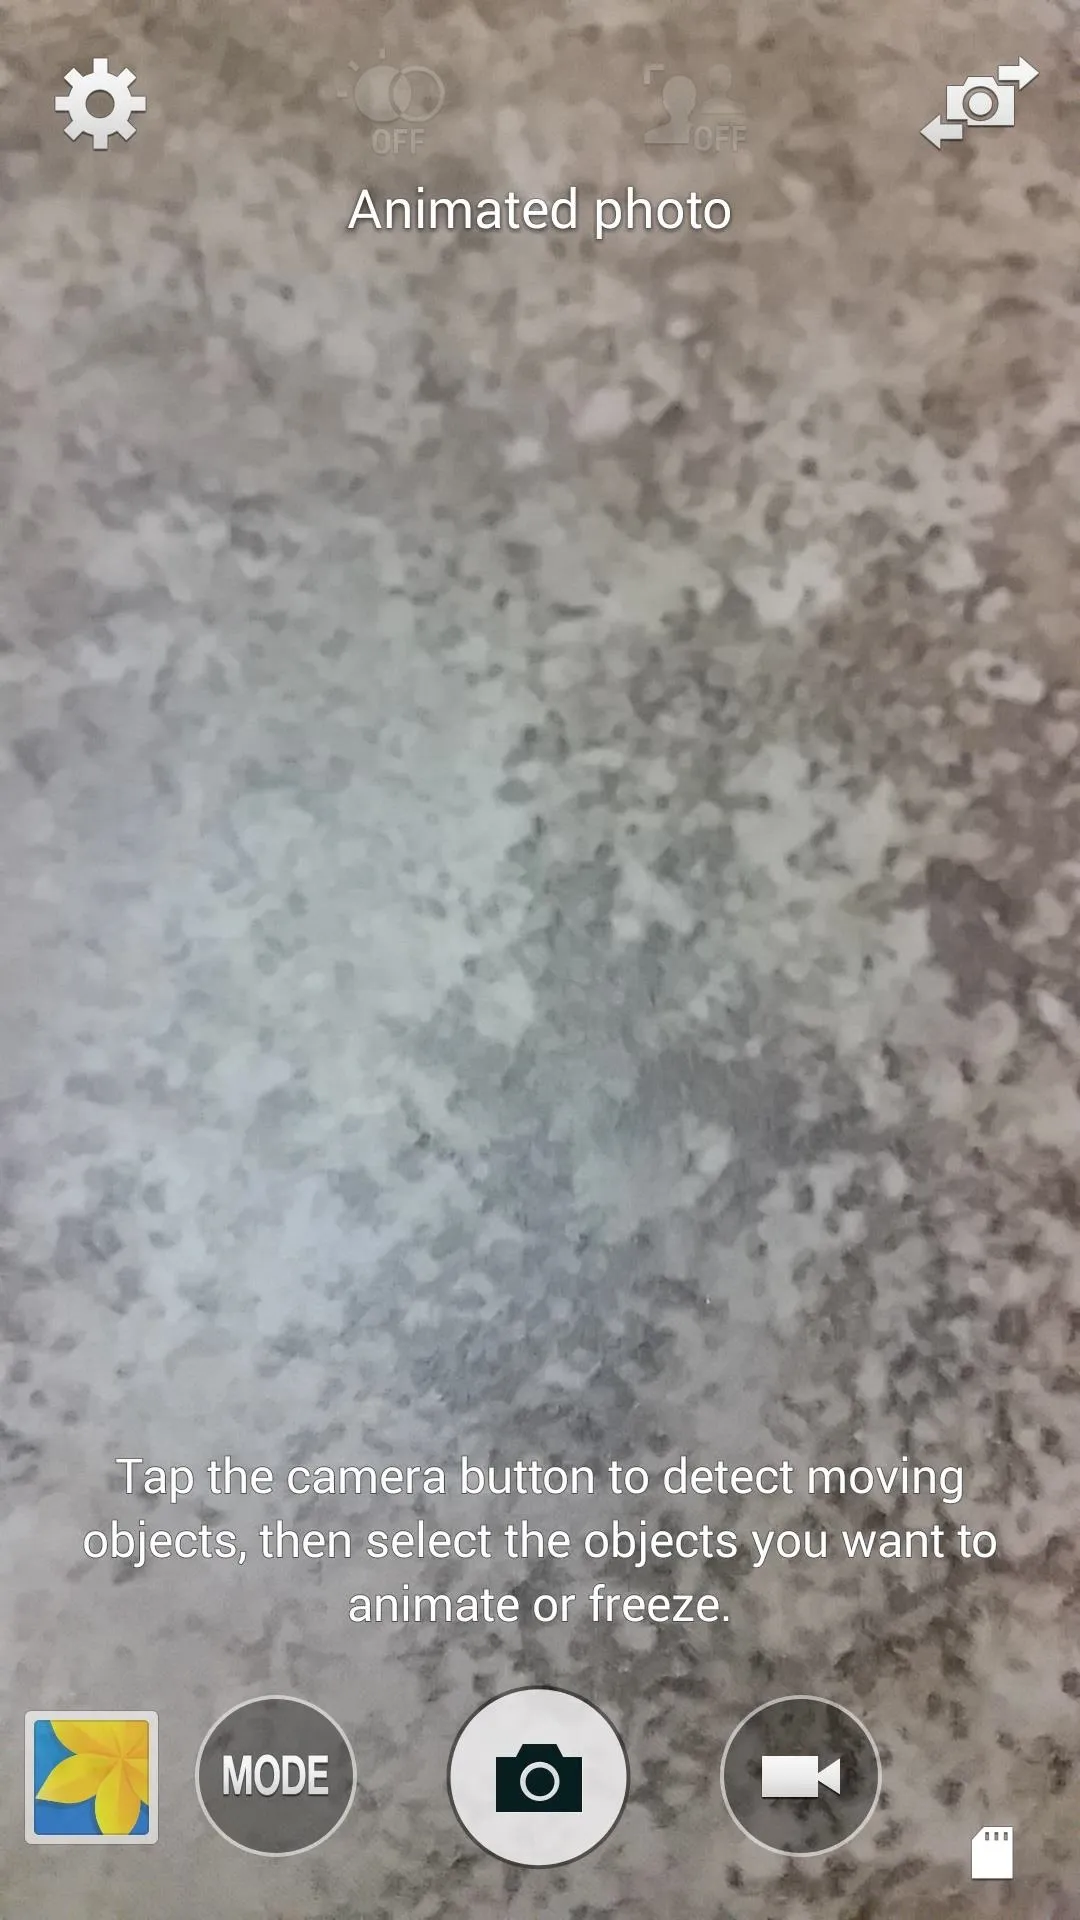
When you're ready to capture a partially-animated image, tap the shutter button. Try to hold your phone still for this part, as the camera will capture 5 seconds of video.
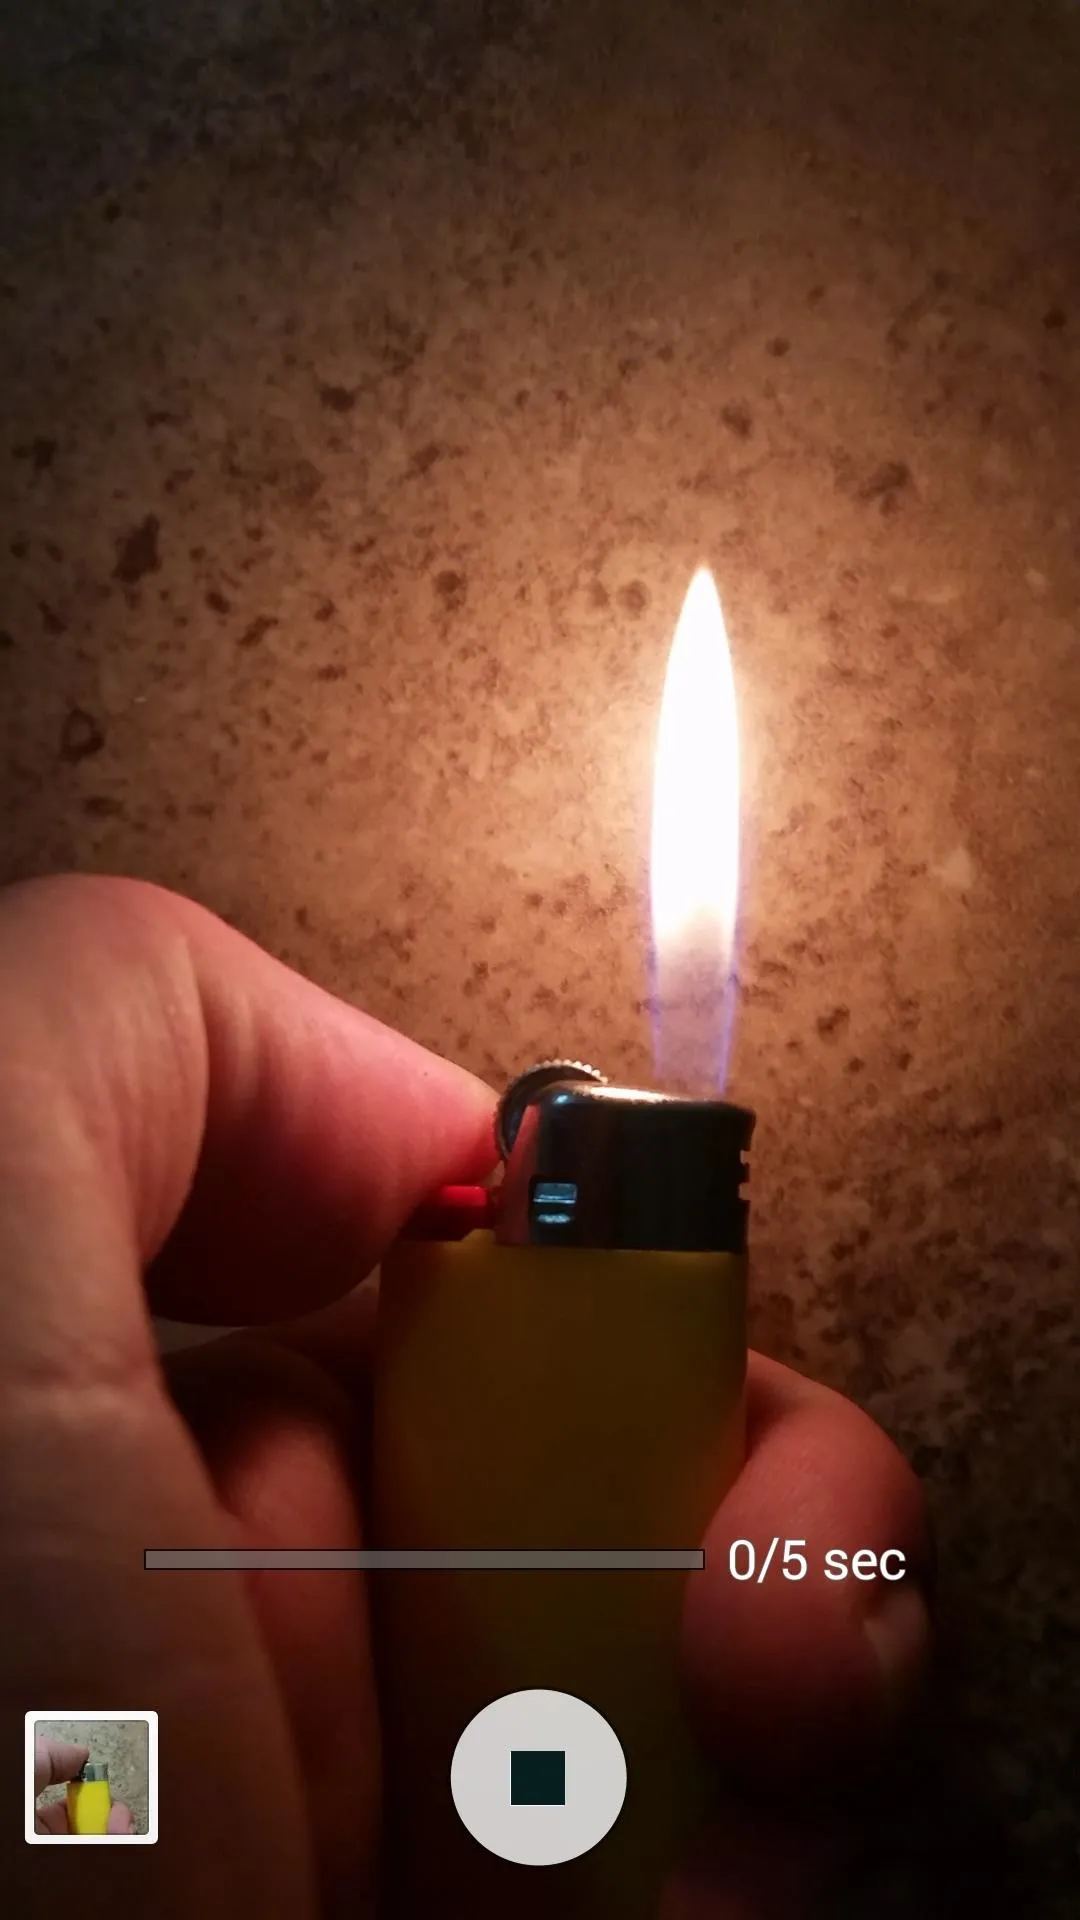


I'd like to point out that I was capturing screenshots during this process, so my example images here won't exactly be the steadiest shots. For the best results, try to brace your arms against your sides to minimize background movement in your animated photo.
Step 3: Editing Your Animated Photos
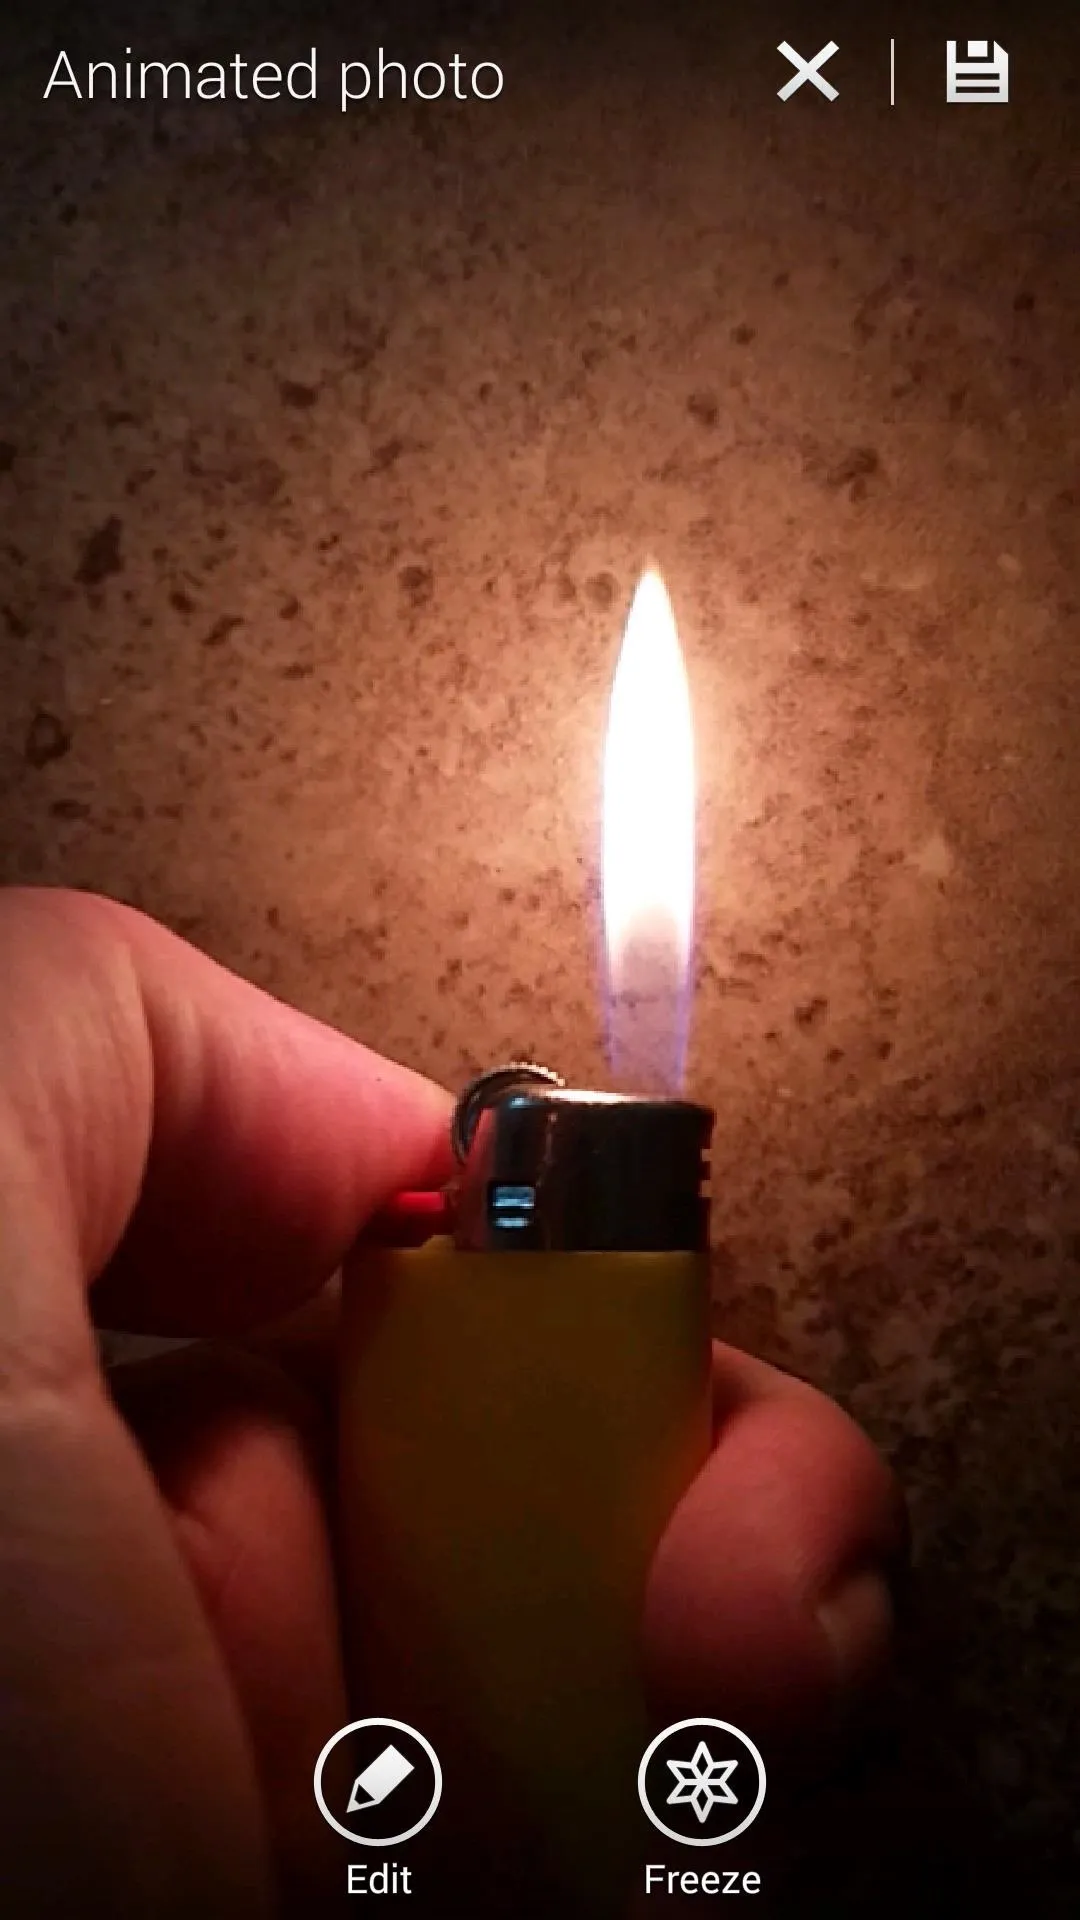
As soon as you finish capturing your Animated Photo, you'll be taken to an editor view. The camera addon will attempt to automatically choose the static and animated portions of your photo, but you can make further adjustments manually.
To alter the playback of the animated portion of your photo, tap the "Edit" button from the main editor screen.
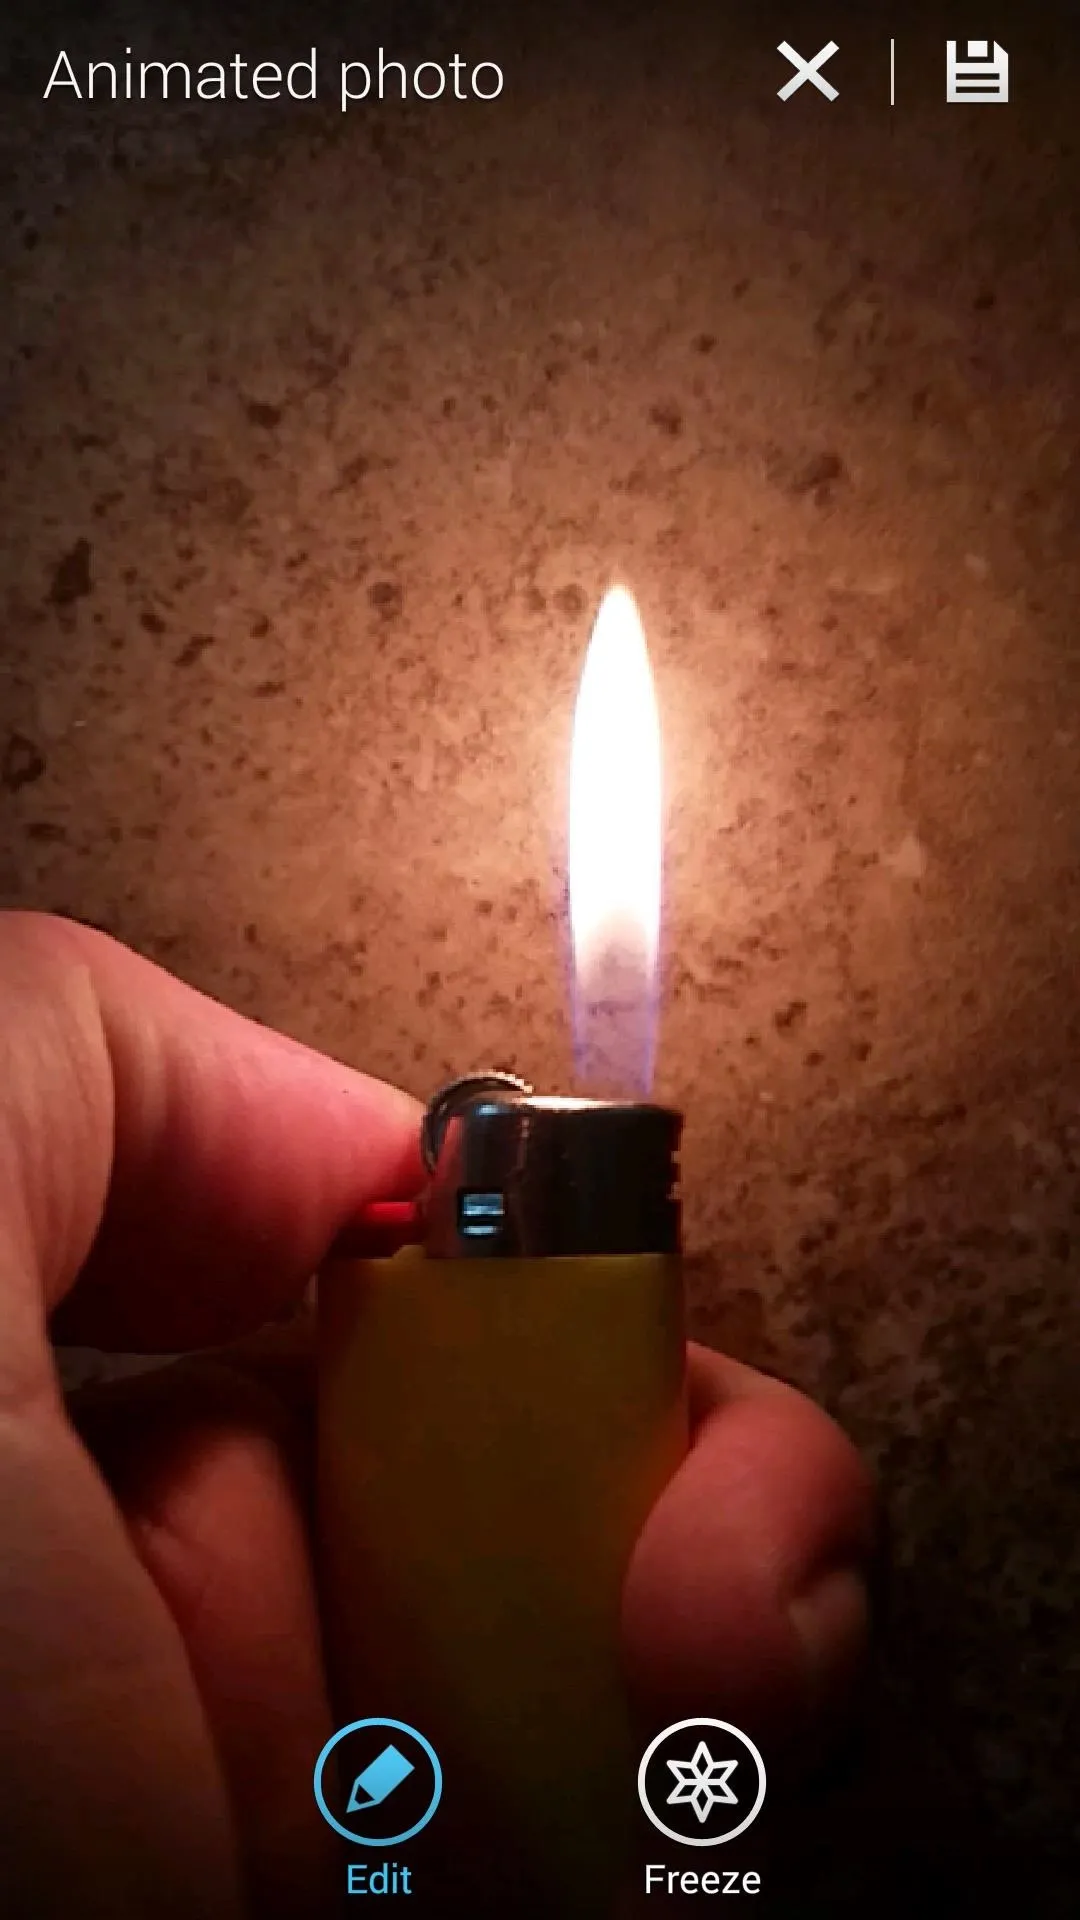


This interface will allow you to adjust the playback speed and looping method for the animation in your photo. Tap the button in the bottom-left corner to toggle between playback speeds, or tap the button on the opposite side to change the looping method. When you're finished with your changes here, tap "Done."
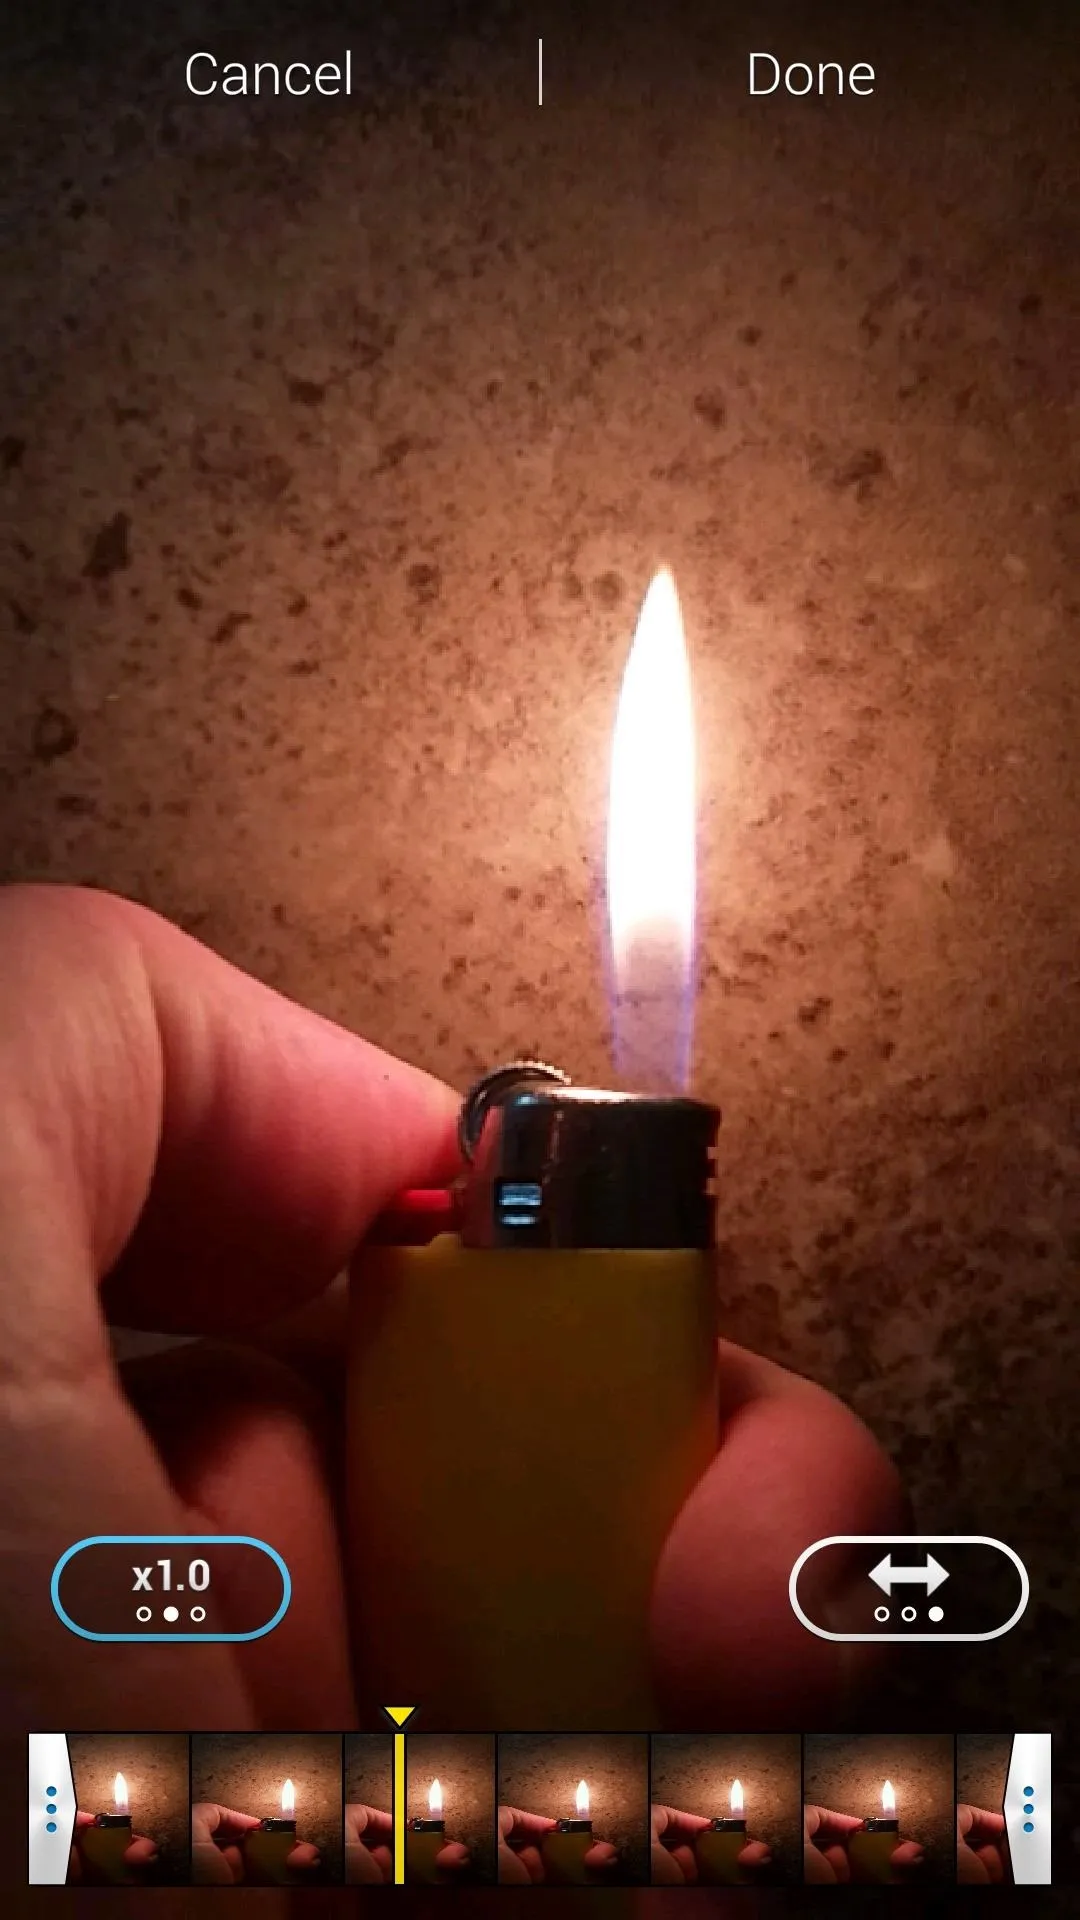
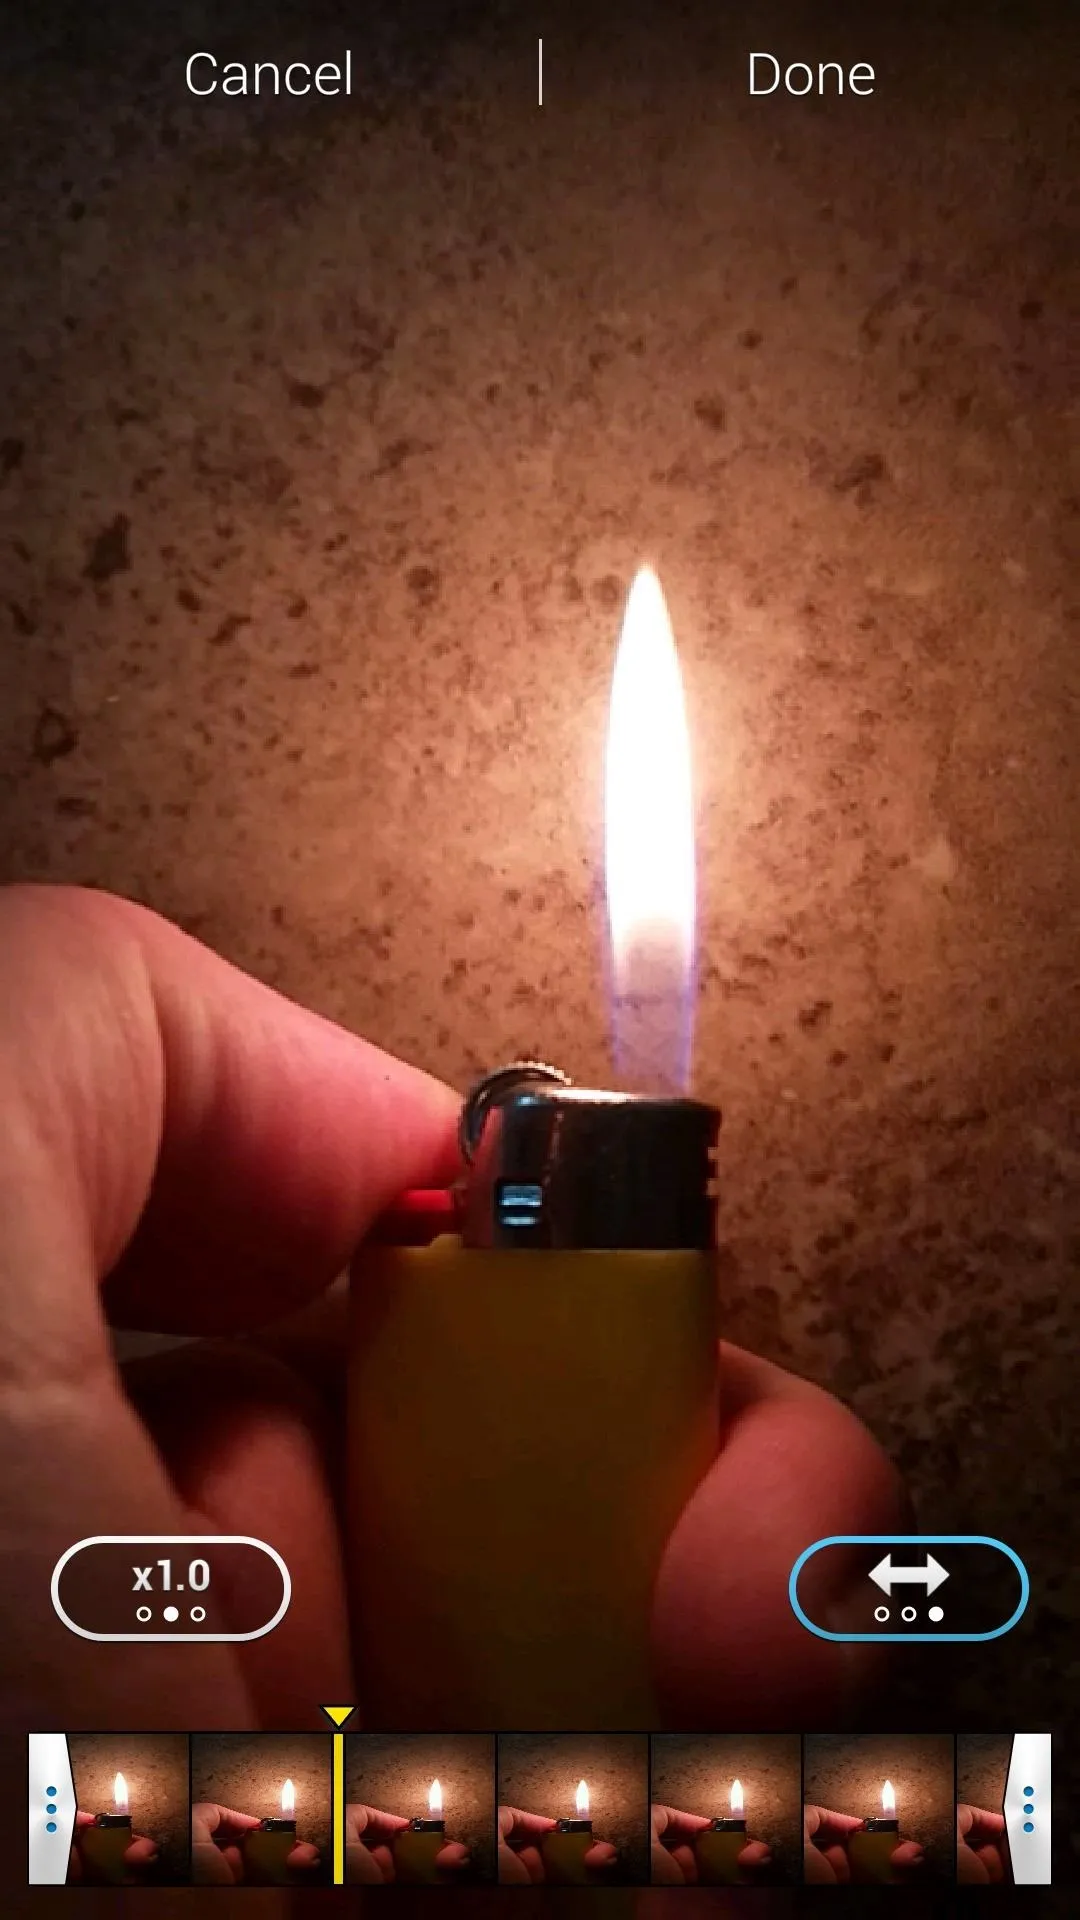


Next, you can manually edit the portions of your photo that will be animated. Tap the "Freeze" button to enter this menu.
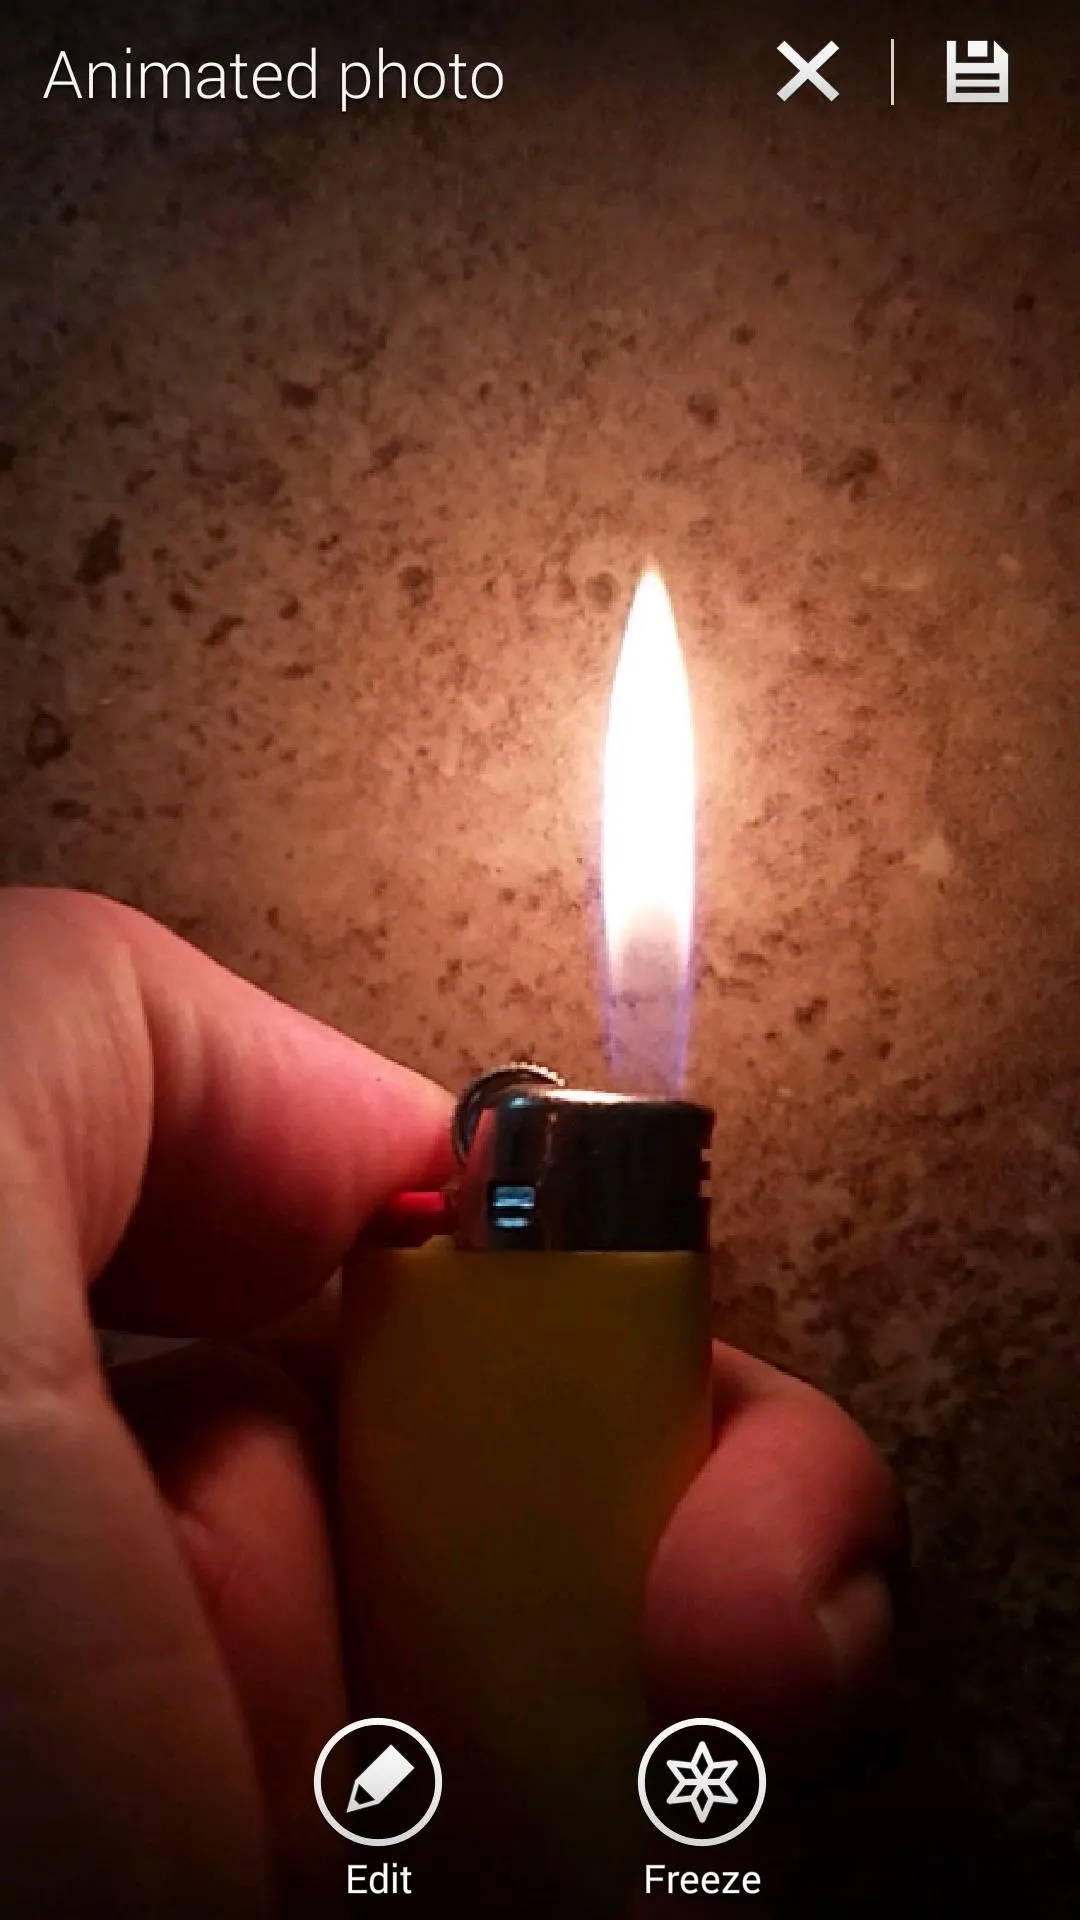
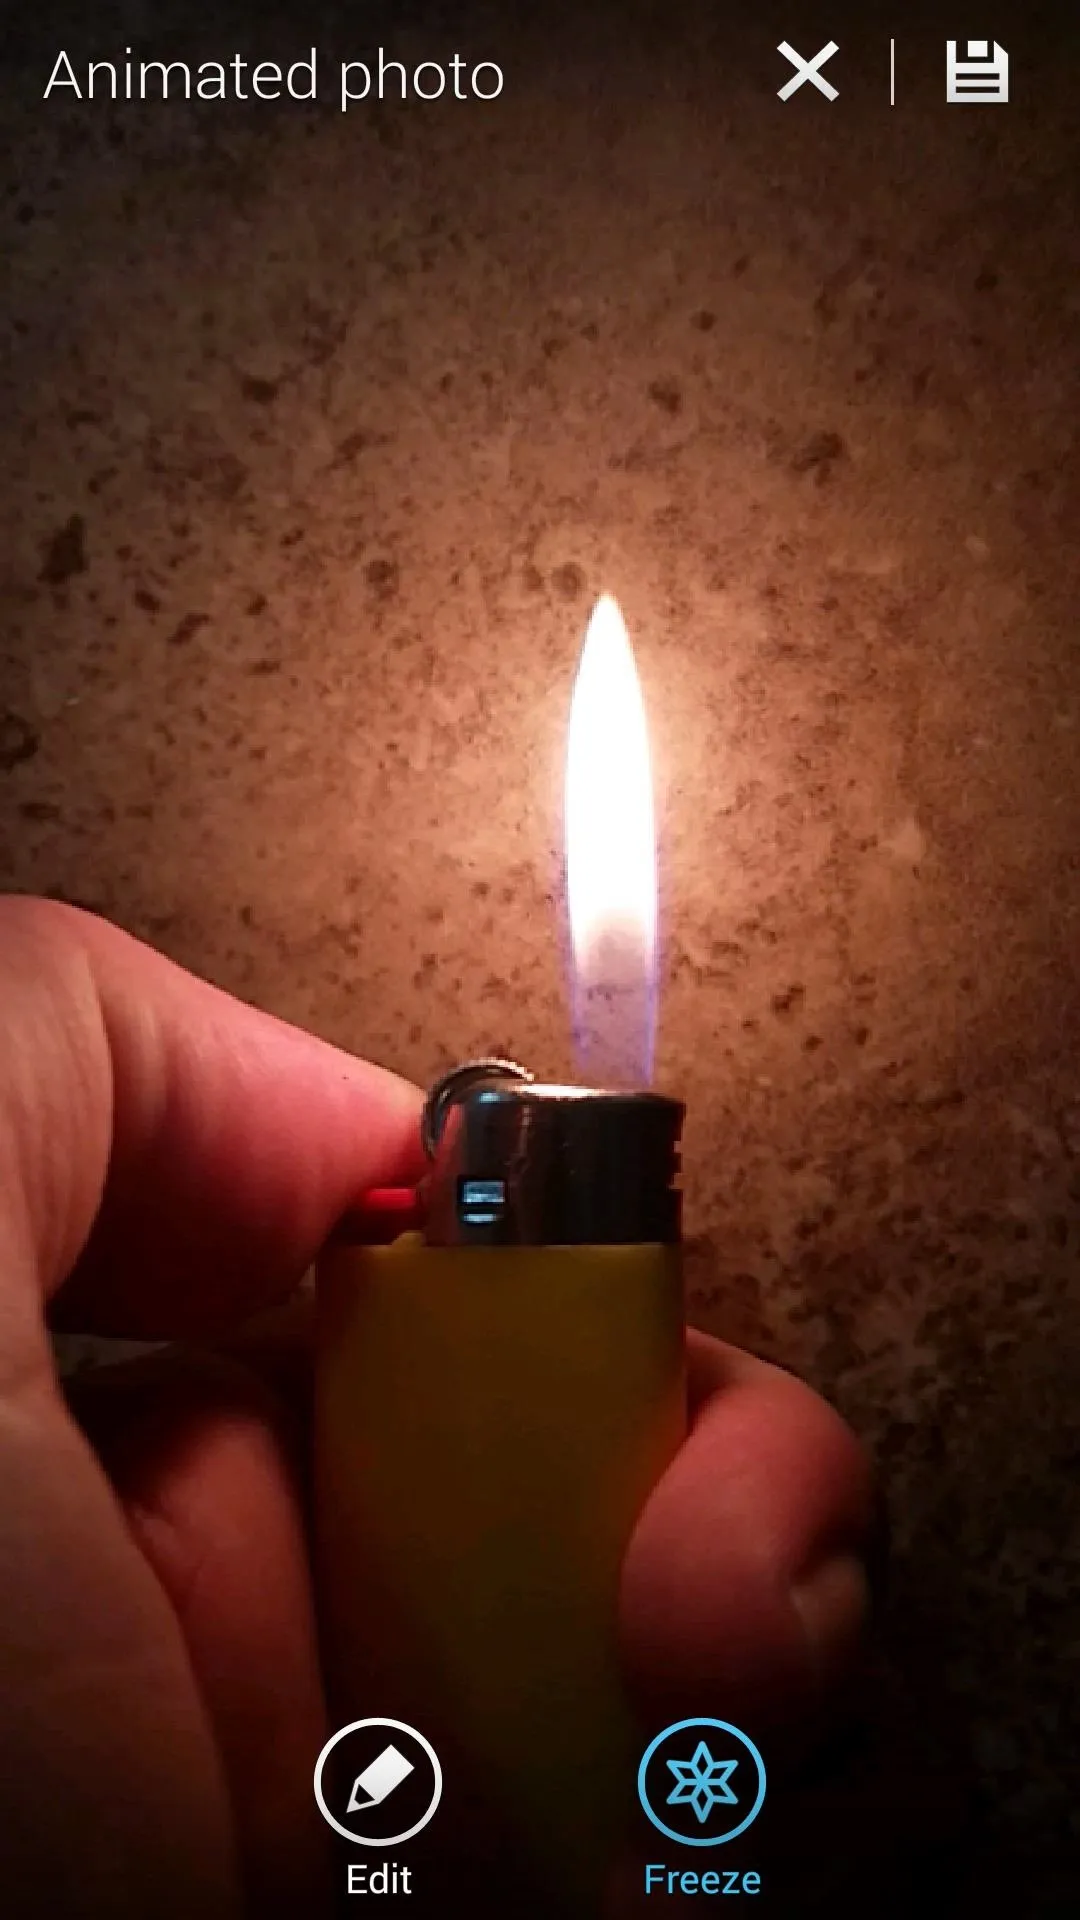


With the "Paintbrush" icon selected here, you can select portions of your image that you would like to remain static. Just drag your finger around on the screen to select any areas that you think would look better without animation.
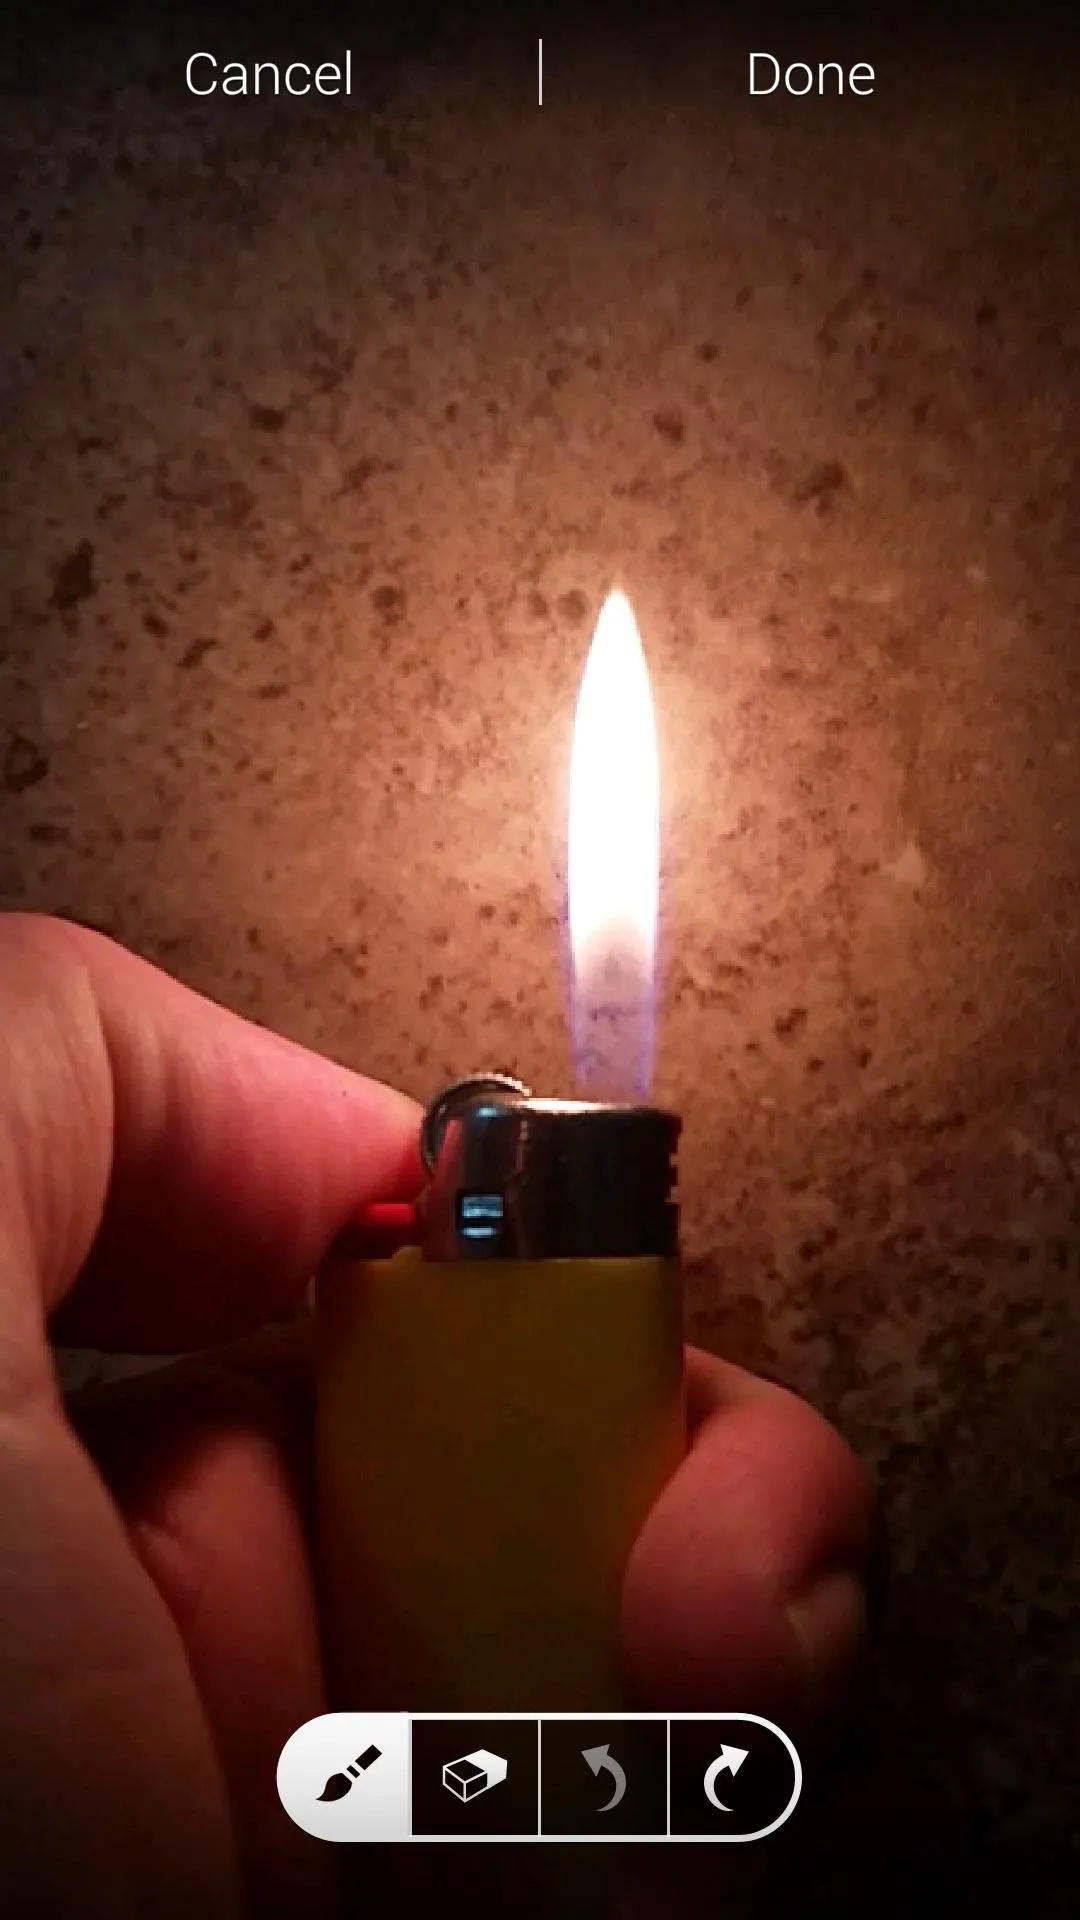
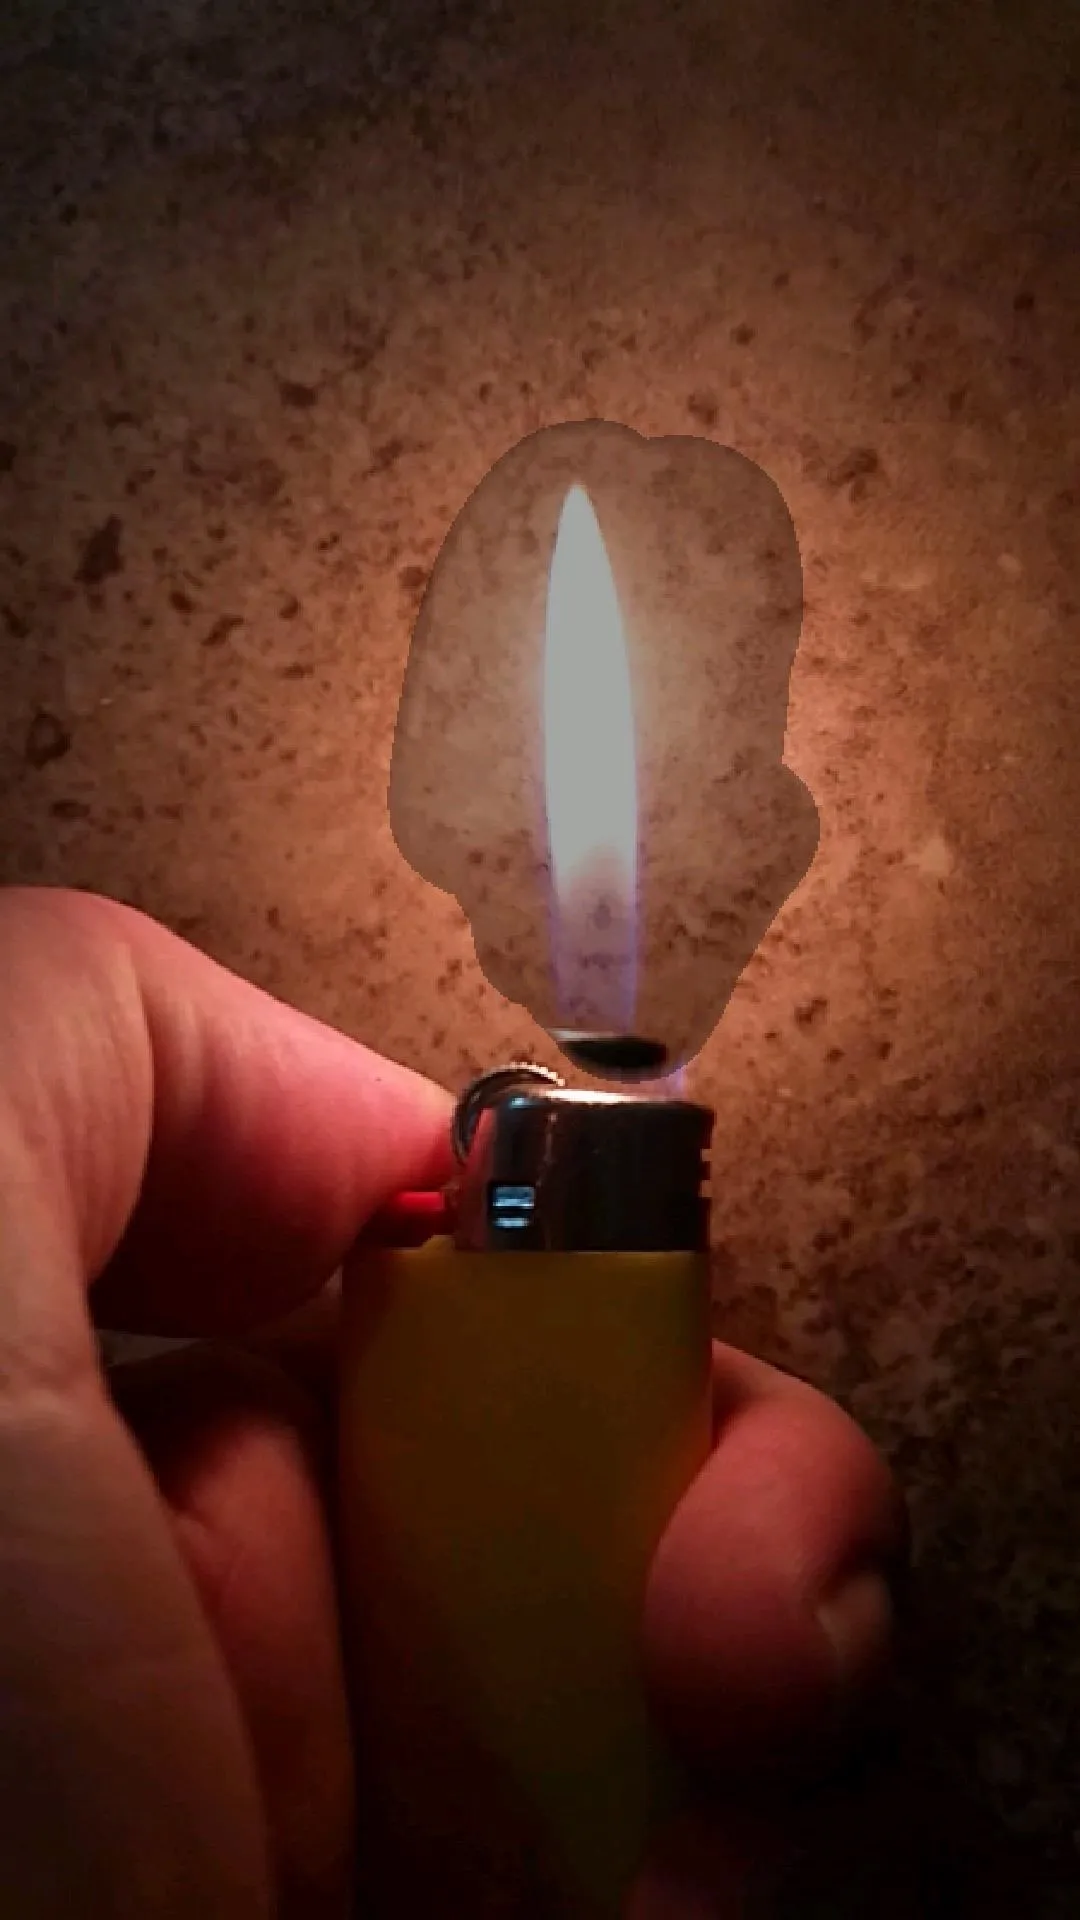


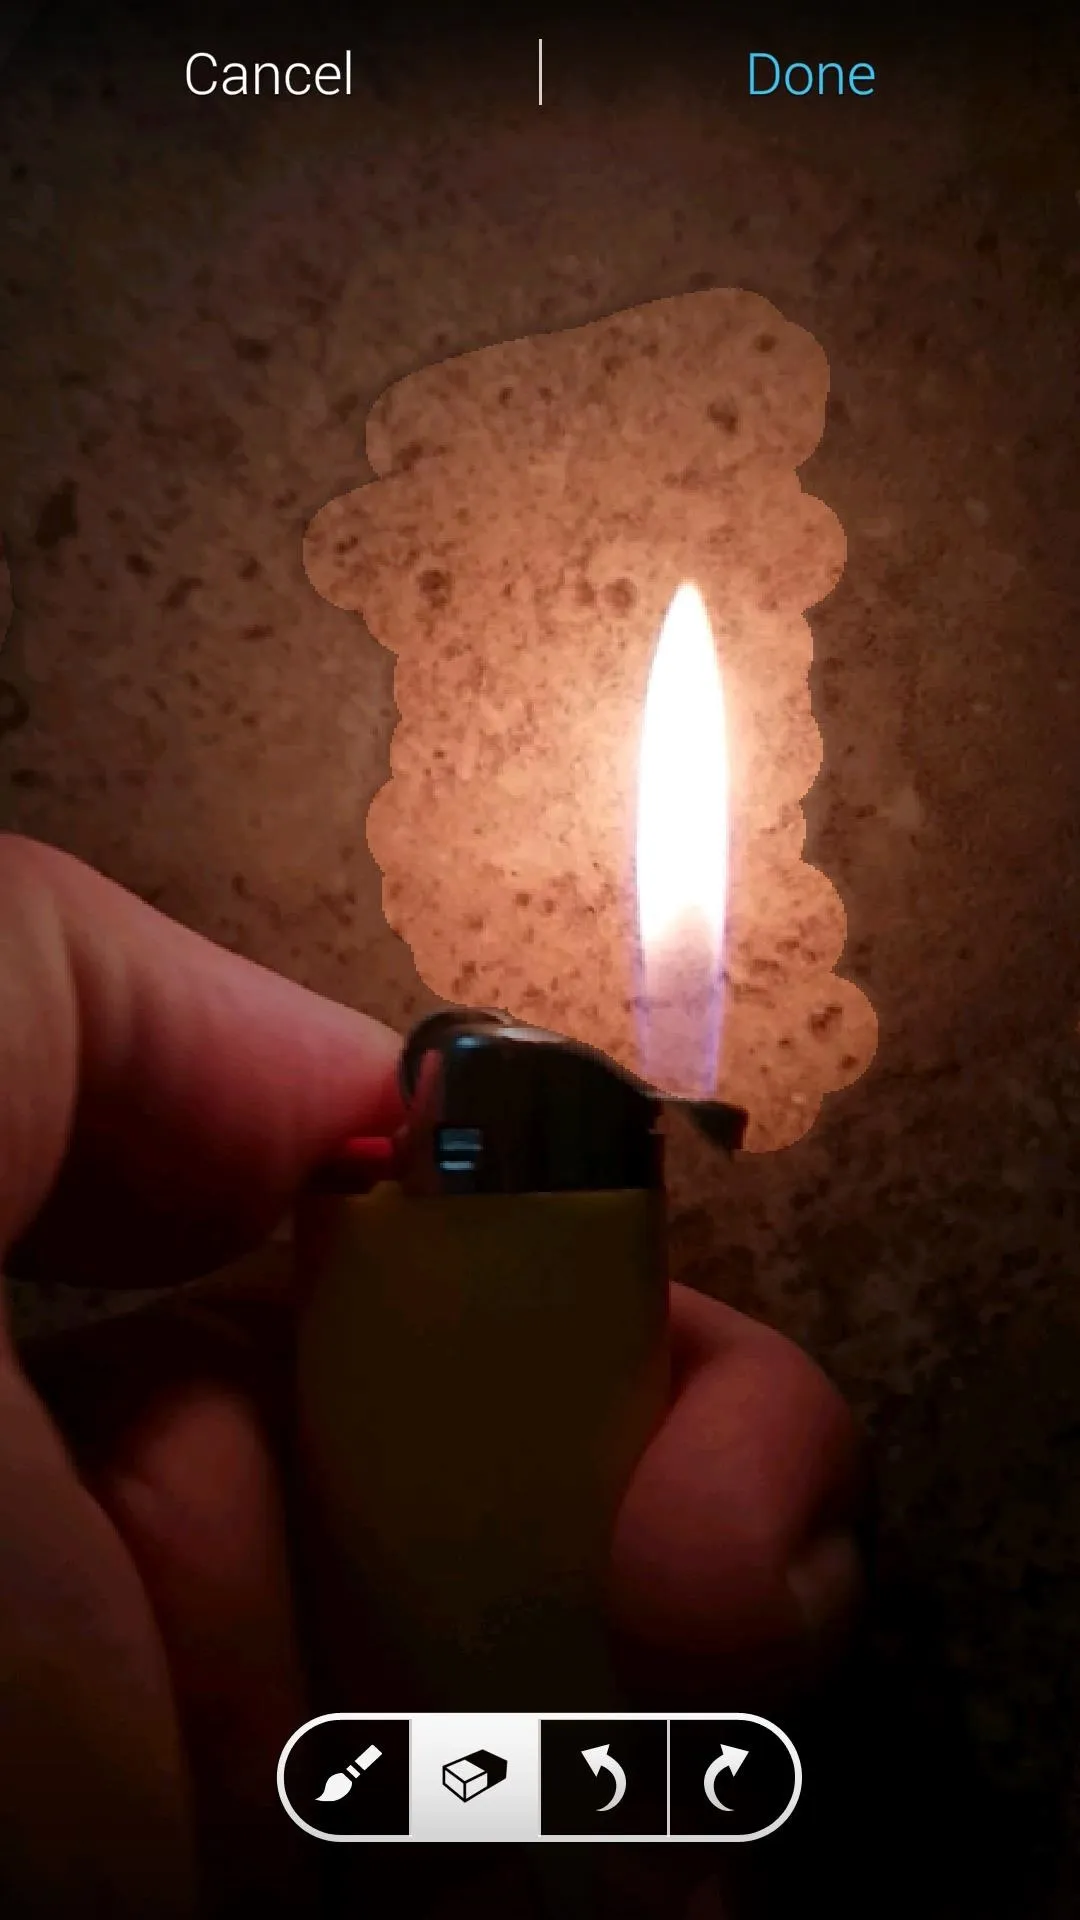
If there are portions of your photo that you would like to add animation to, select the "Eraser" tool. Again, just drag your finger on the screen, and the underlying elements will become animated.
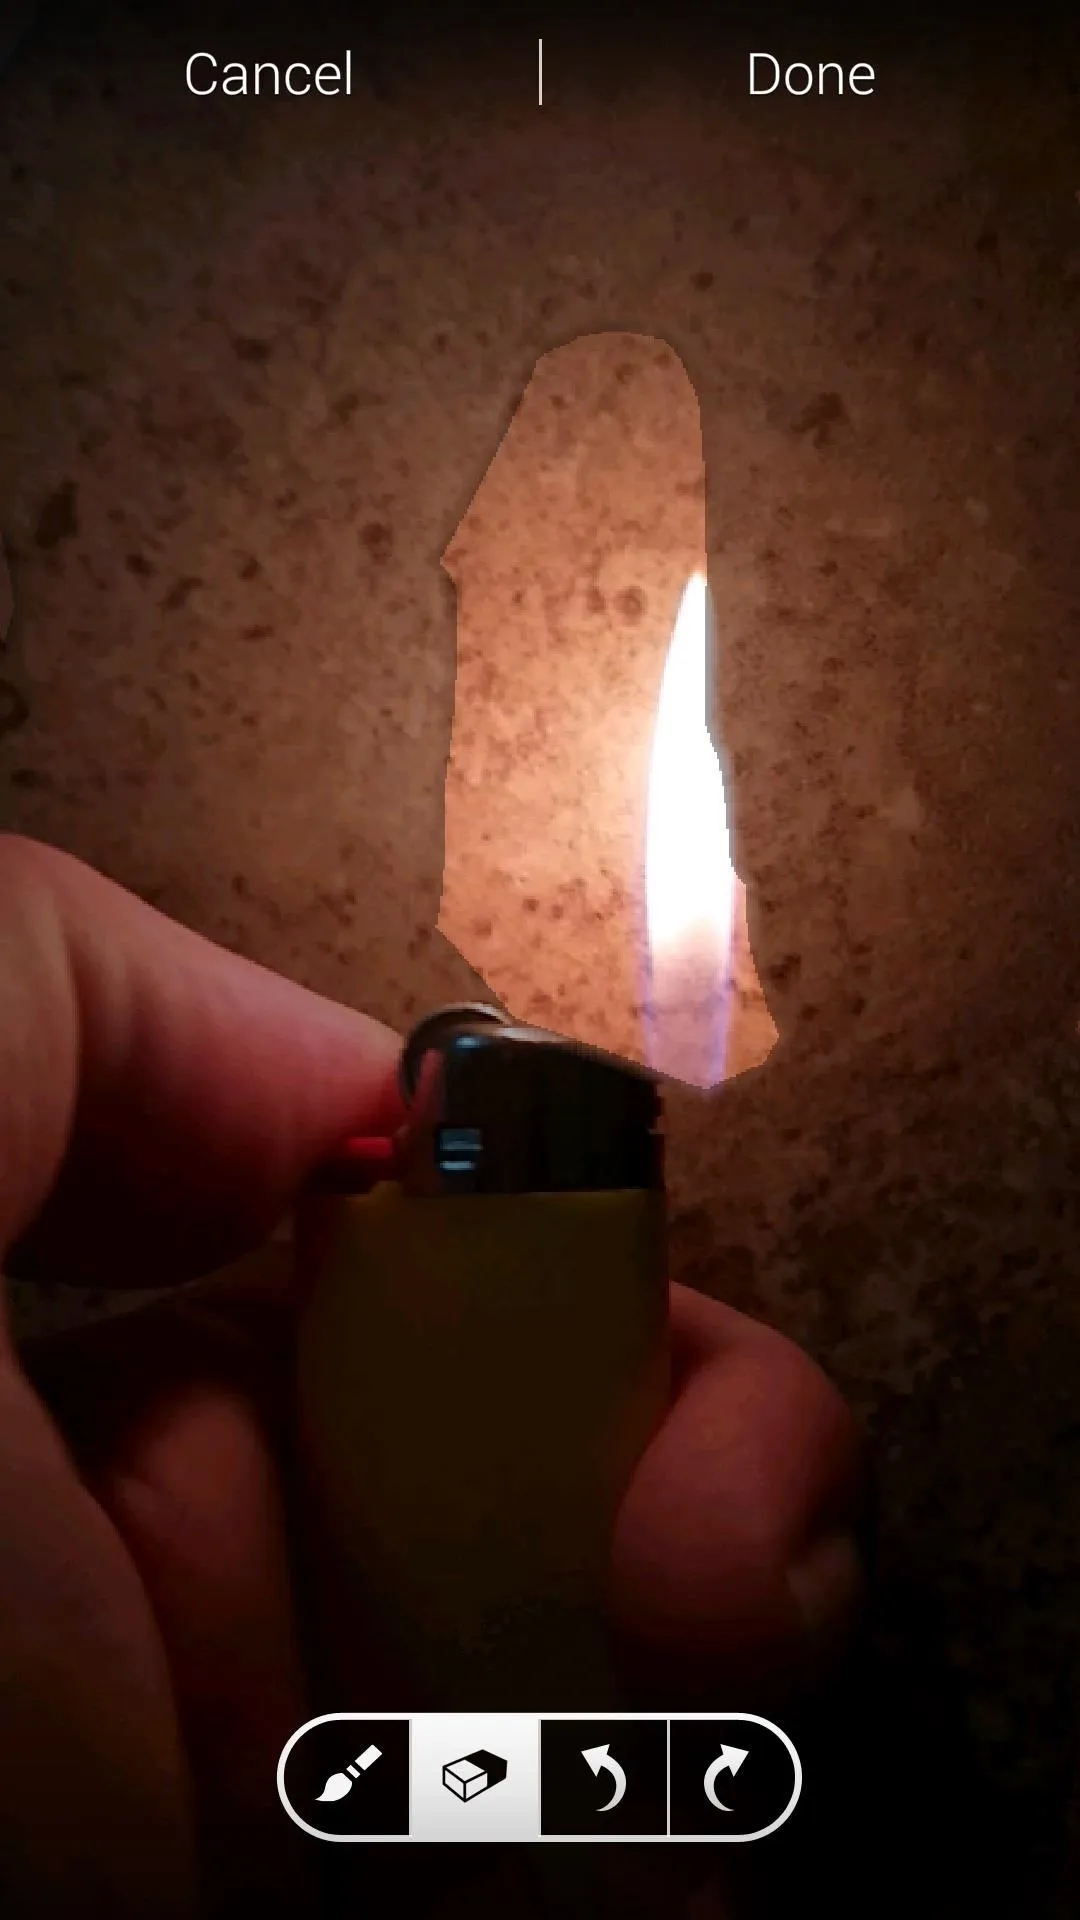
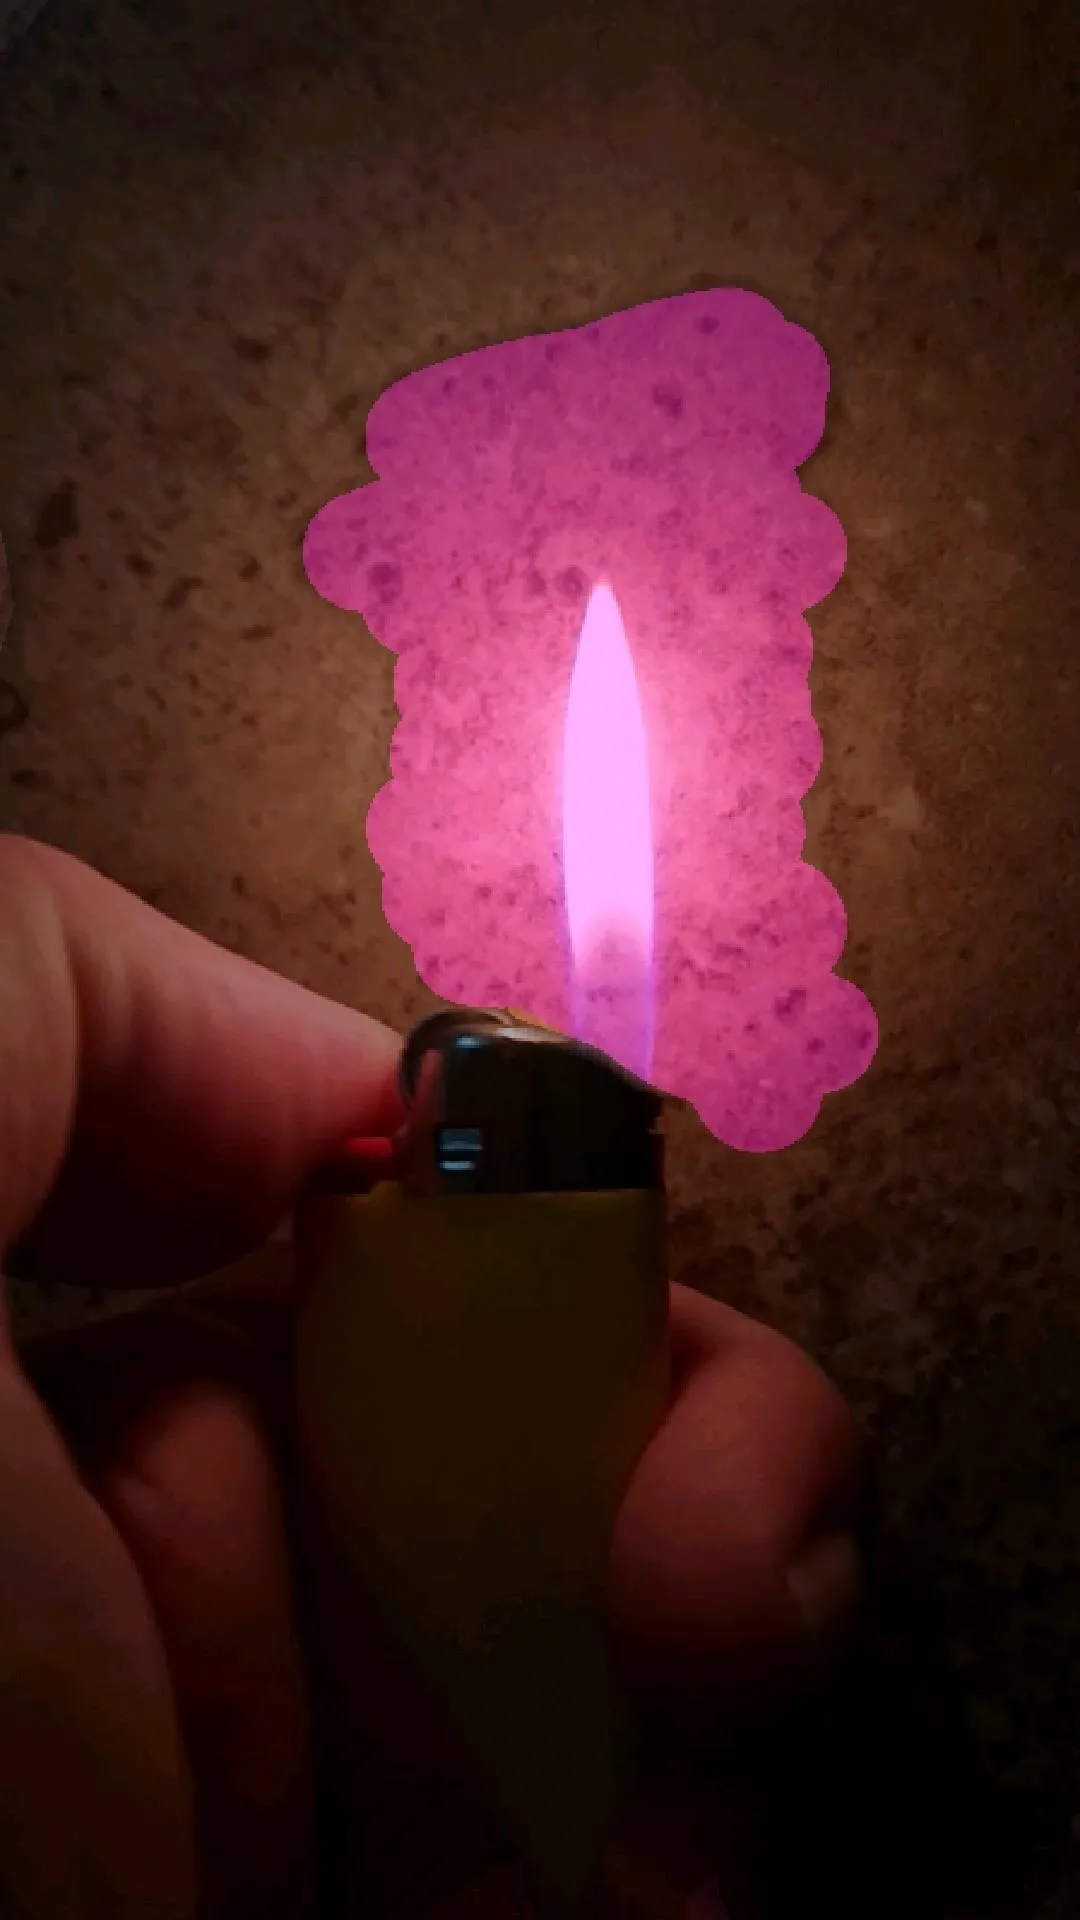


When you're finished with your changes here, tap the "Done" button. You'll see the image in its final form, and if it looks good to you, tap the "Save" icon at the top of the screen.
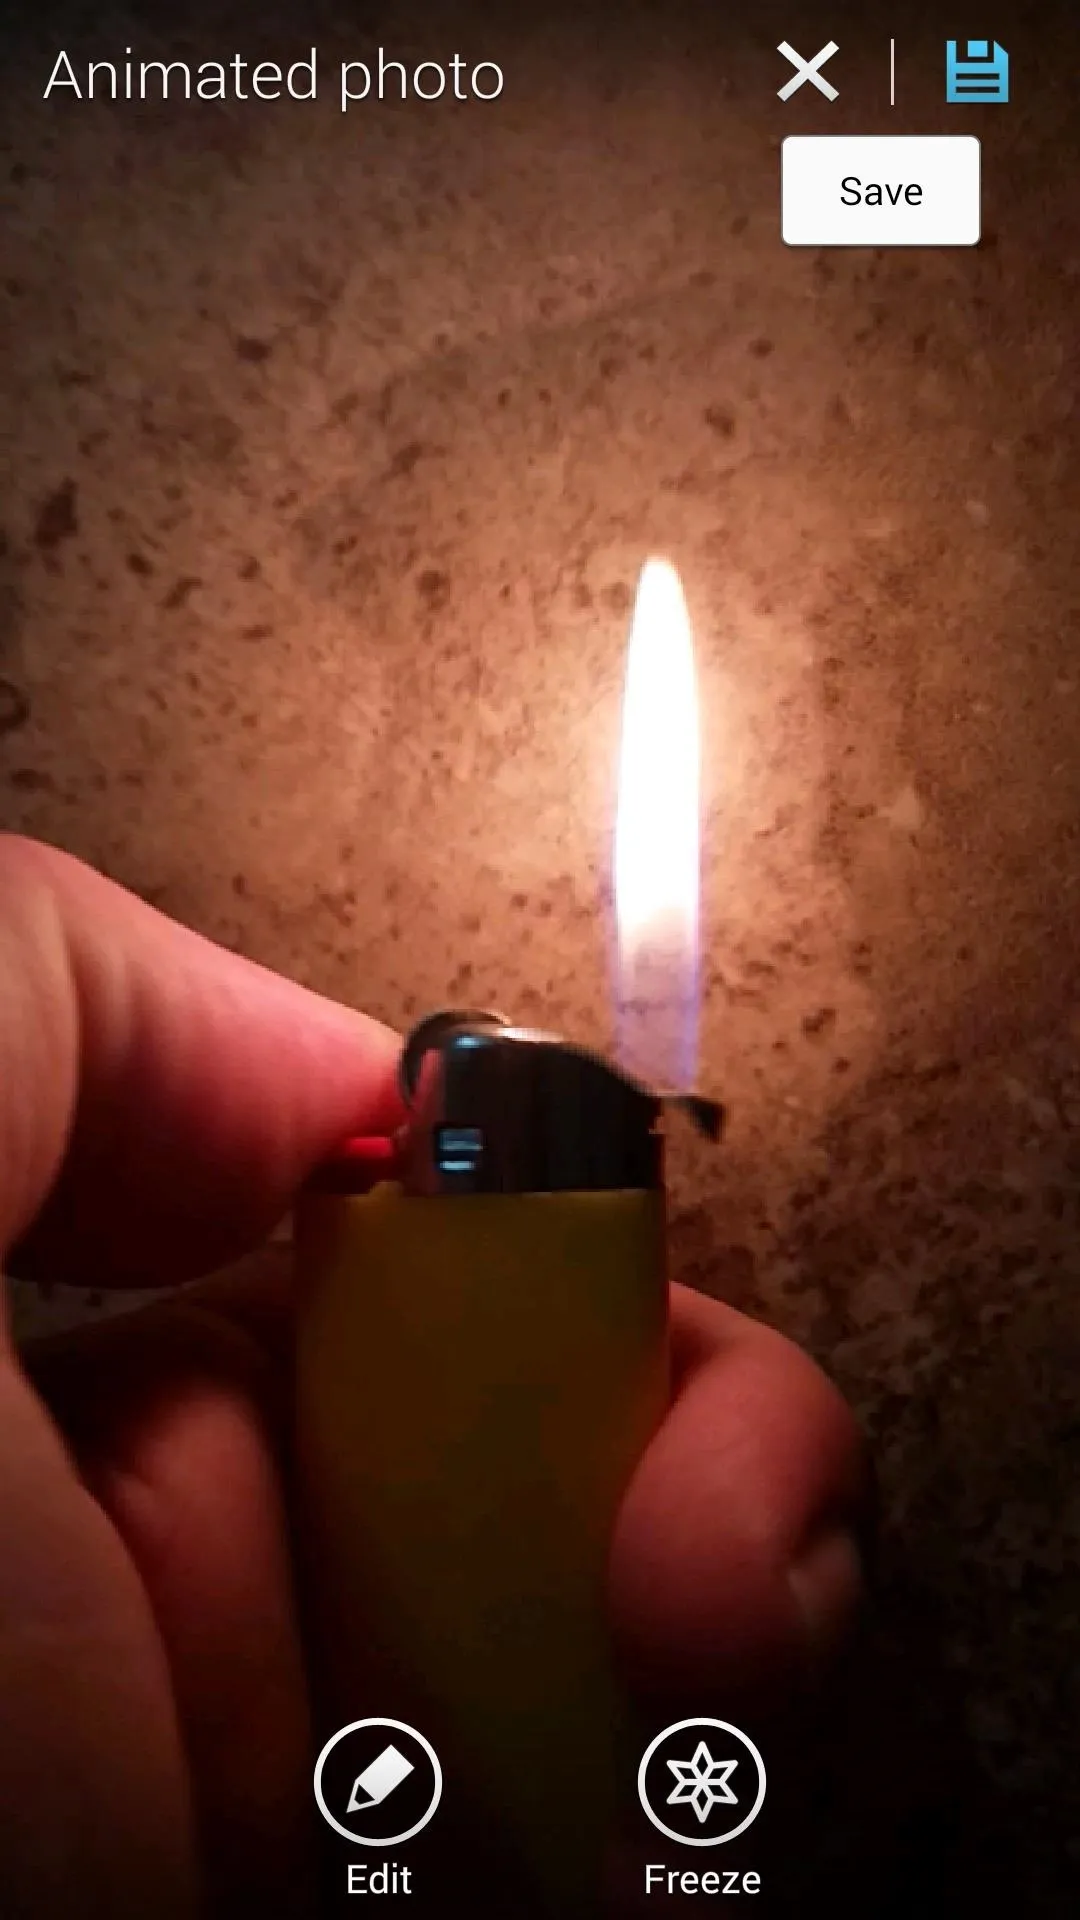


The animated photo will be saved as a GIF, so it's easy to share through most social media sites and messaging apps. I've uploaded a pair of my animated photos here and here, but I'd like to see some of yours if you wouldn't mind. Post your favorite Animated Photos in the comment section below, or share them with us on Facebook, Google+, or Twitter.



Comments
No Comments Exist
Be the first, drop a comment!