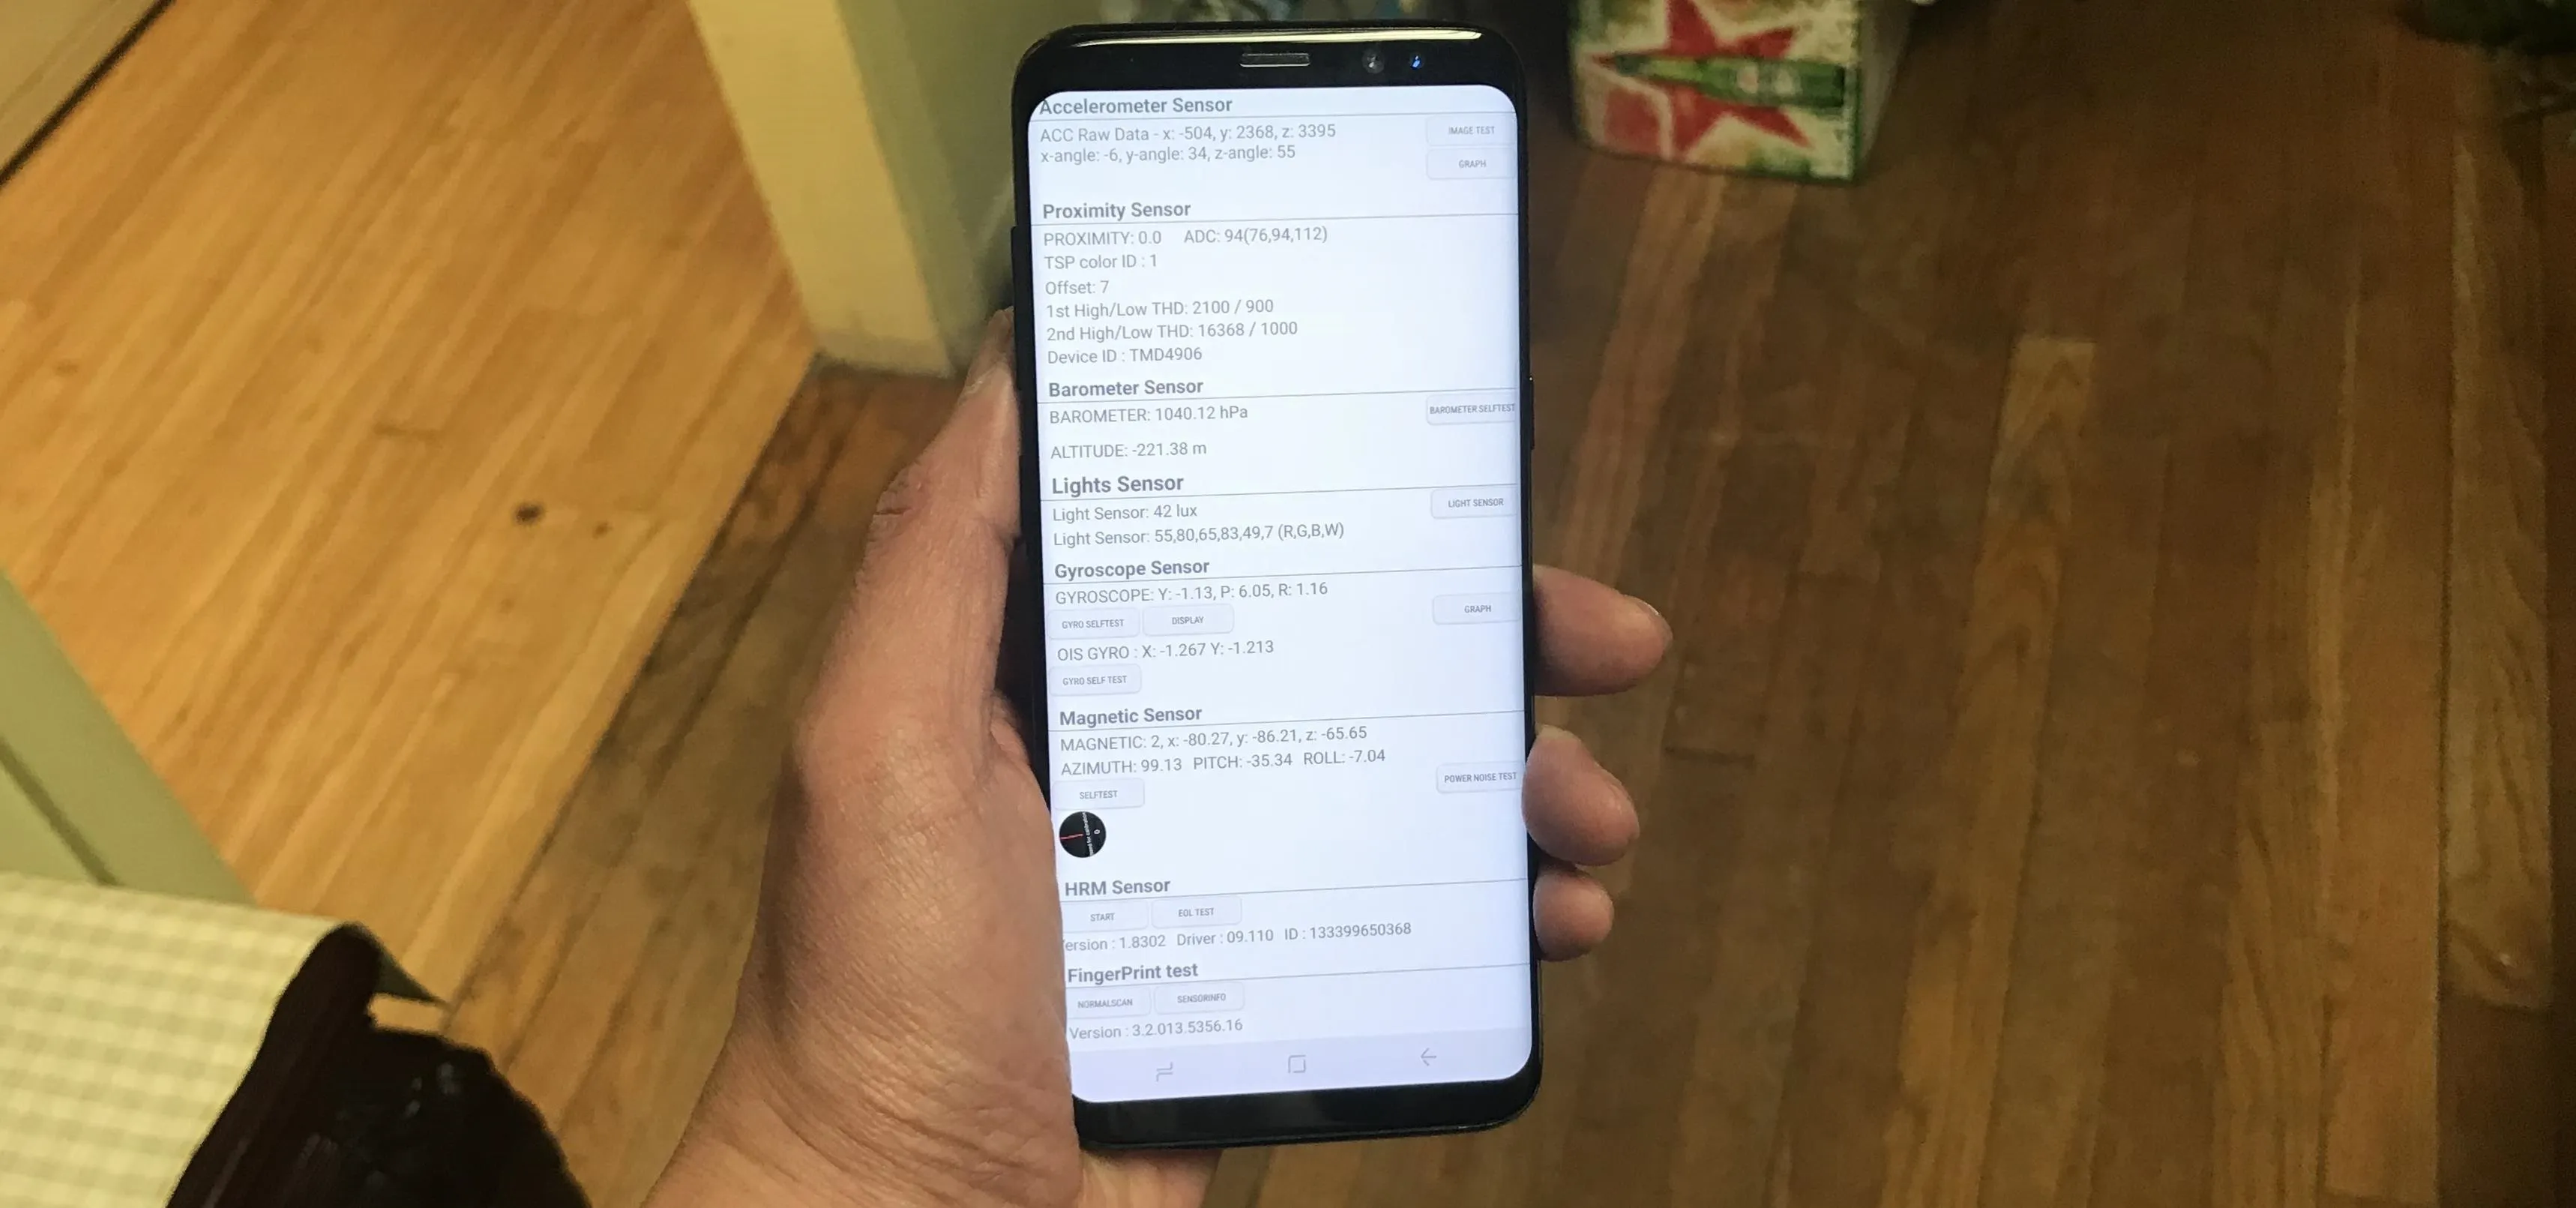
Ready to start rooting your Samsung Galaxy S4? For those of you with the GT-i9500 model GS4, this quick video will walk you through the entire rooting process using Odin and CWM.
Step 1:
Power off you Galaxy S4 and hold down Volume Down, Center Home, and Power buttons together for about 5 seconds.
Step 2:
When you see the warning screen, let go of all buttons then hit the Volume Up button to enter ODIN Download mode.
Step 3:
Connect a micro-USB cable from your Galaxy S4 to your computer.
Step 4:
Next, download CWM recovery for your Galaxy S4. ClockworkMod is currently available for GT-i9500, Sprint SPH-L720, and T-Mobile SGH-M919 models.
Also download ODIN, Samsung USB Drivers, and SuperSU Zip files.
Step 5:
Unzip ODIN and run the odin3 v1.85.exe file by double-clicking on it.
If you see a yellow highlighted box like shown below, you are good to go, if not, double-click on the Samsung USB drivers EXE file you downloaded earlier and install drivers, then unplug/re-plug the micro-USB cable to your phone. You should see yellow highlighted box.
Next, choose PDA, then browse to the CWM recovery you downloaded earlier for your Galaxy S4. (It's a file ending in .tar) Hit Start to begin flash CWM recovery to your phone.
Step 6:
This will flash a custom CWM recovery to your Galaxy S4 and your phone will reboot.
If you see "PASS!" that means everything went successfully.
Step 7:
Next, after your phone reboots, copy the SuperSU zip file you downloaded earlier to anywhere on your Galaxy S4.
Step 8:
Power off your Galaxy S4 then hold down Volume Up, Center Home, and Power buttons together.
Step 9:
When you see the Samsung logo, keep holding down Volume Up and Center Home buttons but let go of the Power button.
Step 10:
Once in CWM Recovery, choose "install zip from sdcard" and hit the Power button.
Step 11:
Choose "choose zip from sdcard" and hit the Power button.
Step 12:
Choose "0/" directory and hit the Power button.
Step 13:
Browse and find the SuperSU zip file you copied over earlier and hit the Power button.
Step 14:
Choose "Yes" and hit the Power button.
Step 15:
This will install su binaries and SuperSU superuser app on your phone. This essentially "roots" your Galaxy S4.
Step 16:
Go back to main menu and choose "reboot system now", then hit Power button. Your Galaxy S4 will reboot.
Step 17:
Once rebooted, you should find SuperSU app in your app drawer.
Step 18:
Run the SuperSU app once and update the binaries.
Step 19:
You can verify you have full root by downloading and opening rooted app like Titanium Backup app (which I highly recommend for backing up/freezing/un-installing your apps).
You should see a Superuser request window pop-up!
Done
Congratulations, you have fully rooted your Galaxy S4!


Comments
No Comments Exist
Be the first, drop a comment!