Both the Galaxy S6 and S6 Edge have had root methods available to them before the phones were even released, but the problem with these existing root methods is that they would trip the KNOX counter on your device.
Why Tripping KNOX Is Bad for Your Phone
To give you a bit of background, KNOX is a security platform for Samsung devices which ensures that no modifications have been made to the system partition, and thus, no potential security vulnerabilities have been created by the user.
In general, as soon as any system-level changes (such as enabling root access) are detected by KNOX, a hardware fuse is tripped. This fuse cannot be reset, so once it's been tripped, there's no turning back. This is why a tripped KNOX counter means your warranty is void, since there's no way of covering up the fact that you've modified your software.
It also likely means that you won't be able to use Samsung Pay whenever that comes out, since the mobile payment service will probably call on KNOX to make sure that the initial security methods implemented by Samsung are still in place. So basically, you don't want to trip KNOX if you can avoid it.
How to Root Your S6 Without Tripping KNOX
Thanks to a new root utility called PingPong Root from developer idler1984, almost all variants of the Samsung Galaxy S6 and S6 Edge can now be rooted without tripping the KNOX counter. And yes, that even includes the AT&T and Verizon Wireless models, whose locked bootloaders have prevented other root methods from working.
Before You Begin
As a heads up, this method utilizes a kernel exploit, which means the loophole that it's using to root your device will probably be closed soon. For instance, with the Galaxy S5, a similar method called Towelroot came out, and within a couple of months, it had been entirely blocked by changes made in over-the-air updates.
So if you want to root your AT&T or Verizon device, the time is now. And if you want to root without tripping KNOX, this is likely your one and only opportunity. If your device has received a firmware update at any point since early May 2015, this method may no longer work. That being said, there is no harm in trying PingPong—worst case, it won't work, but there will not be any adverse effects to your device.
The lone drawback here is that once you're rooted, you won't be able to accept over-the-air updates. But manually updating is still possible without tripping the KNOX counter—you'd just need to download the newer stock firmware and sideload it with Odin. And if you want to stay rooted after updating with Odin, you'll have to wait until a pre-rooted build of the stock firmware is released by independent developers.
Note that using Odin to flash stock firmware will never trip KNOX, but flashing modified or modified-stock firmware will likely blow the KNOX fuse.
Step 1: Make Sure Your Firmware Version Is Supported
PingPong Root is compatible with most variants of the Galaxy S6 and S6 Edge, but only certain firmware versions are supported. To ensure that your firmware is capable of being rooted with this method, head to your phone's main Settings menu, then select "About device."
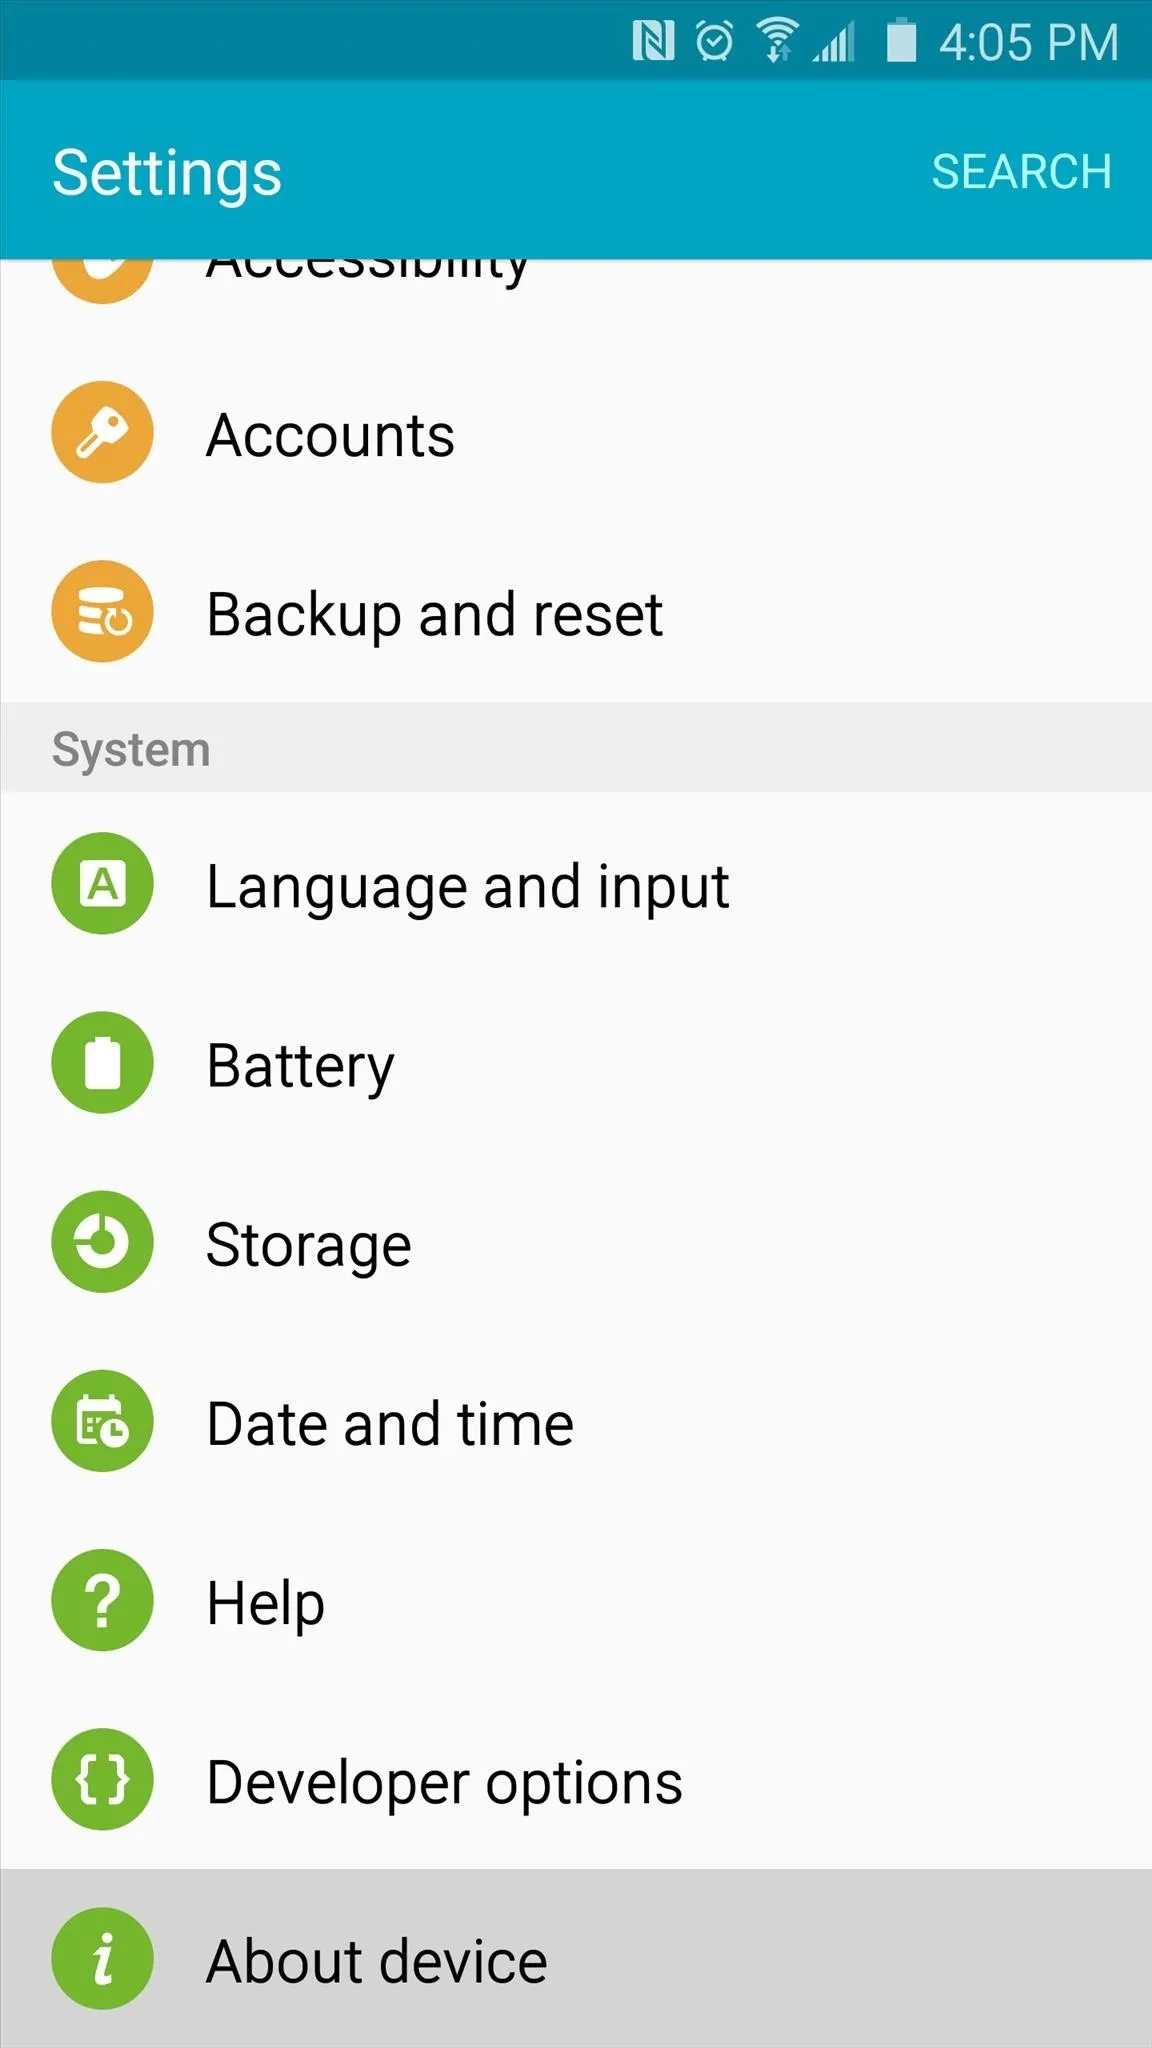
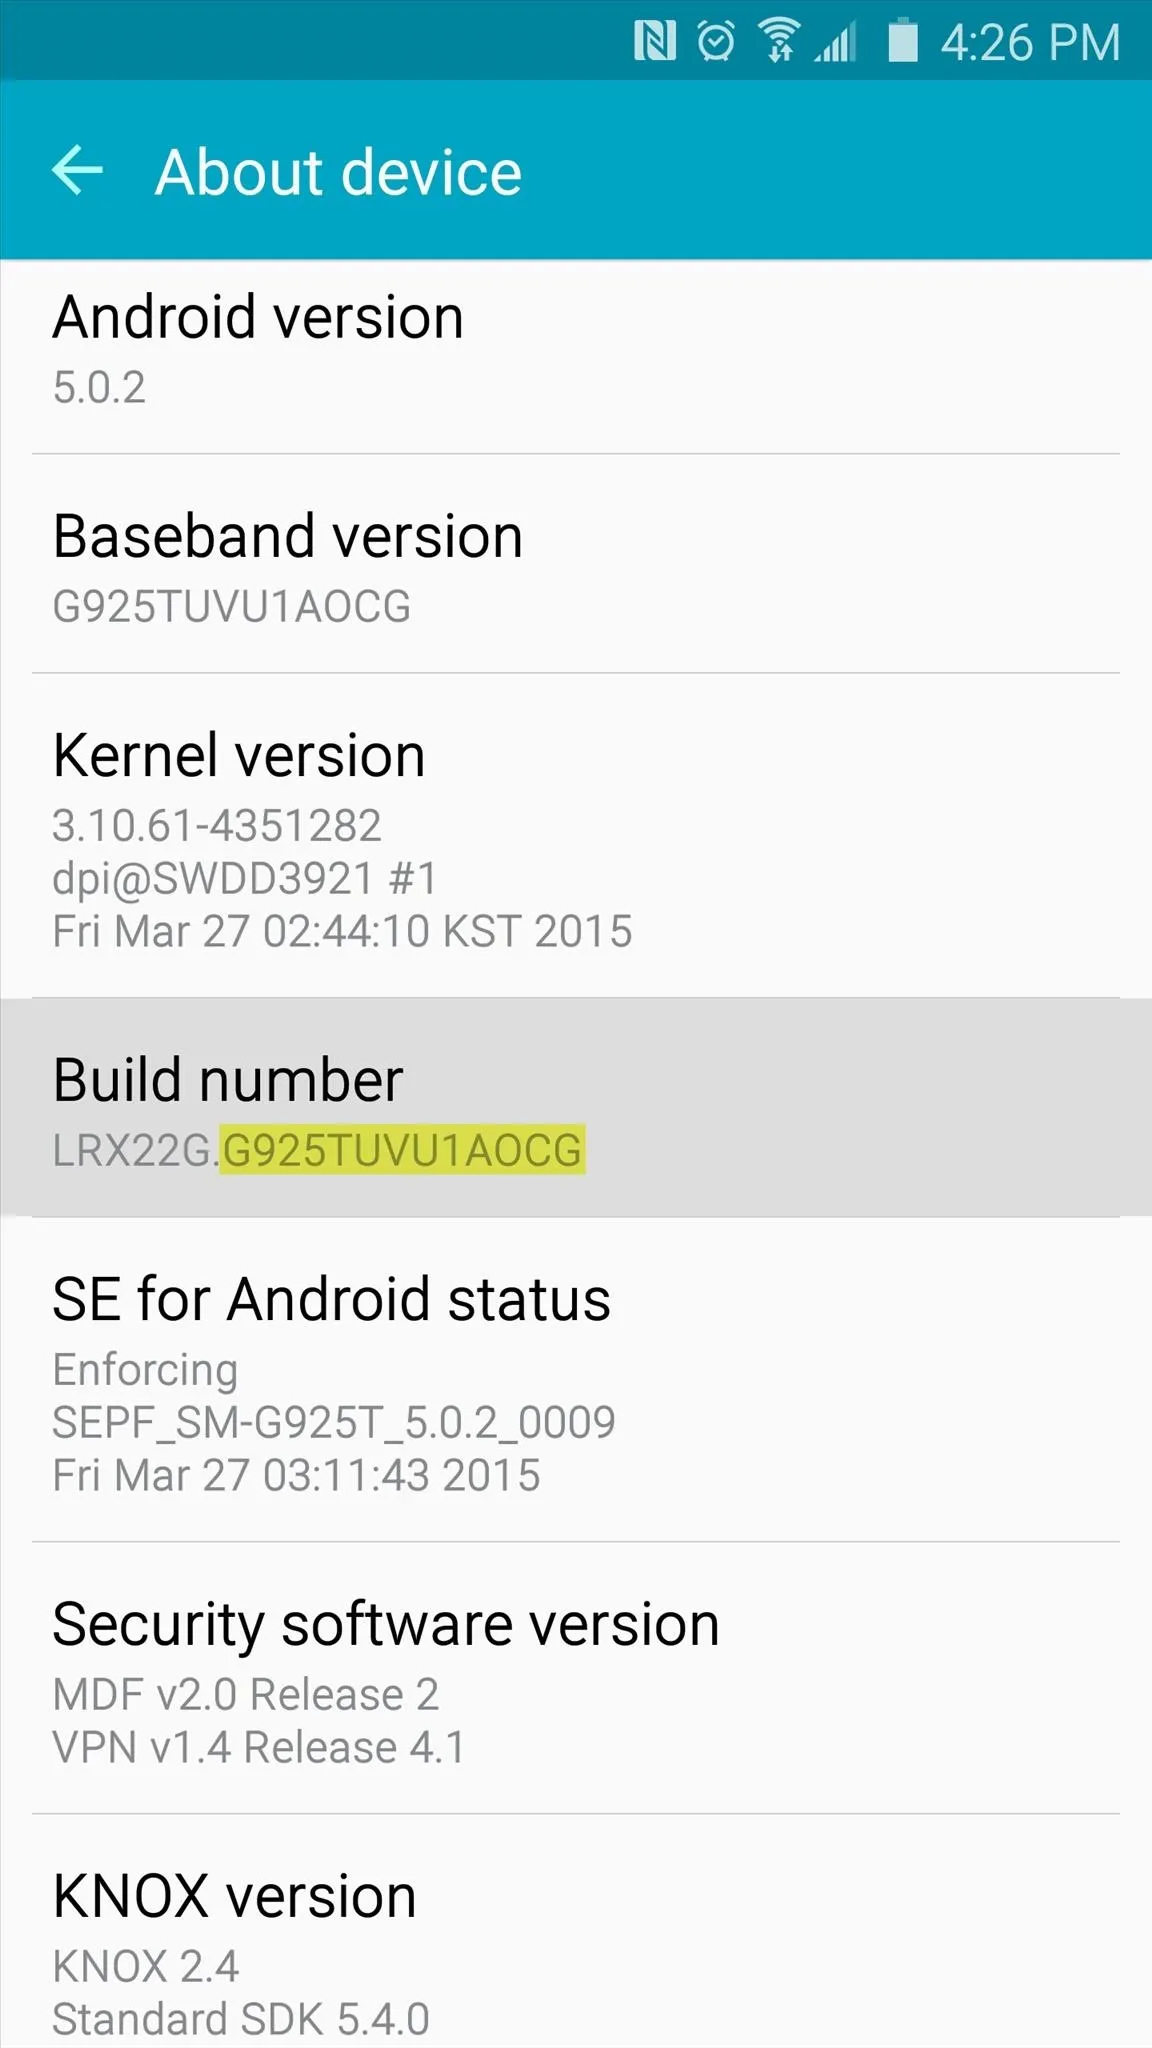


From here, you're looking for the series of letters and numbers that are listed under the "Build number" entry. More specifically, take note of the characters that follow the first period in this entry. As you can see in the above screenshot, my build number is G925TUVU1AOCG.
Now that you know your build number, look through the following list of supported firmwares to see if your phone is capable of using PingPong Root. If your build number is listed under the "download data" sections, your device is still supported, but an extra step will be needed later.
Samsung Galaxy S6
- G9200ZCU1AOD5
- G9200ZHU1AOD3
- G9200ZHU1AOD9
- G920R4TYU1AOD3
- G920IDVU1AOD1
- G920FXXU1AOCV
- G920PVPU1AOCF
- G920TUVU1AOCG
- G920VVRU1AOC3
- G920FXXU1AOBN
- G920FXXU1AODG
- G9209KEU1AOCI
- G9209KEU1AODA
- G9208ZMU1AOD5
- G9208ZMU1AOCI
- G920FXXU1AOD9
- G920AUCU1AOCE
- G920FXXU1AODE
- G9200ZCU1AOD9
- G920W8VLU1AOCG
- G920FXXU1AOD4
- G920R4TYU1AOCB
Builds listed below require you to download data (more on this later)
- G920FXXU1AOCY
- G920IDVU1AOC4
- G920FXXU1AODI
- G9209KEU1AOD5
- G920IDVU1AOBQ
- G9208ZTU1AOD9
- G920FXXU1AOE3
Samsung Galaxy S6 Edge
- G9250ZCU1AODC
- G925VVRU1AOC3
- G925FXXU1AOD9
- G925PVPU1AOCF
- G925FXXU1AOCV
- G925AUCU1AOCE
- G925TUVU1AOCG
- G925W8VLU1AOCG
- G925IDVU1AOD1
- G925SKSU1AOD5
Builds listed below require you to download data (more on this later)
- G925FXXU1AOD4
- G925R4TYU1AOD3
- G925FXXU1AODG
- G925FXXU1AOCZ
- G925IDVU1AOD3
- G925LKLU1AOD8
- G925SKSU1AOD8
- G925FXXU1AOE3
- G925PVPU1AOE2
- G925FXXU1AOD8
- G9250ZTU1AODC
- G9208ZTU1AOCI
If you do not see your build number listed, refer to the developer's thread, as new builds are being added to the support list.
Step 2: Install PingPongRoot & SuperSU
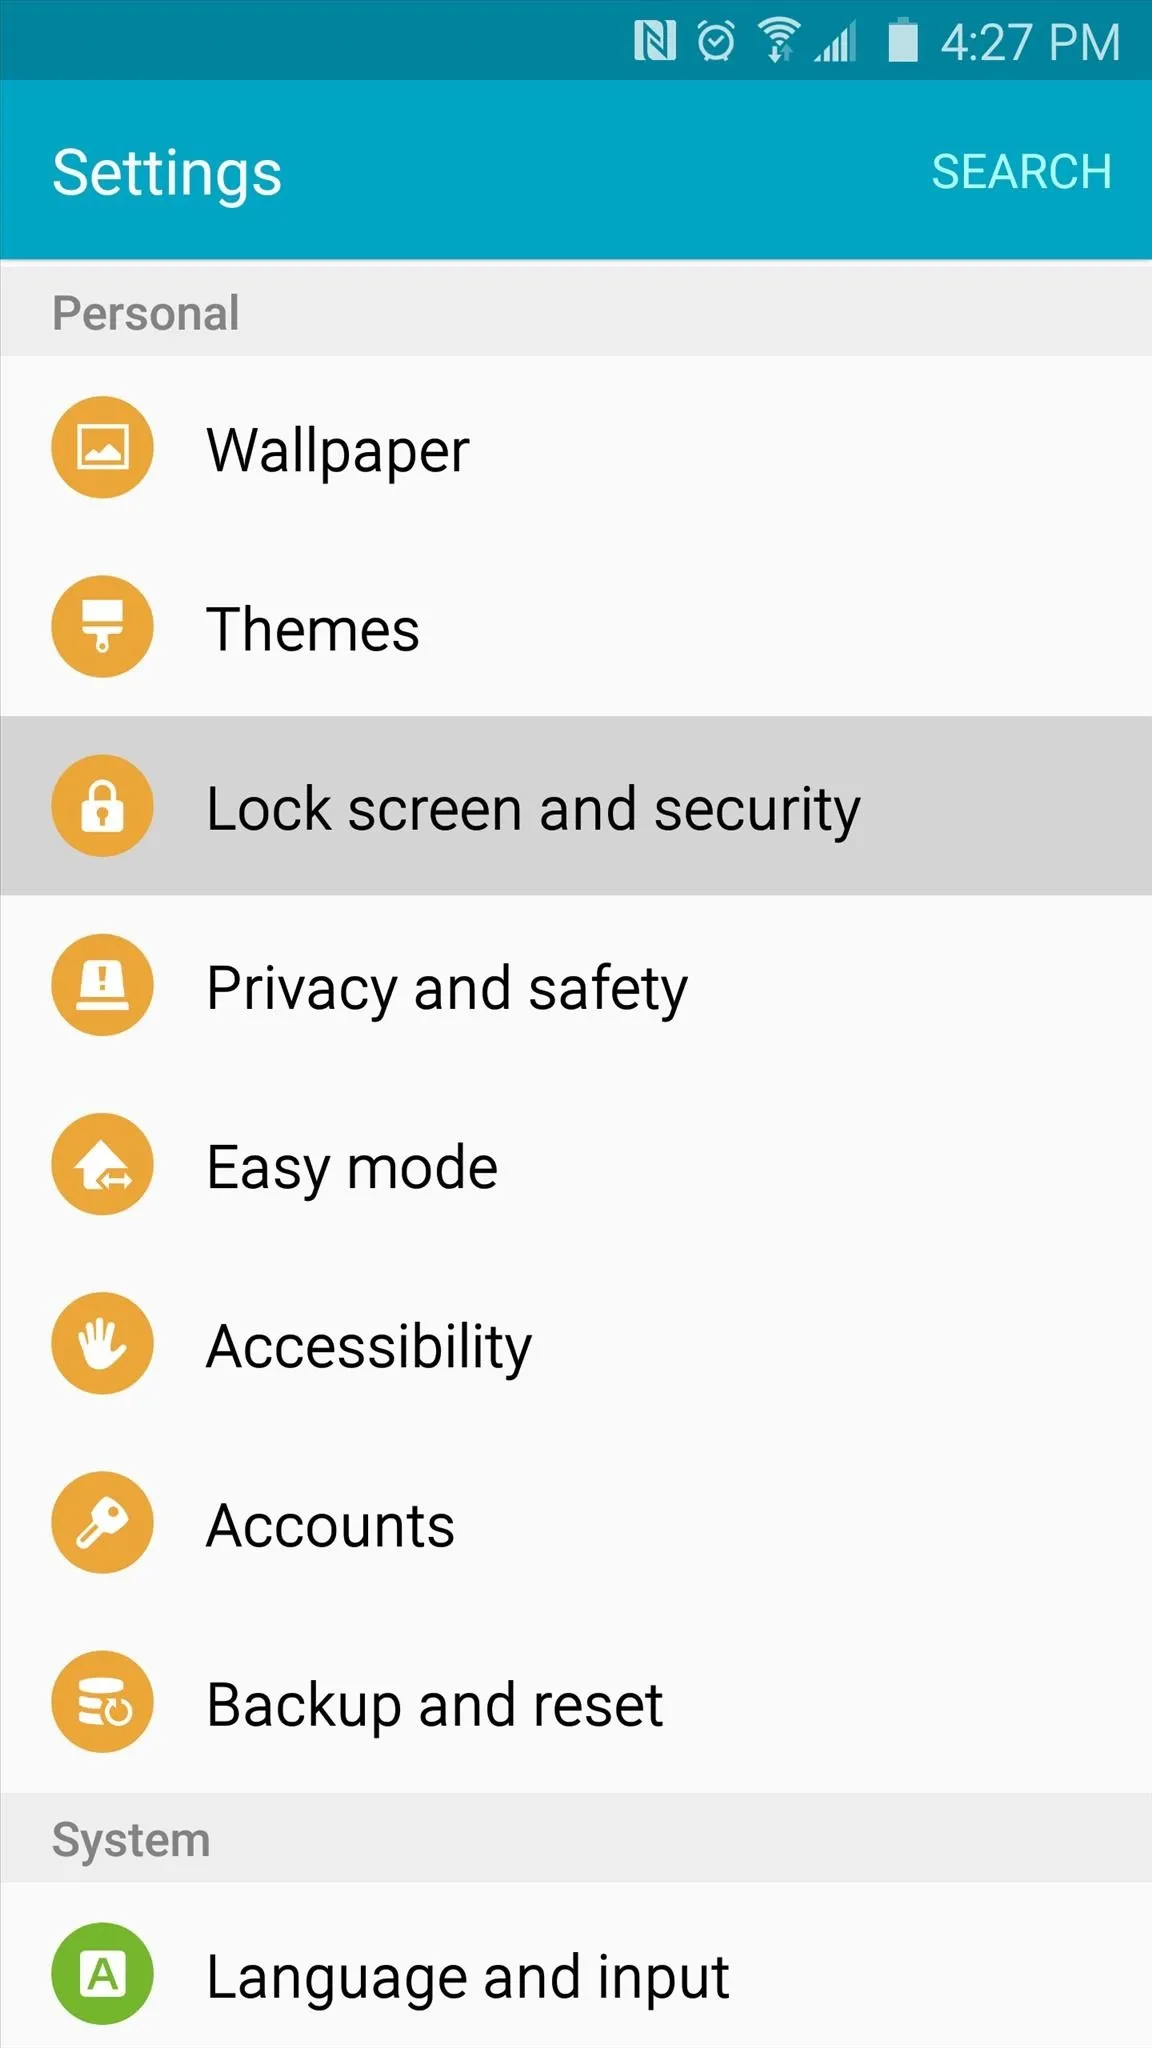
If your build number is listed above, you're ready to go. First up, you'll need to make sure your Galaxy S6 or S6 Edge is set up for sideloading apps. To do that, head to Settings, then "Lock screen and security," and make sure that the "Unknown sources" option is enabled.
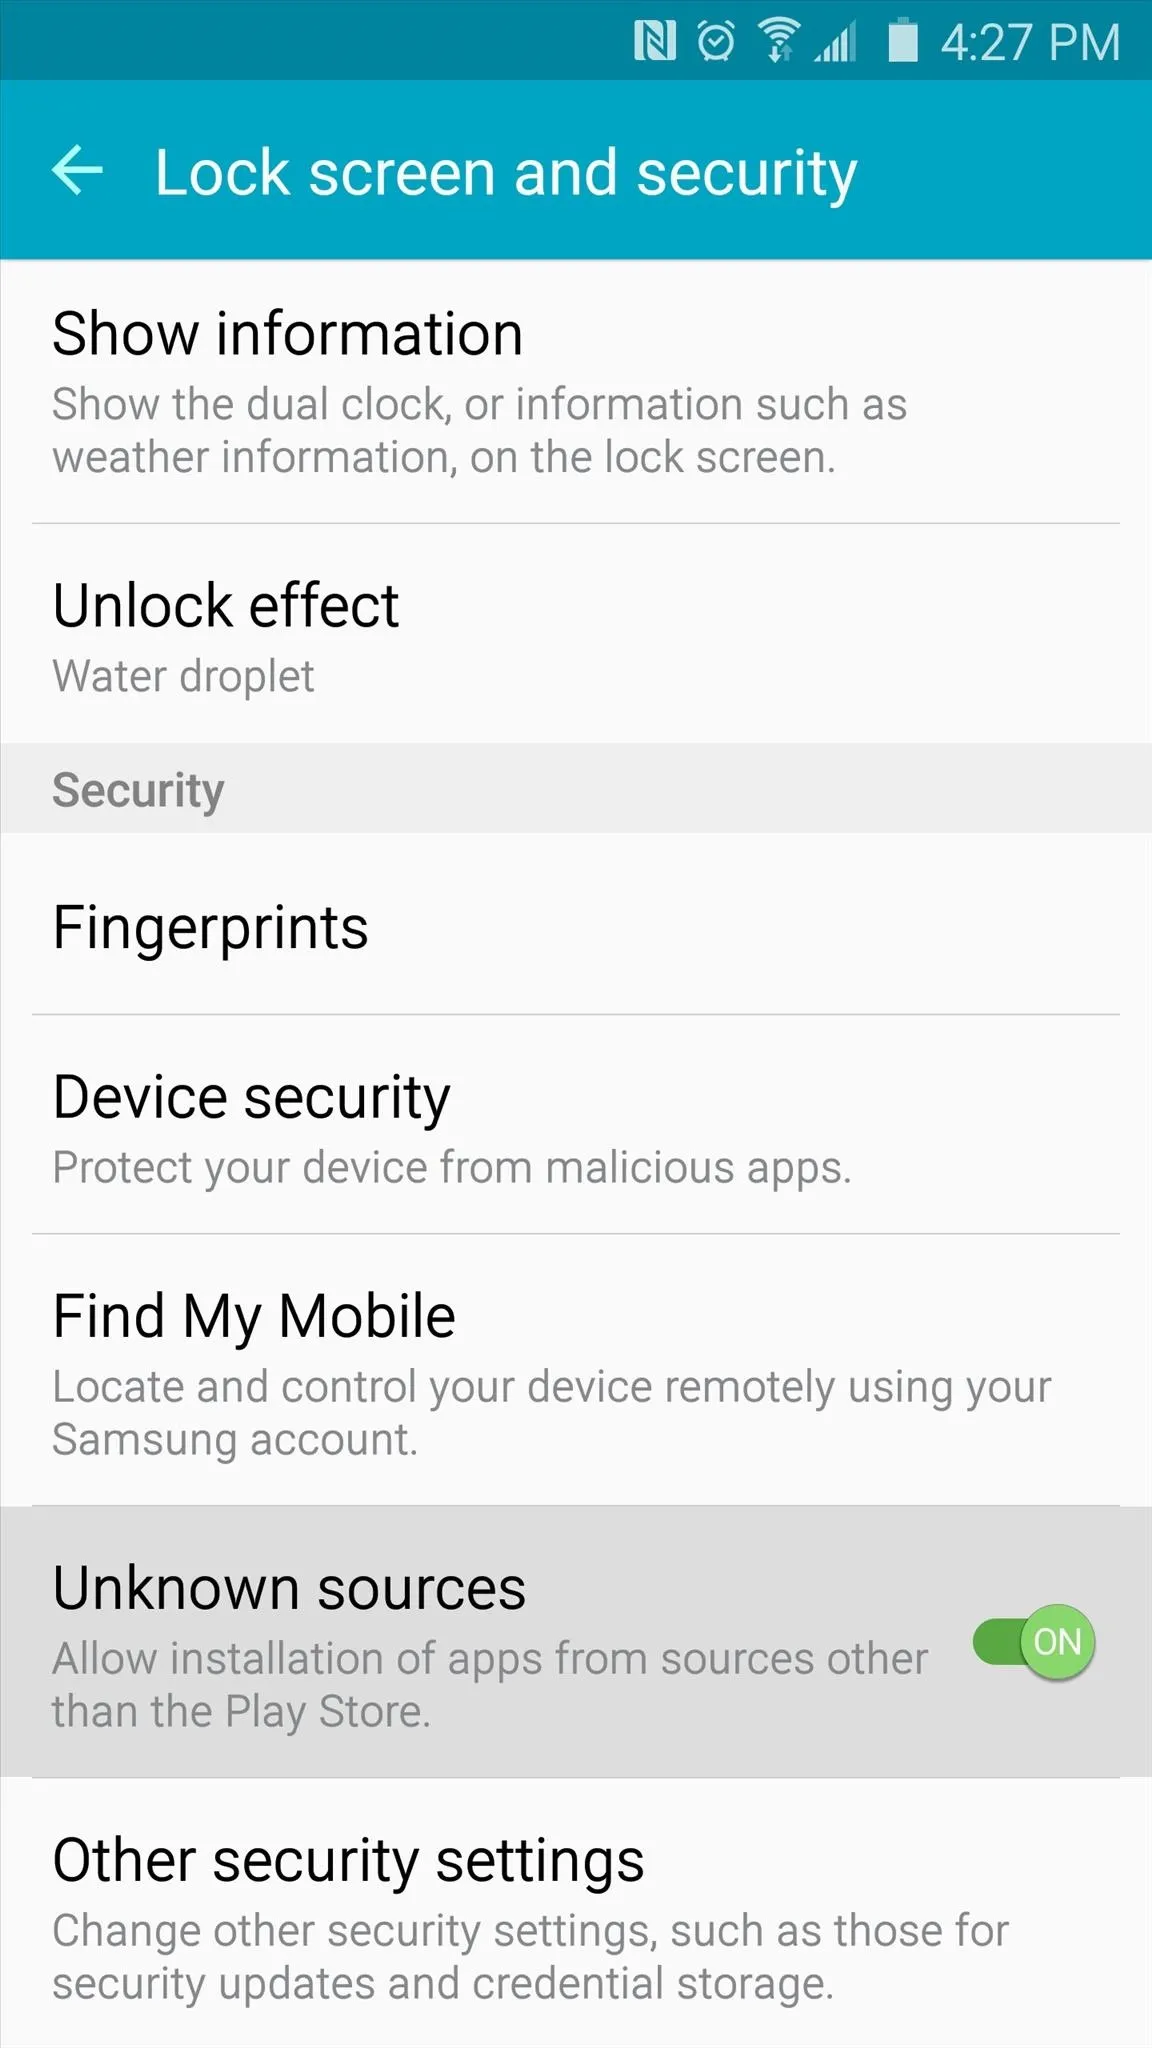


At this point, you're ready to install PingPong Root. Point your Galaxy S6's web browser to this link to download a copy of the APK installer file.
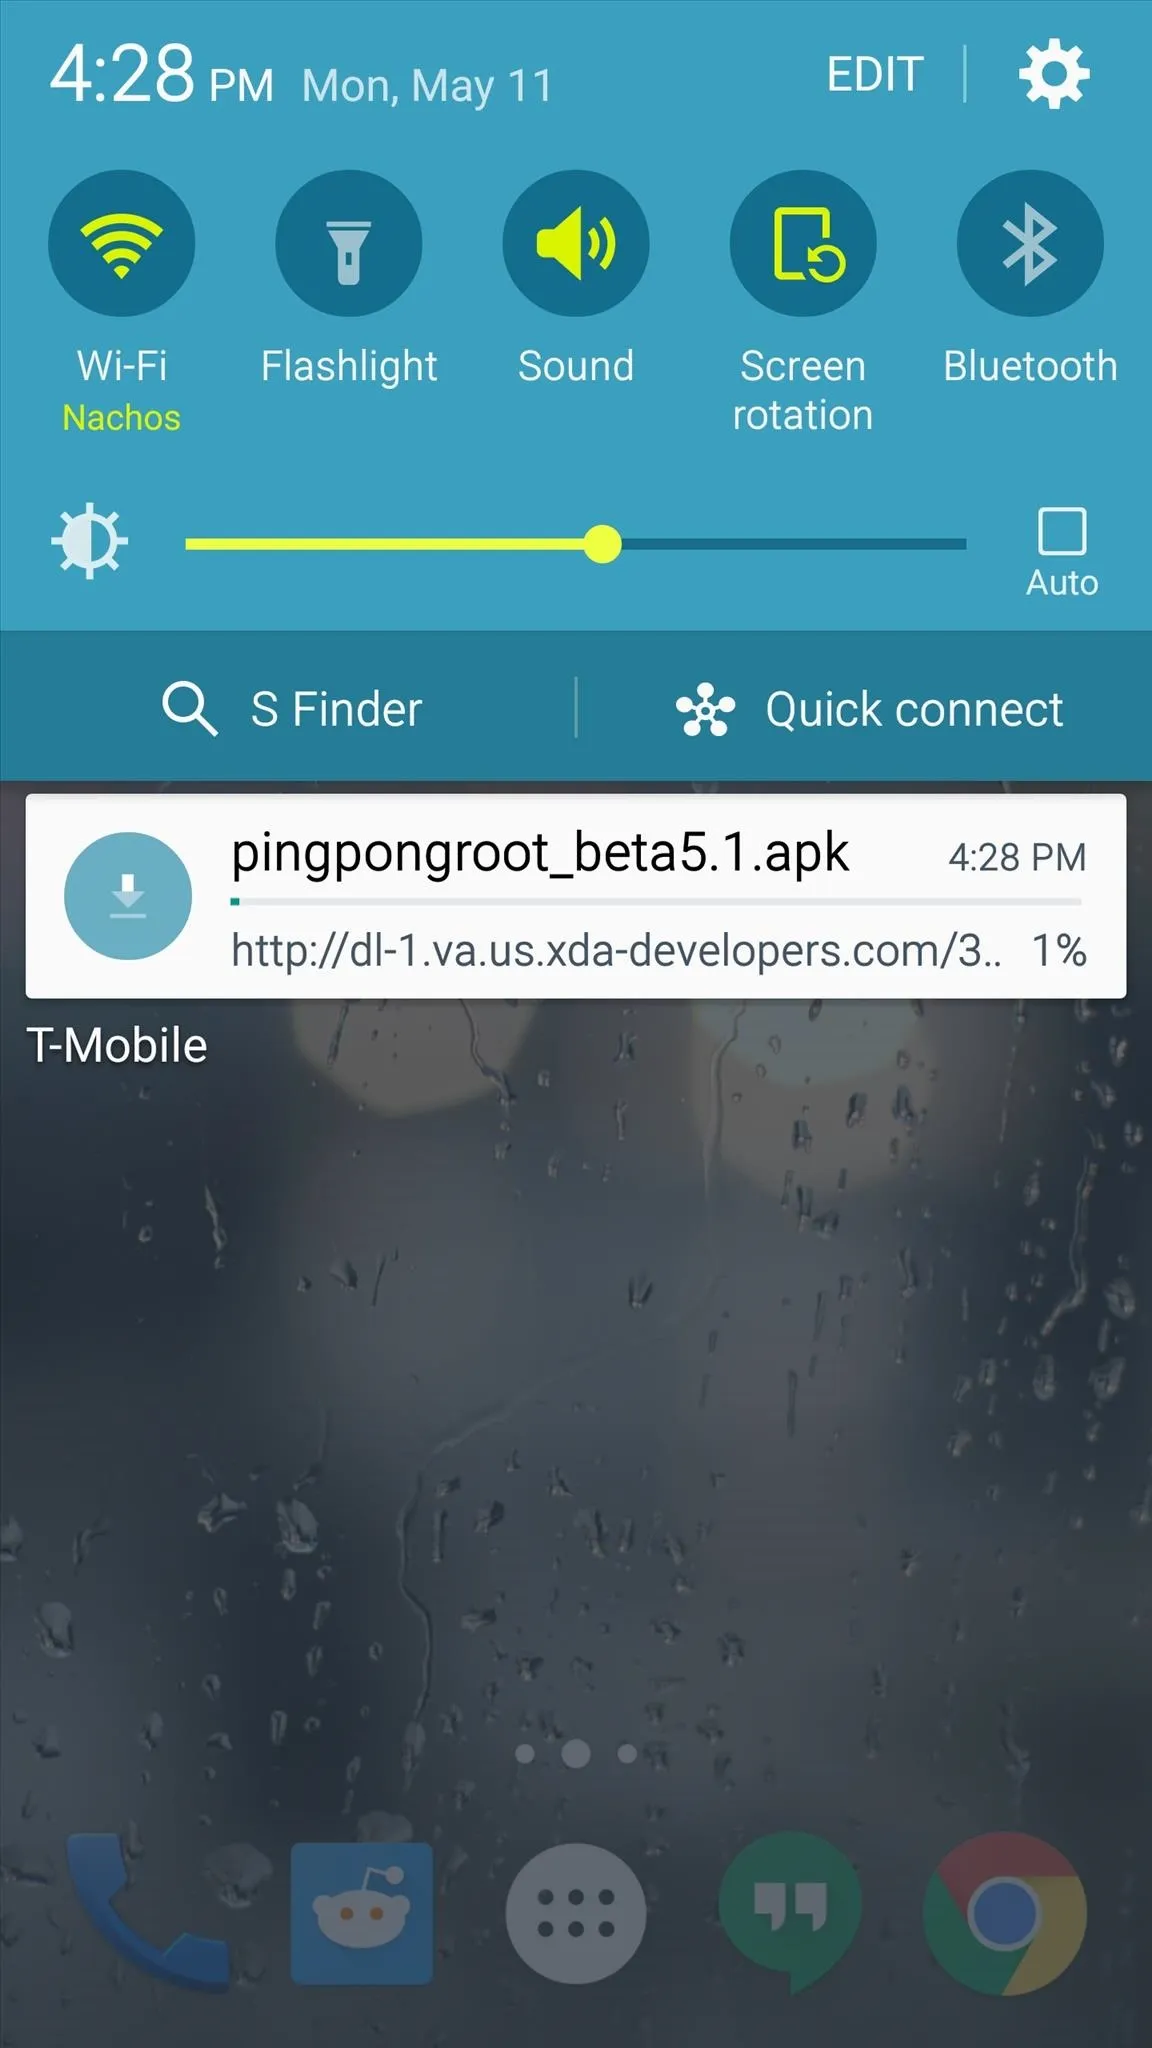
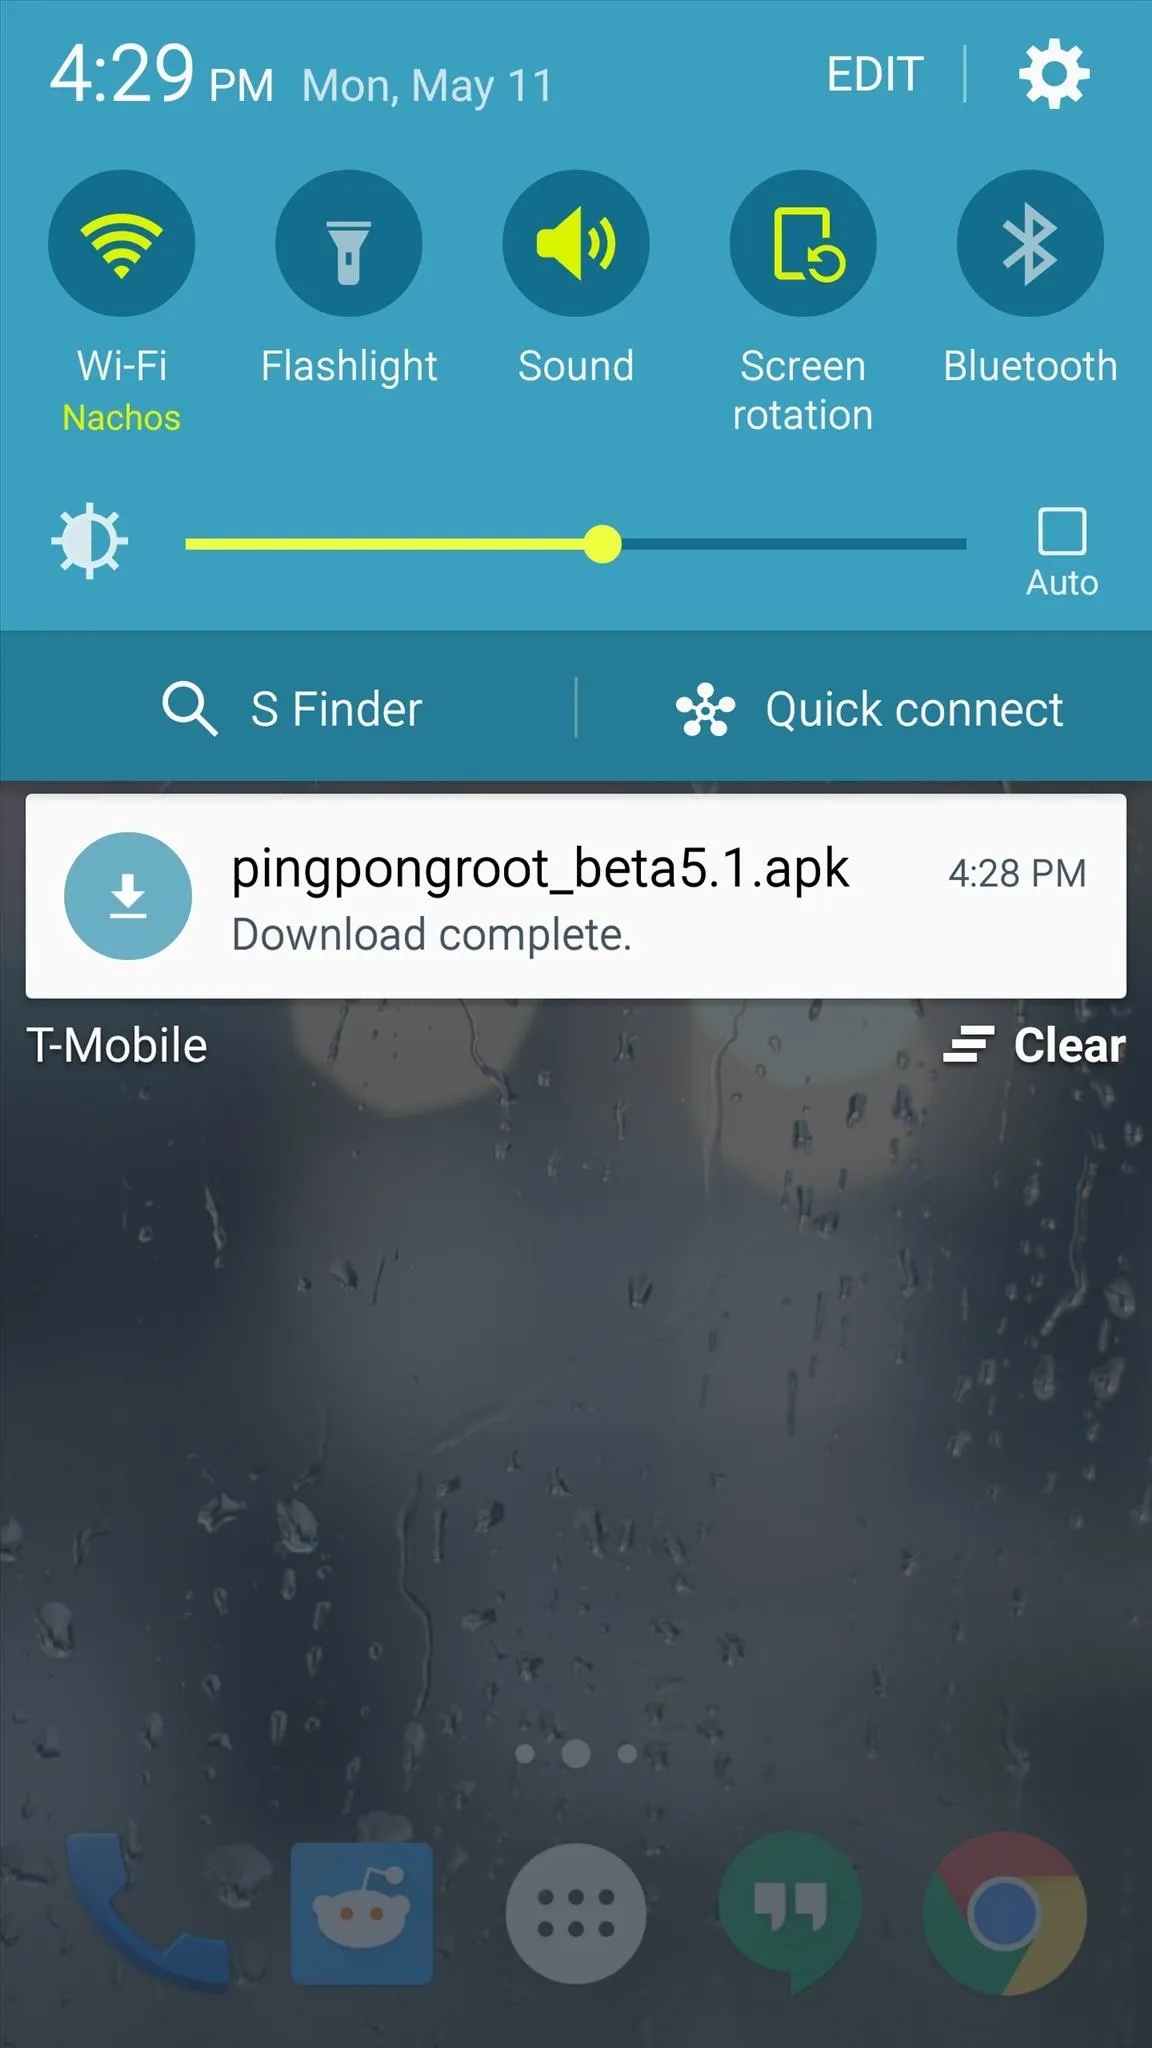


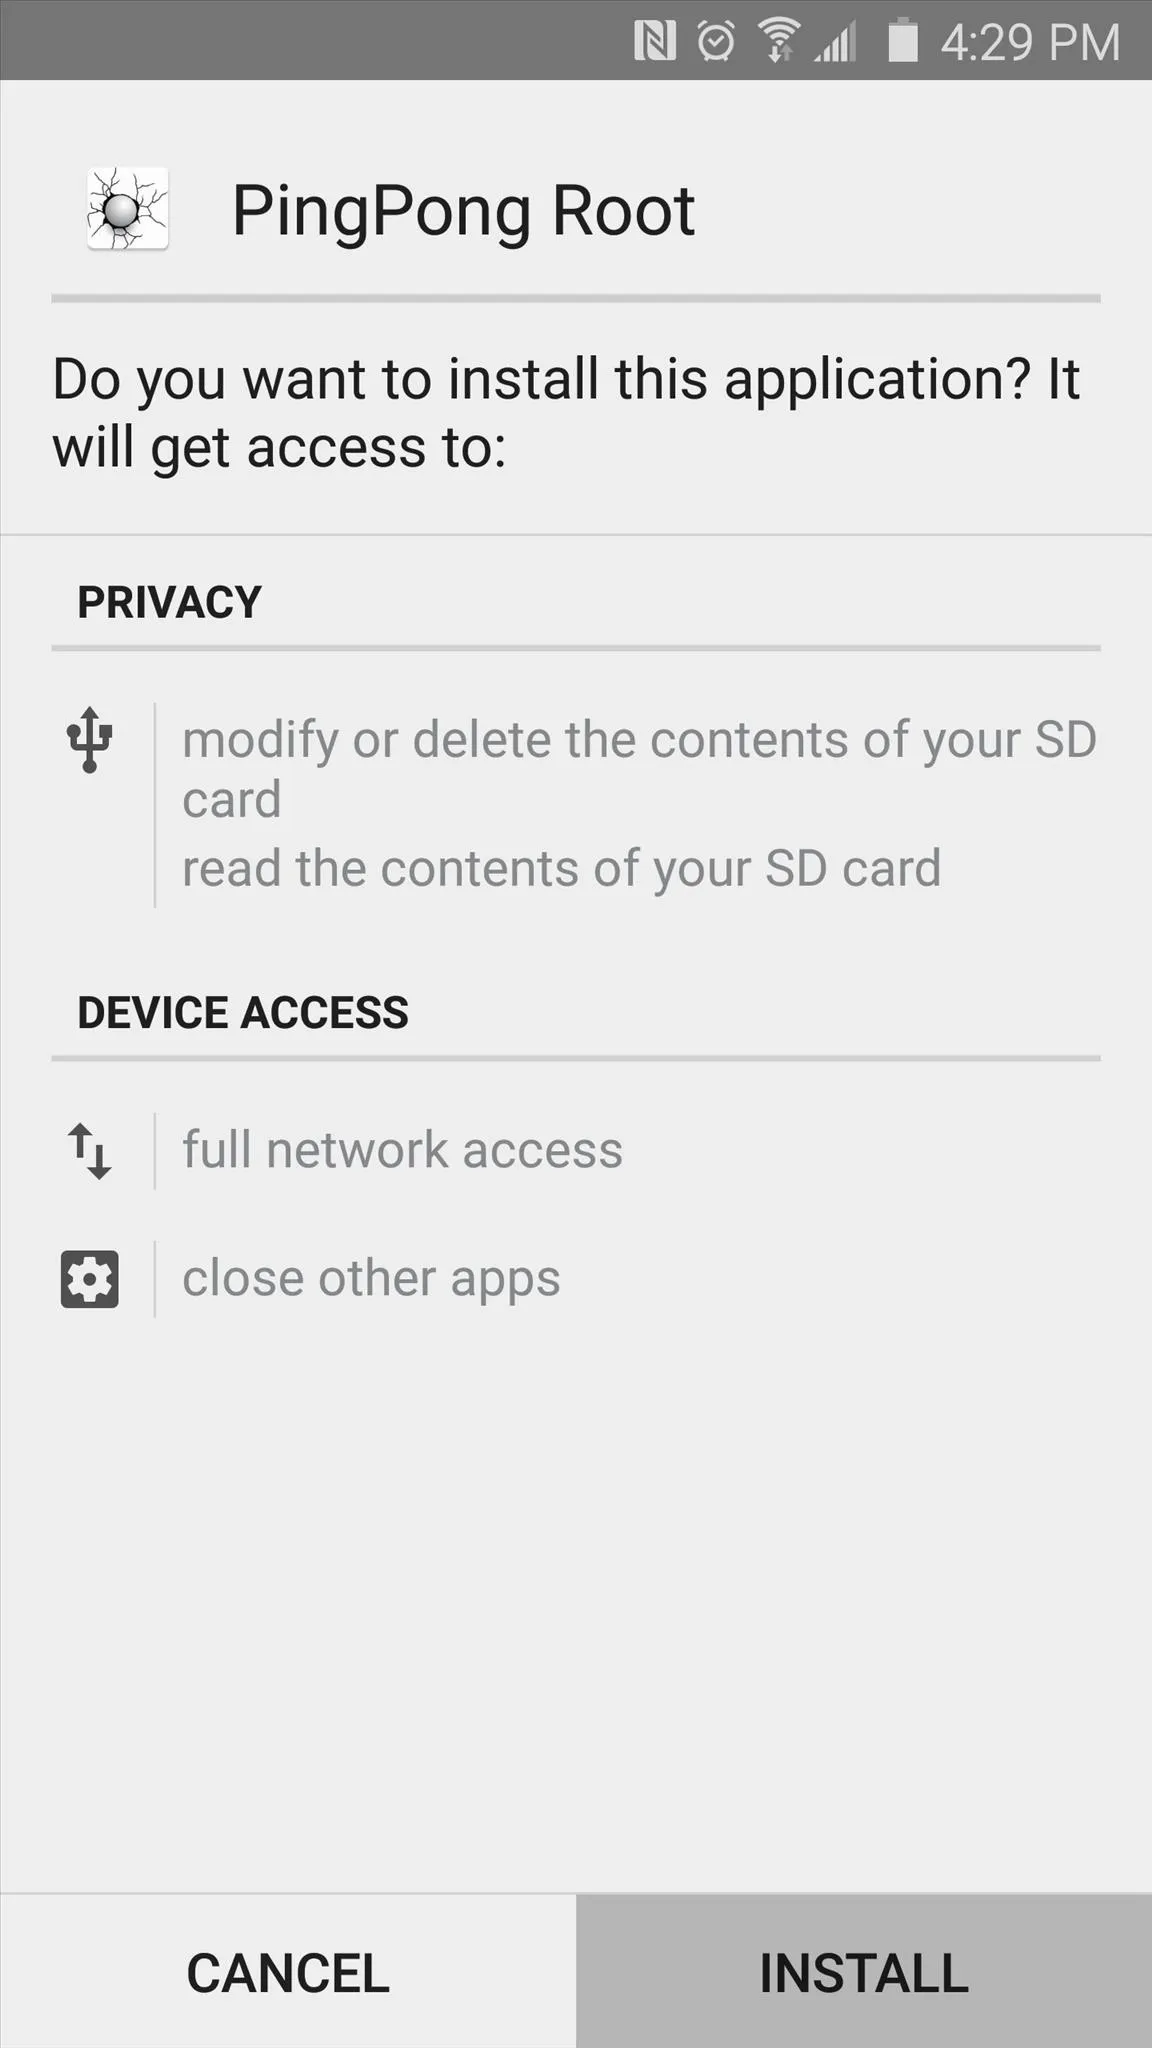
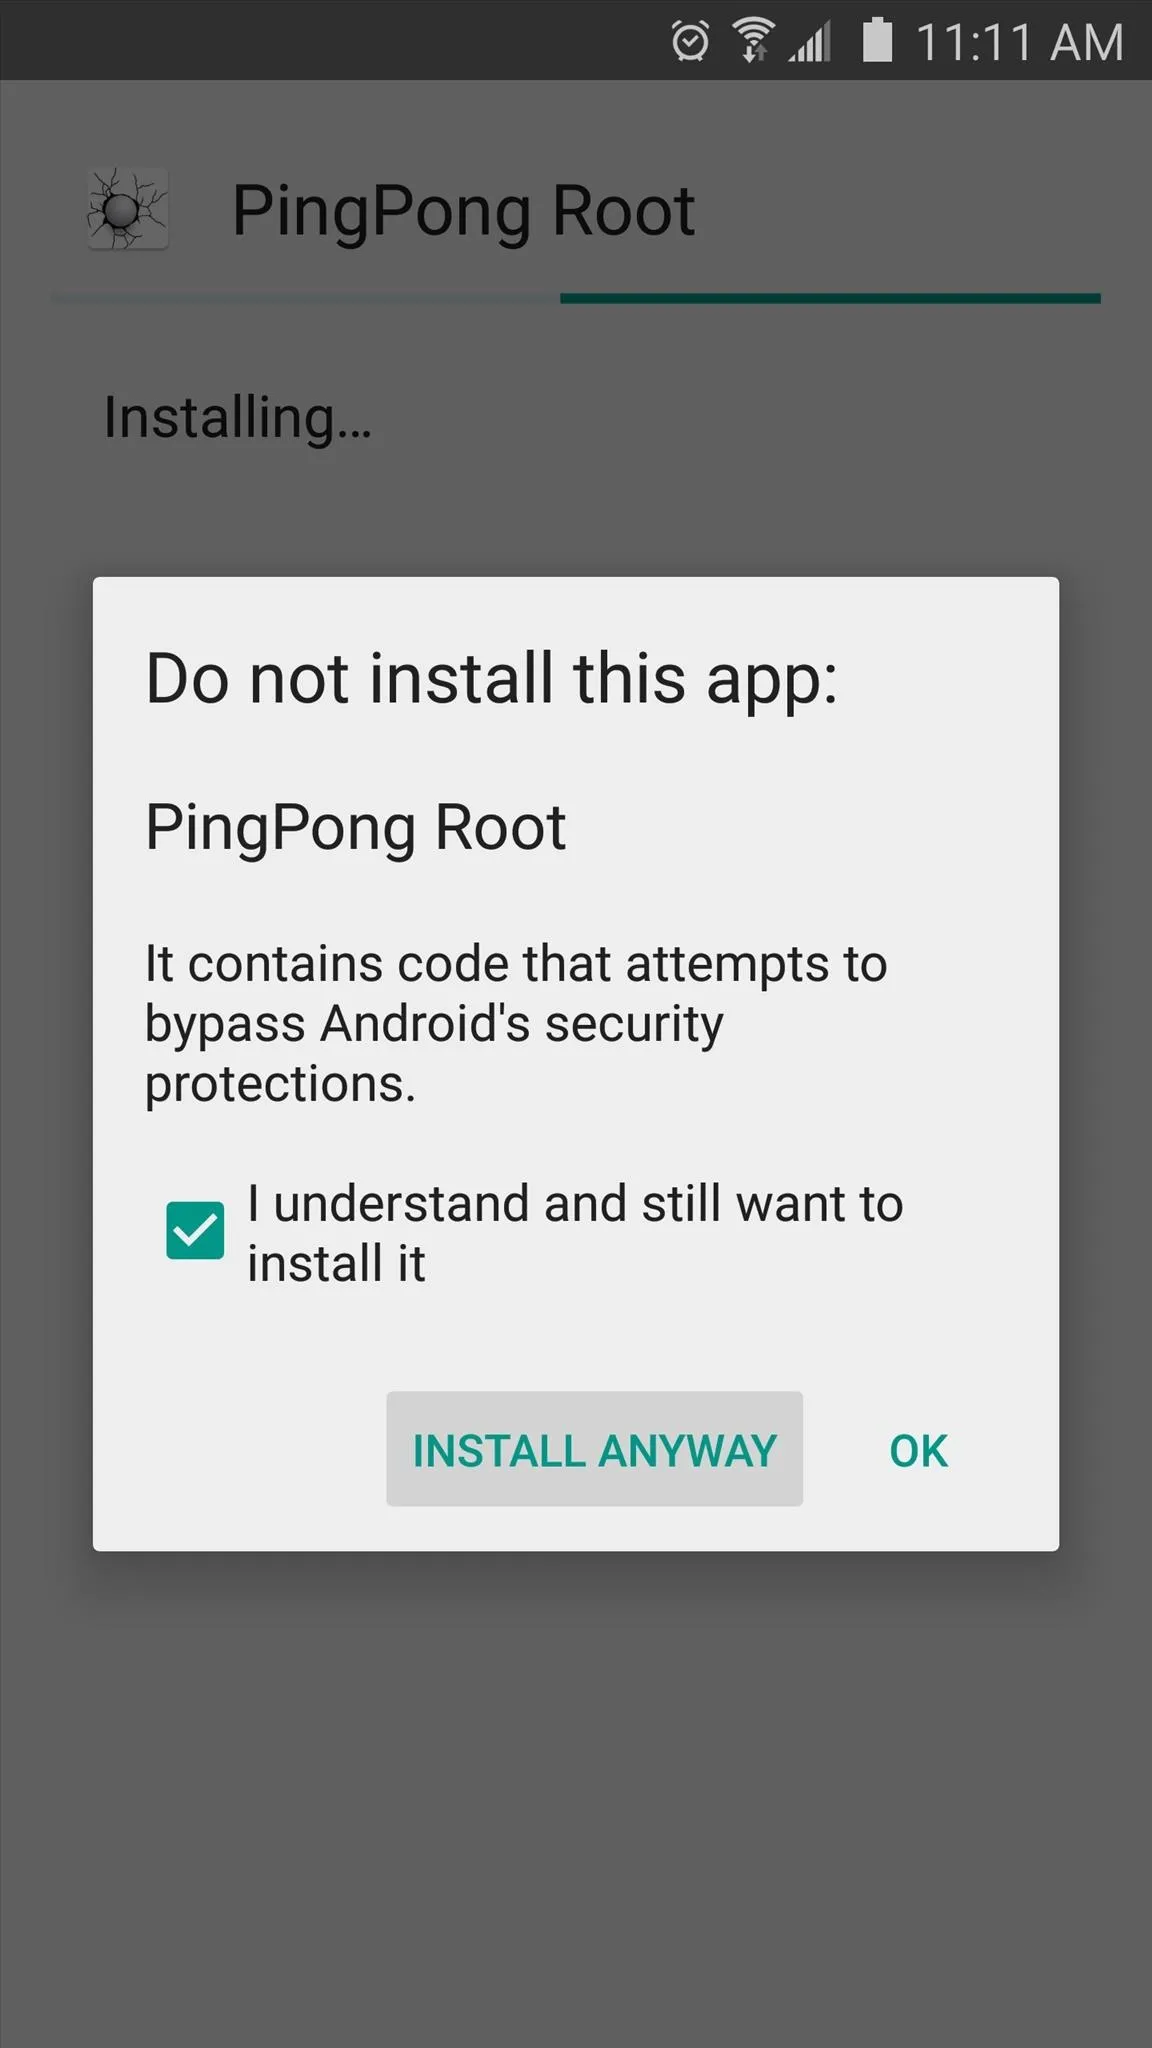
When the file is saved to your device, tap the "Download complete" notification to launch it. From here, tap "Install," then you may receive a warning message that this app contains code that attempts to bypass Android security mechanisms. This is exactly how PingPong Root works, so it's nothing to be alarmed about. Just tick the box next to "I Understand," then press "Install Anyway" if you see this message.
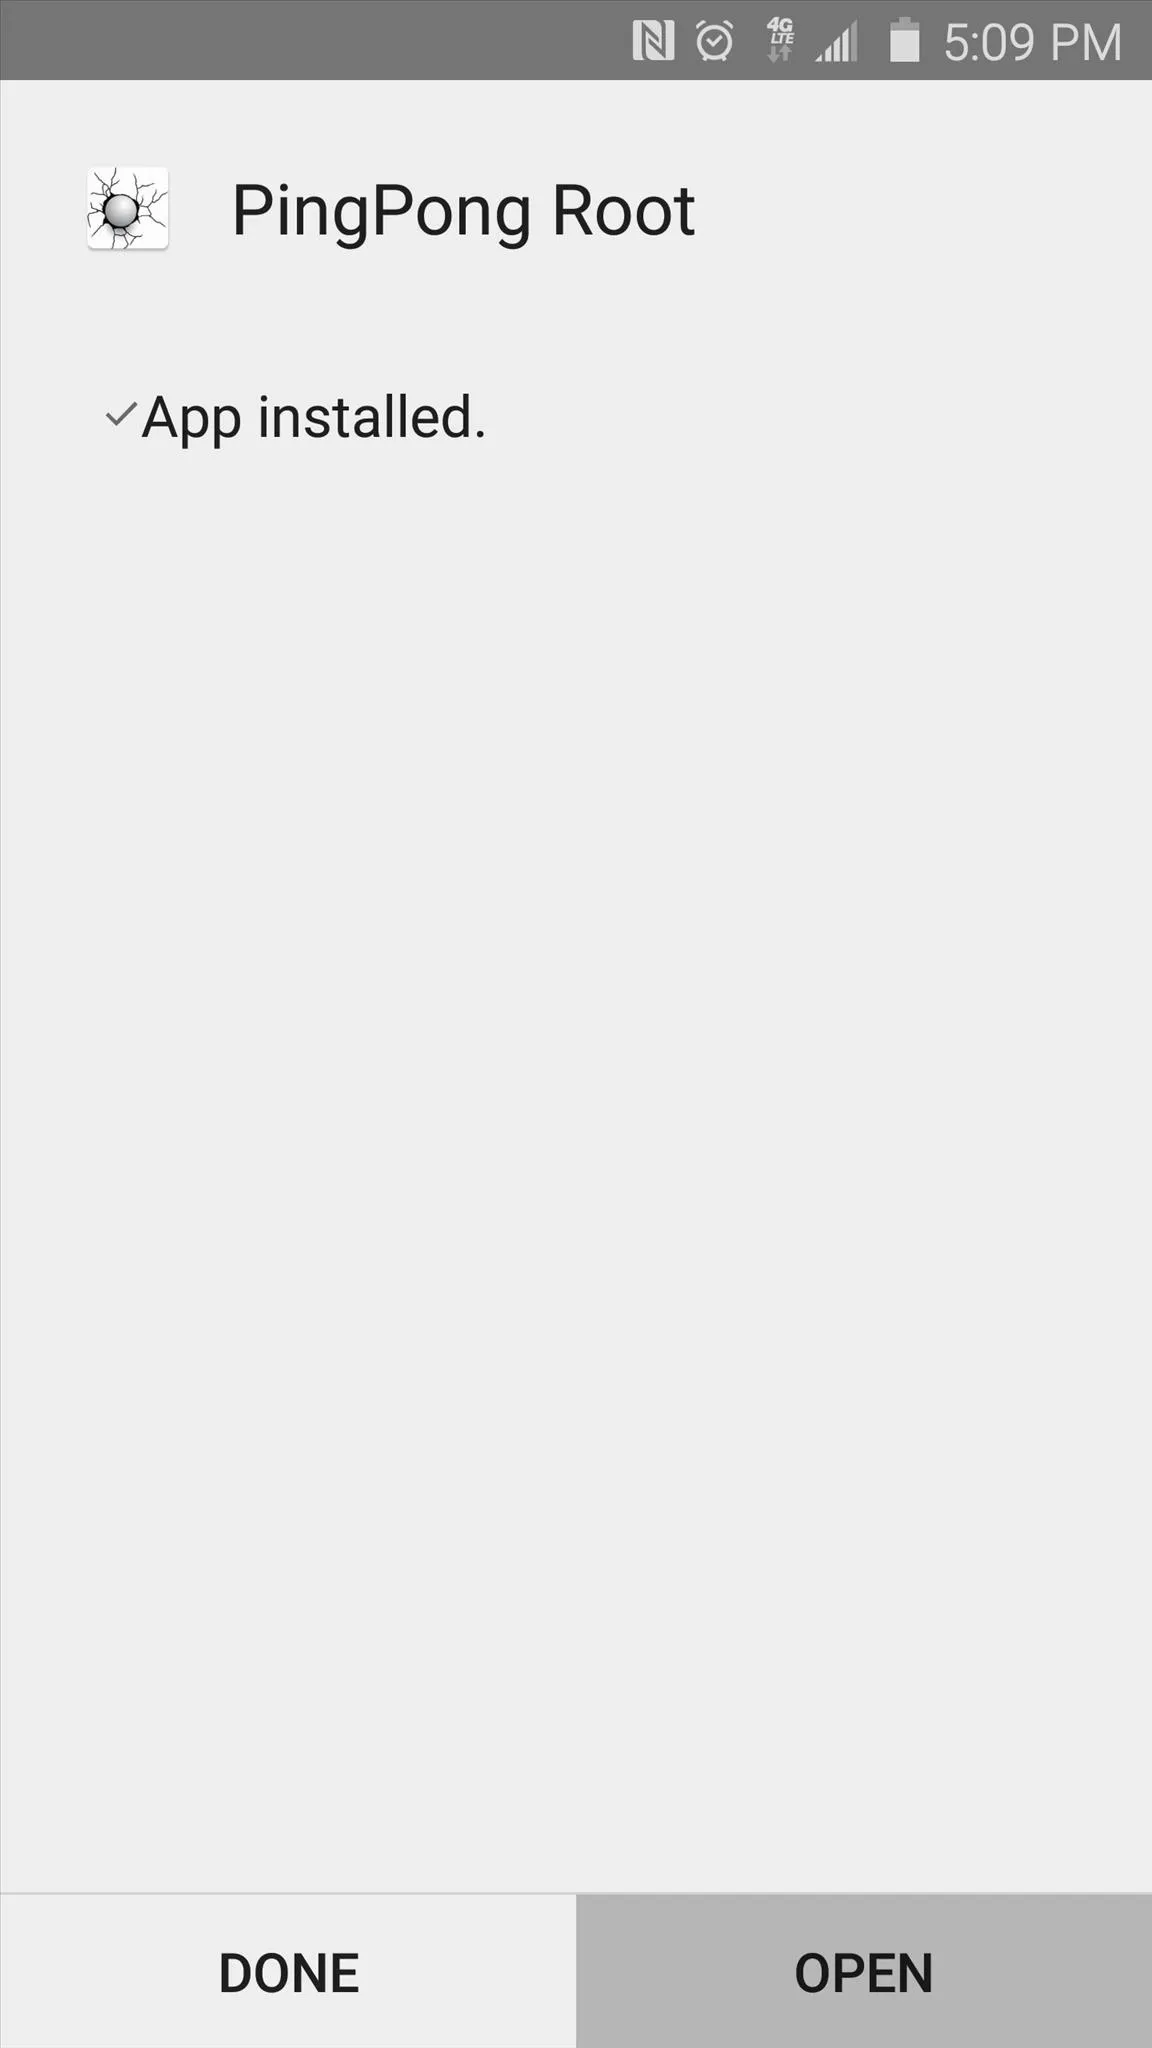


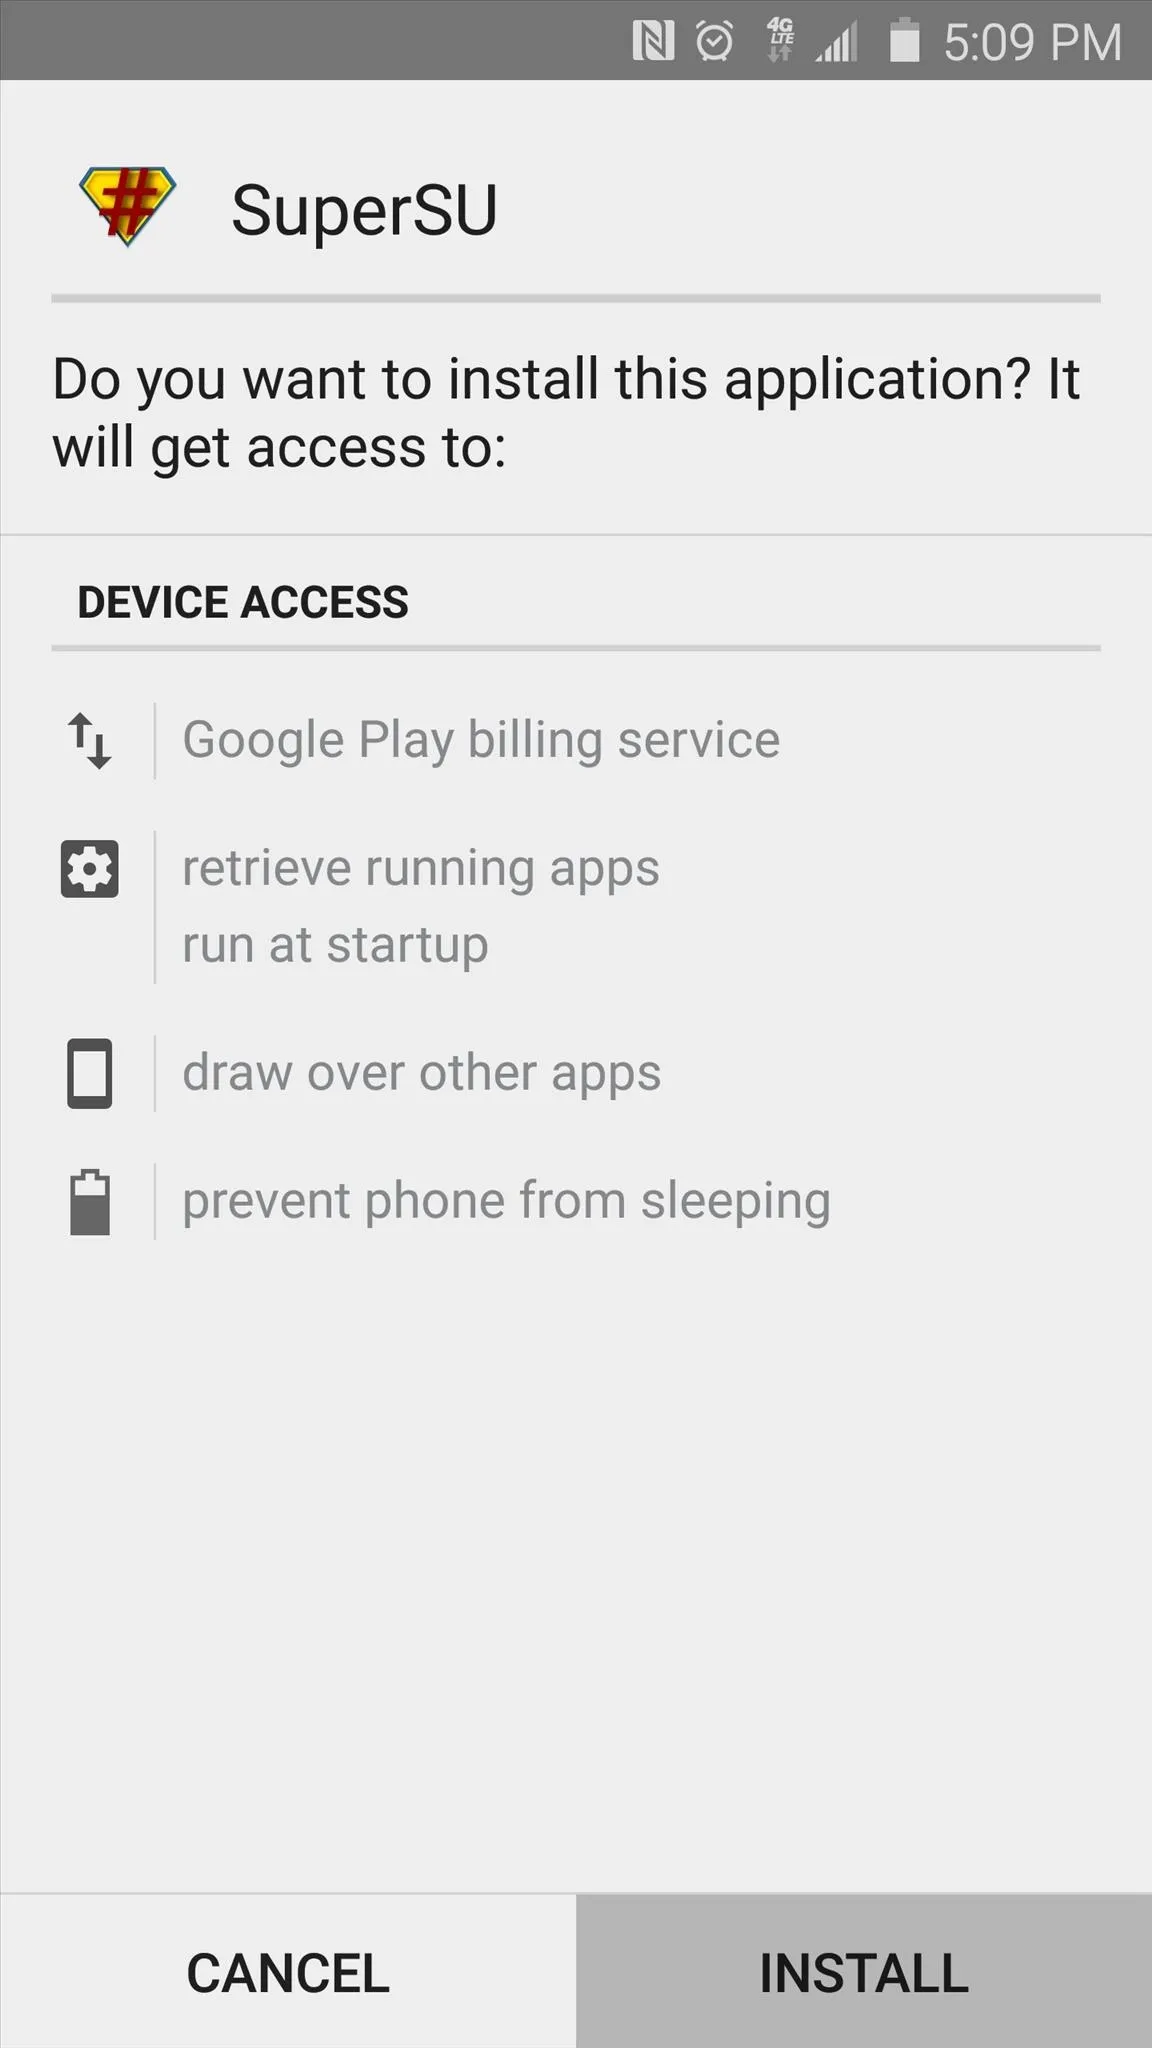
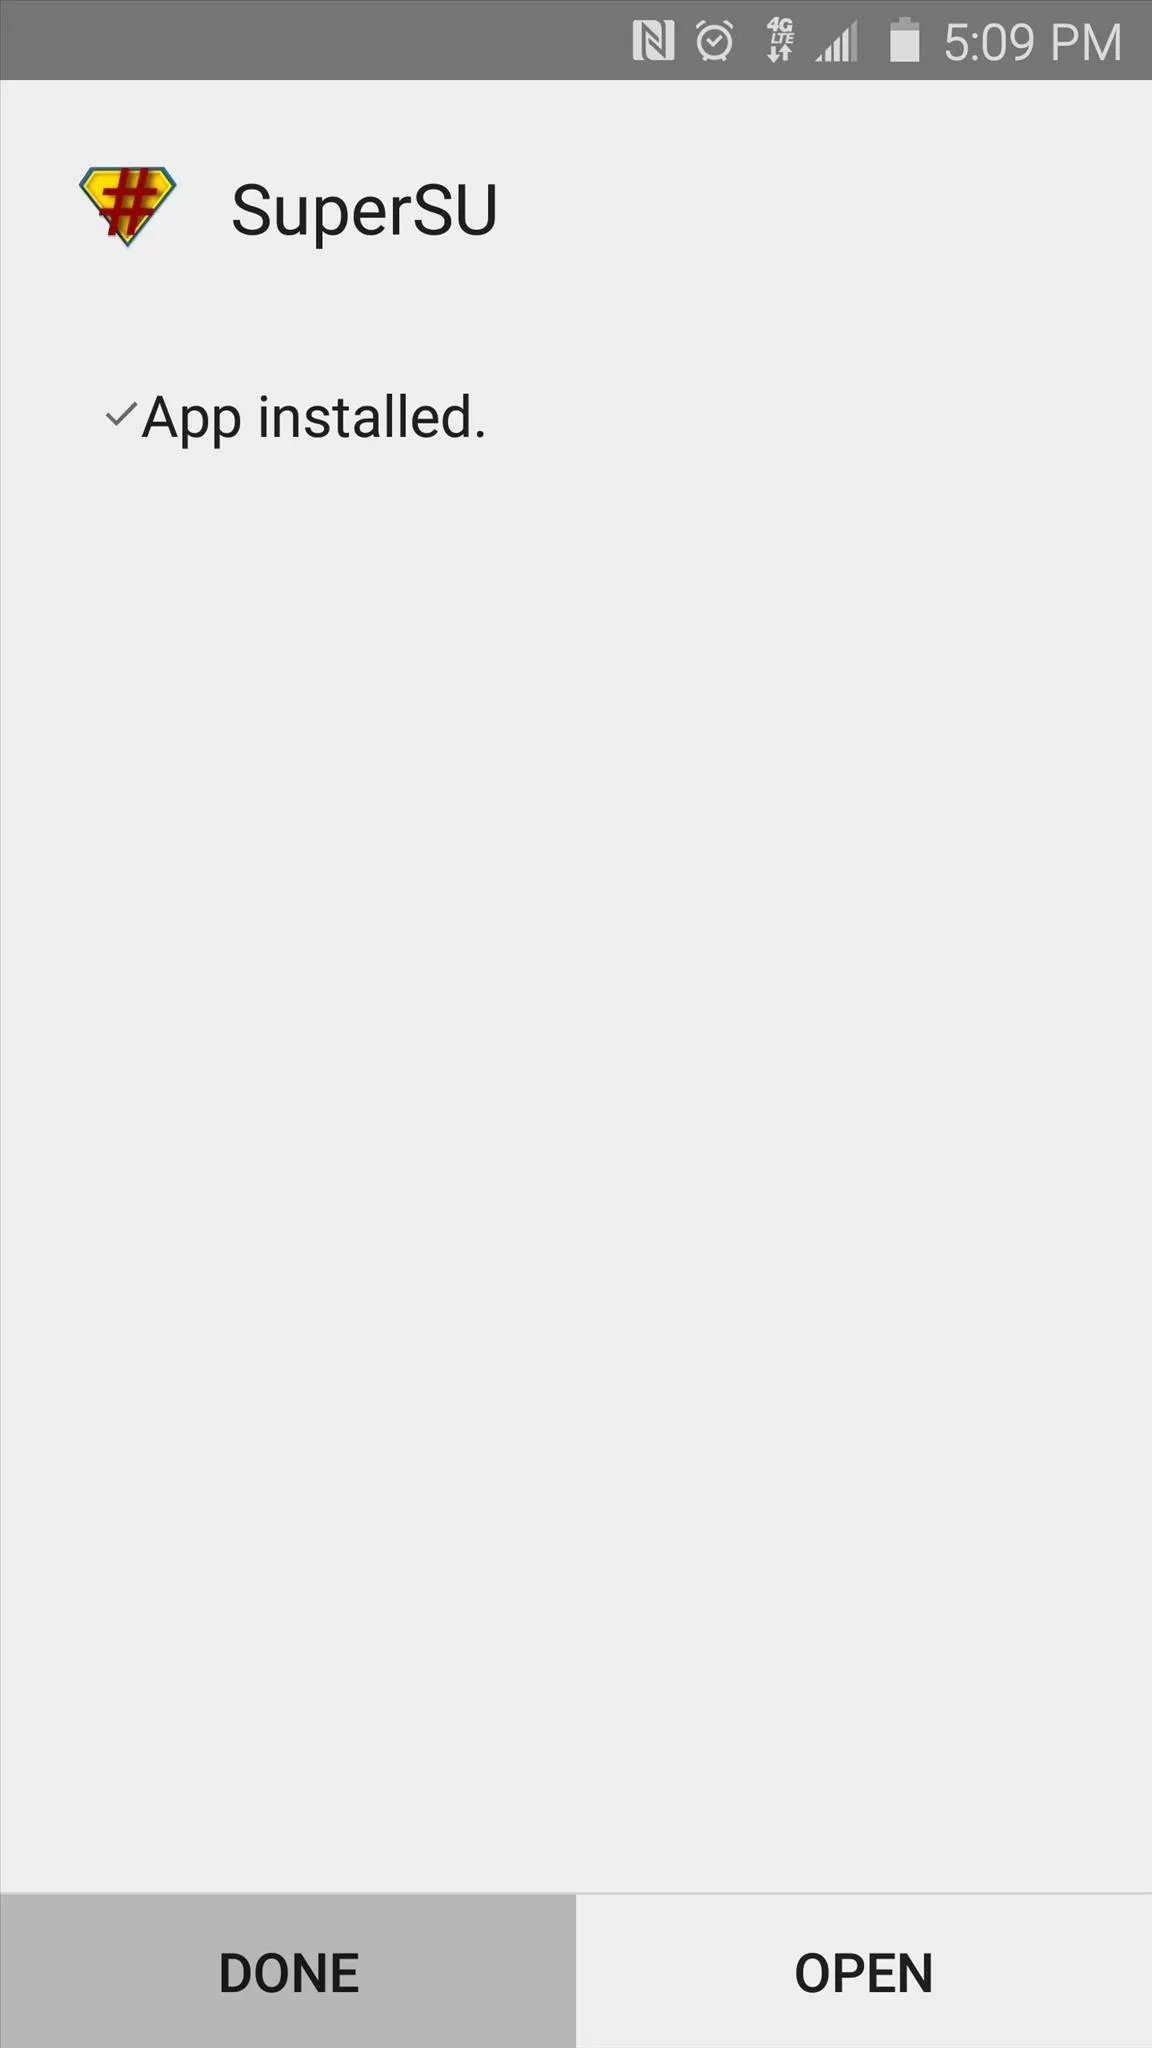
When that's finished, tap "Open," then after a few seconds, Android's installer interface should come up again. This time it's asking you to install SuperSU, which is a root management app from developer Chainfire. So tap "Install" again, and when that's finished, press "Done" to head back to PingPong Root.


Step 3: Root Your Device
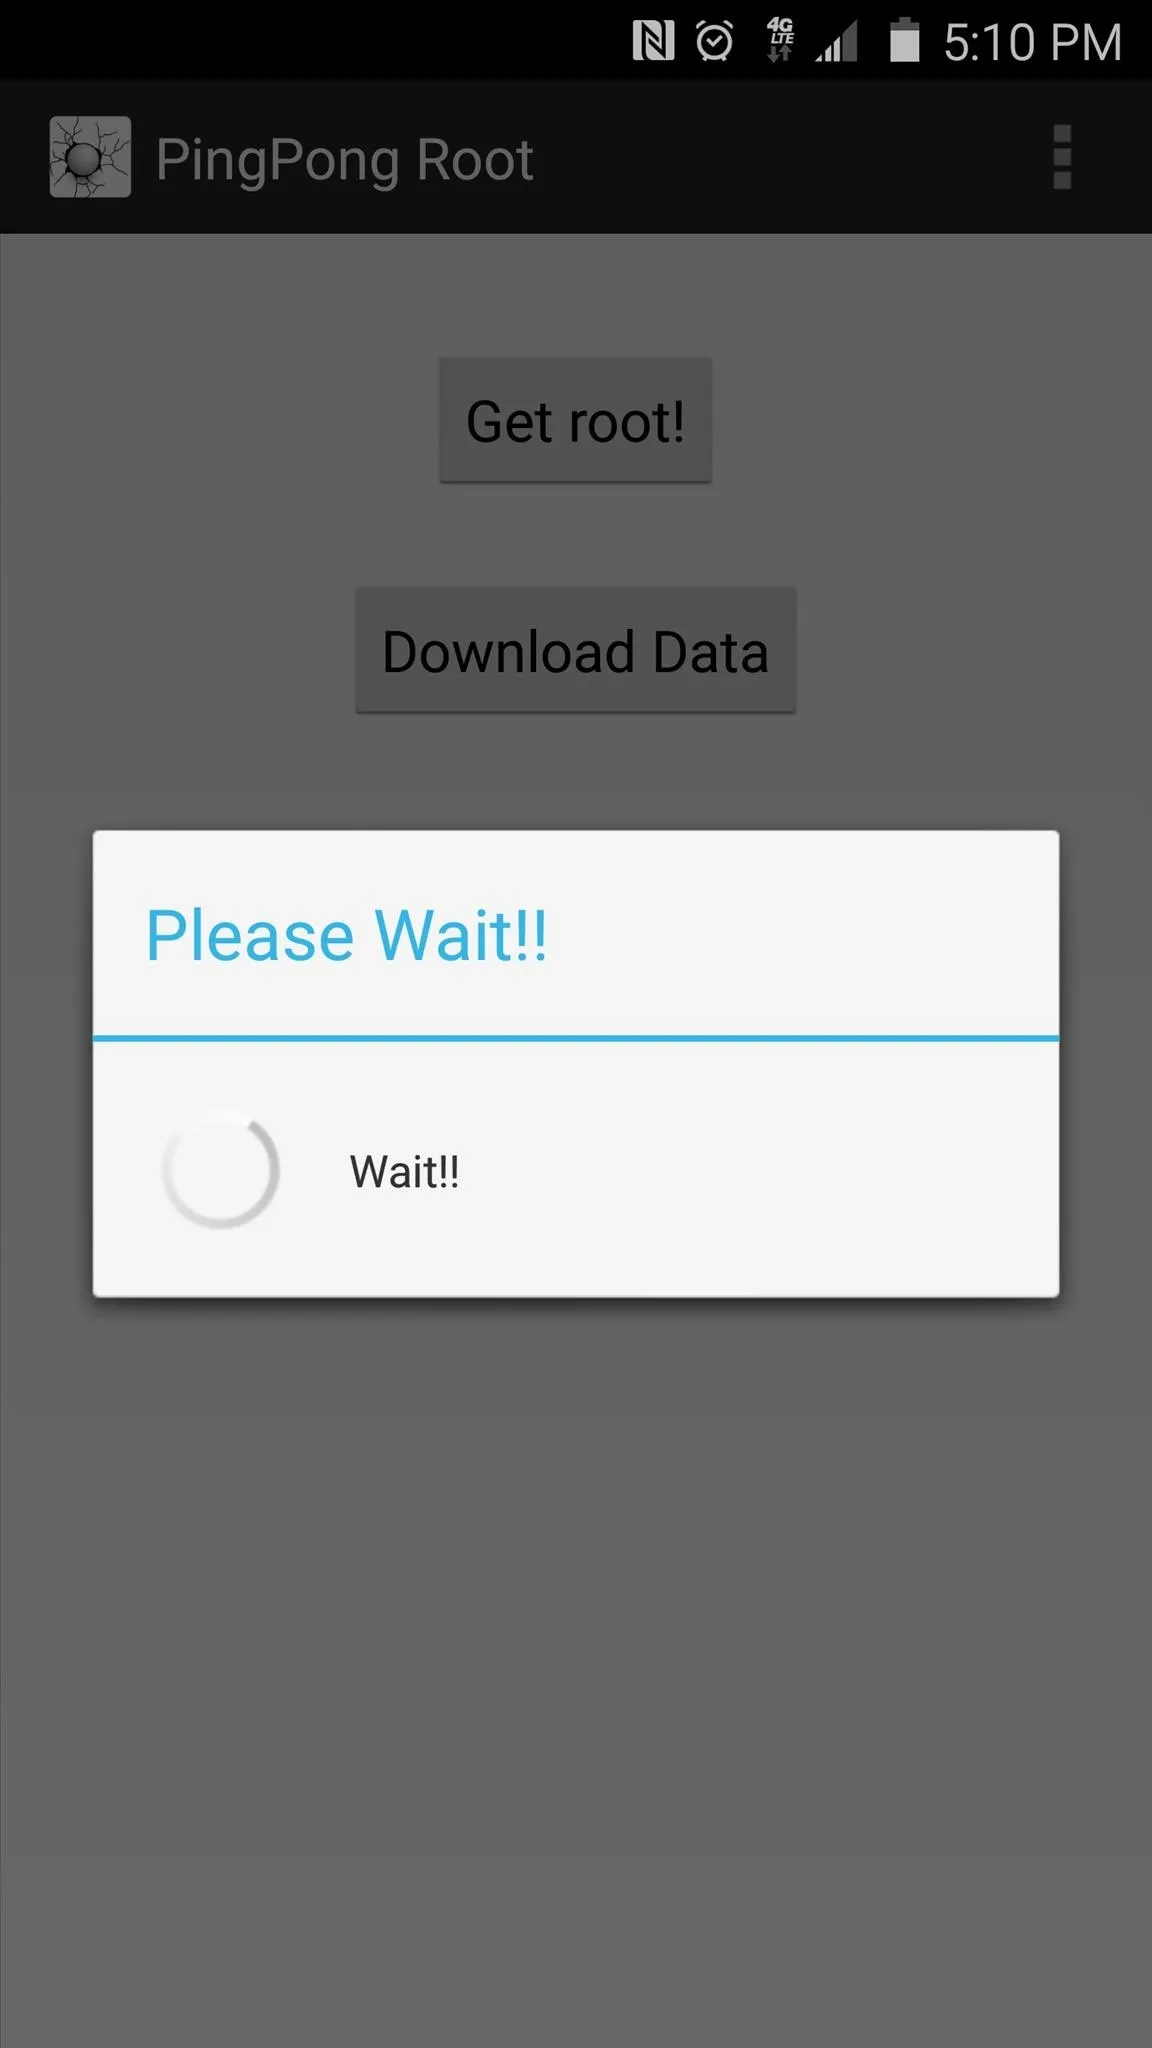
From PingPong Root's main menu, you'll find two buttons—"Get root!" and "Download Data." If your device's firmware was listed in the "download data" section in Step 1, you'll have to tap the "Download Data" button at this point, then wait for the app to download the additional data.

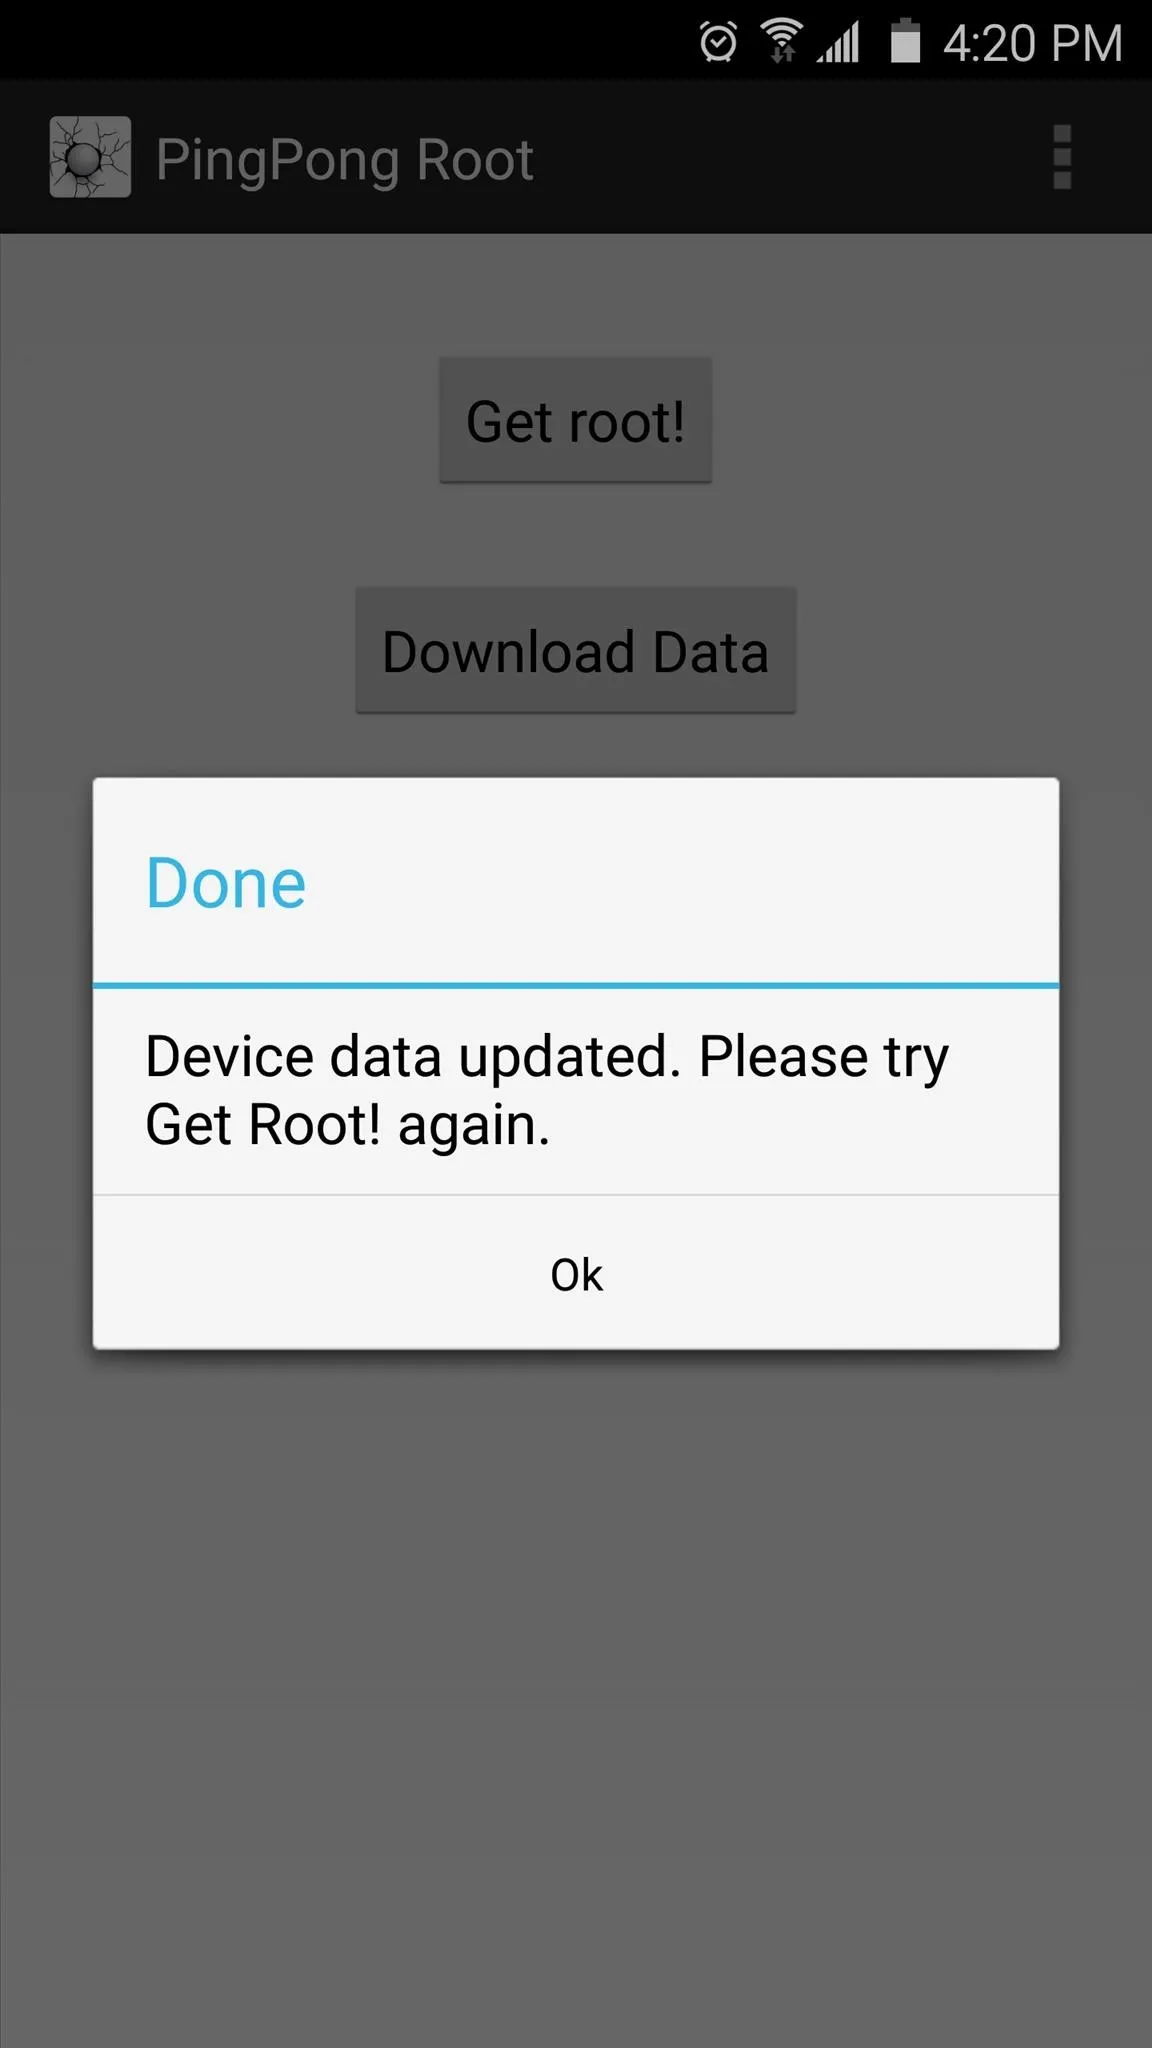


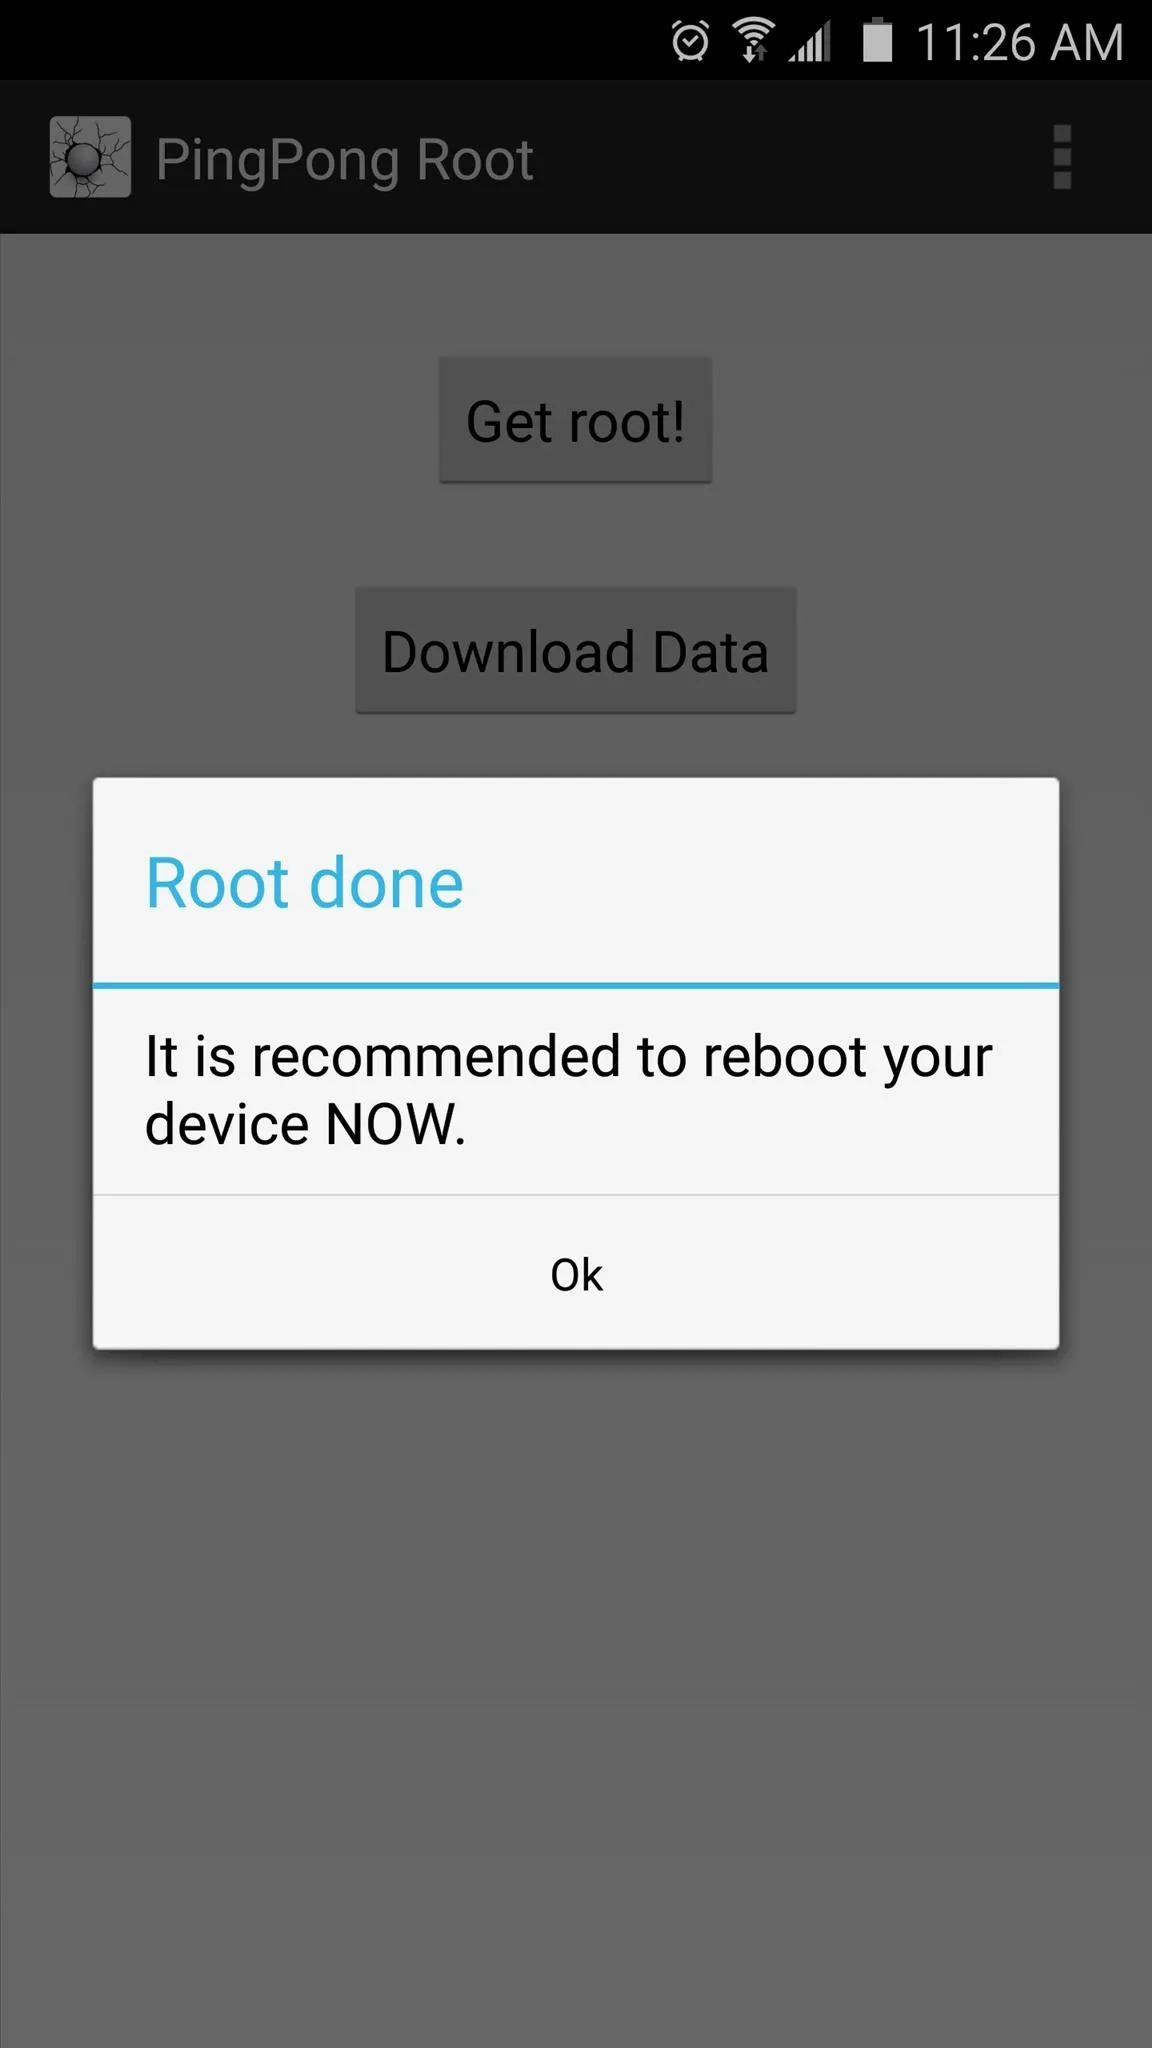
Once you're ready to root your device, tap the "Get root!" button. From here, you'll see a message that tells you to "Please Wait!!"—take heed to this message and don't interact with your phone while the root process is running. After about 30 seconds, a message will appear informing you that the process was completed. At this point, reboot your phone as soon as possible.



Step 4: Update Your Superuser Binaries
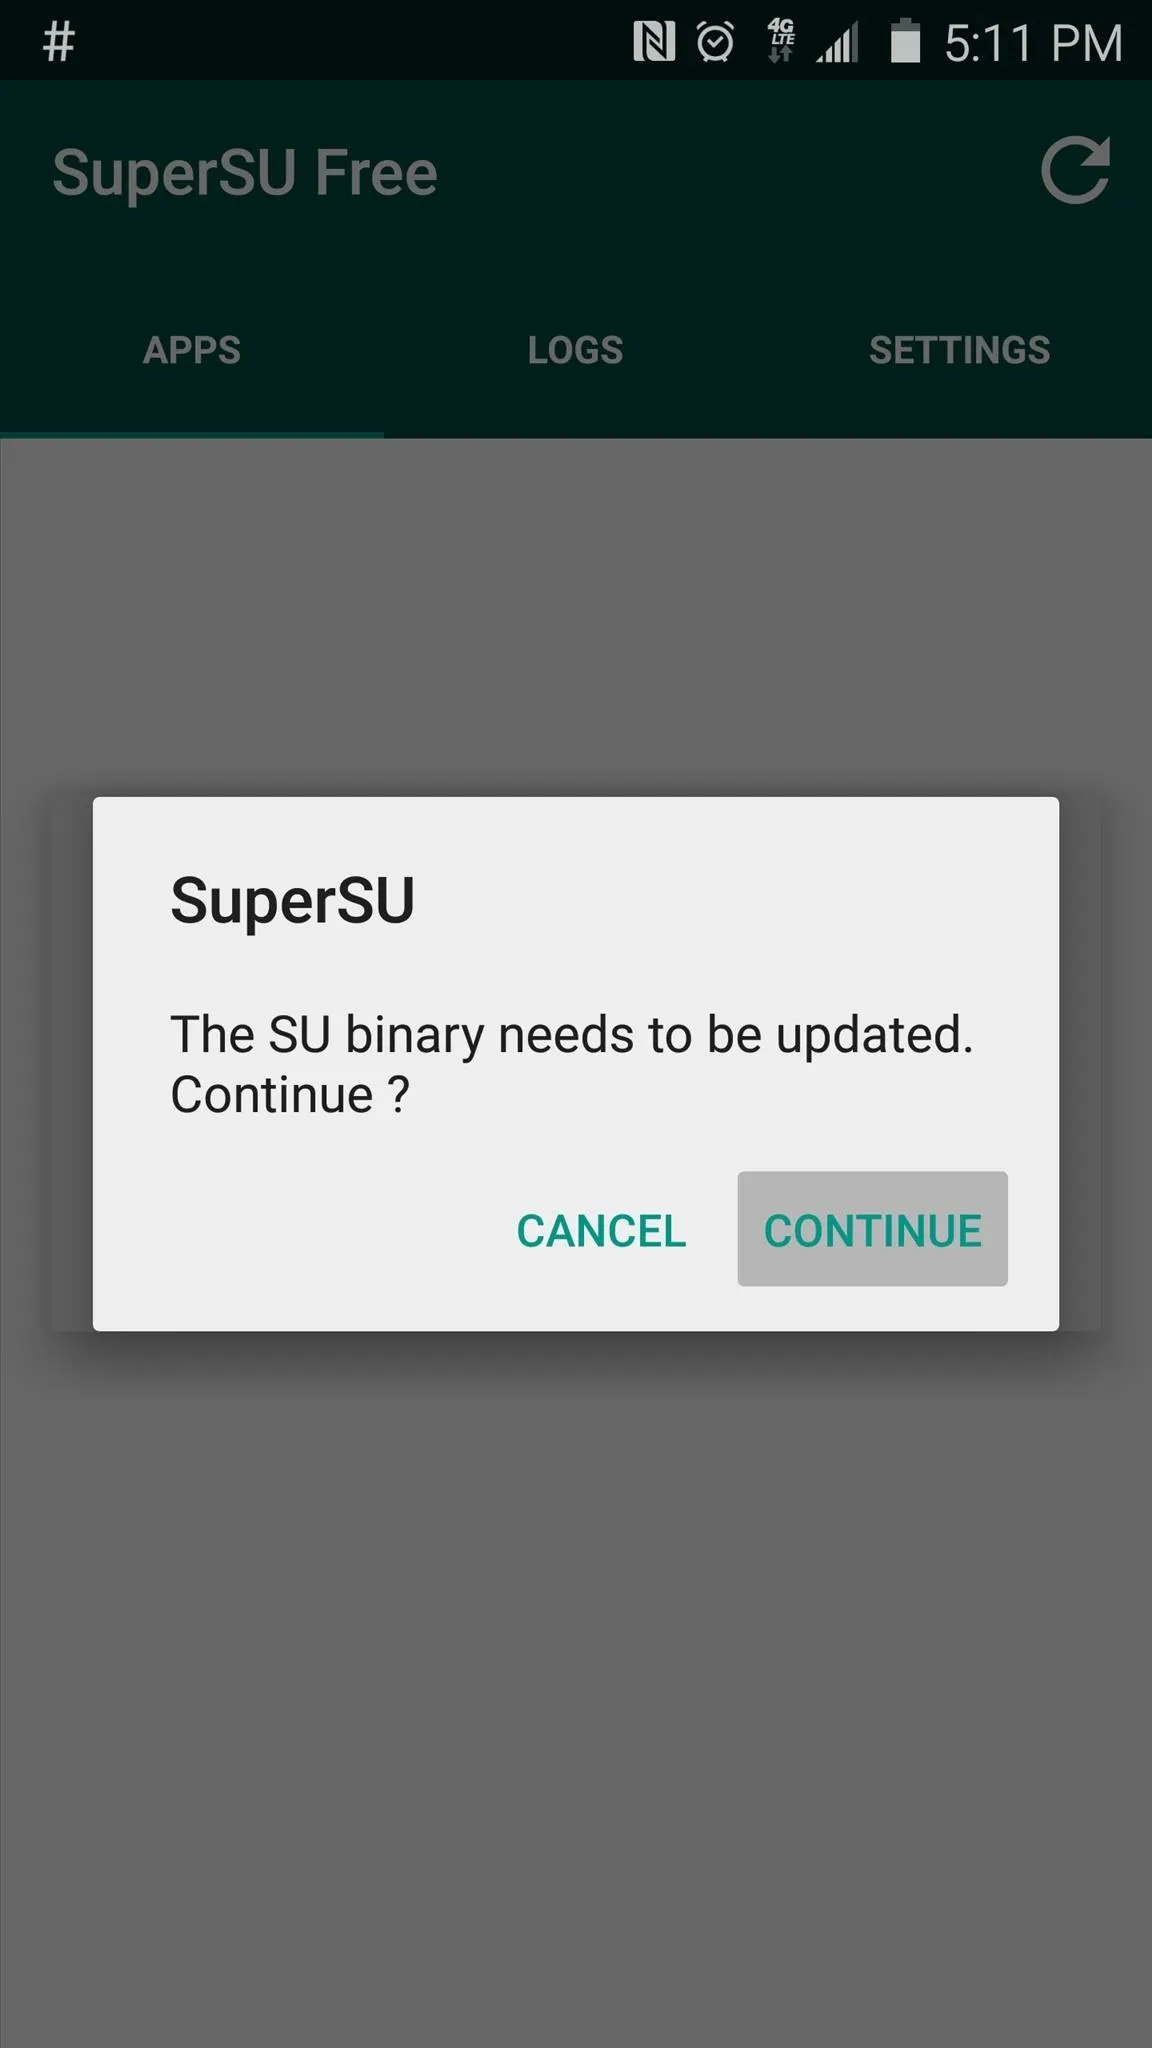
When you get back up, go ahead and open the SuperSU app that you'll now find in your app drawer. From here, you'll be informed that your Superuser binaries need to be updated, so tap "Continue" on this message.



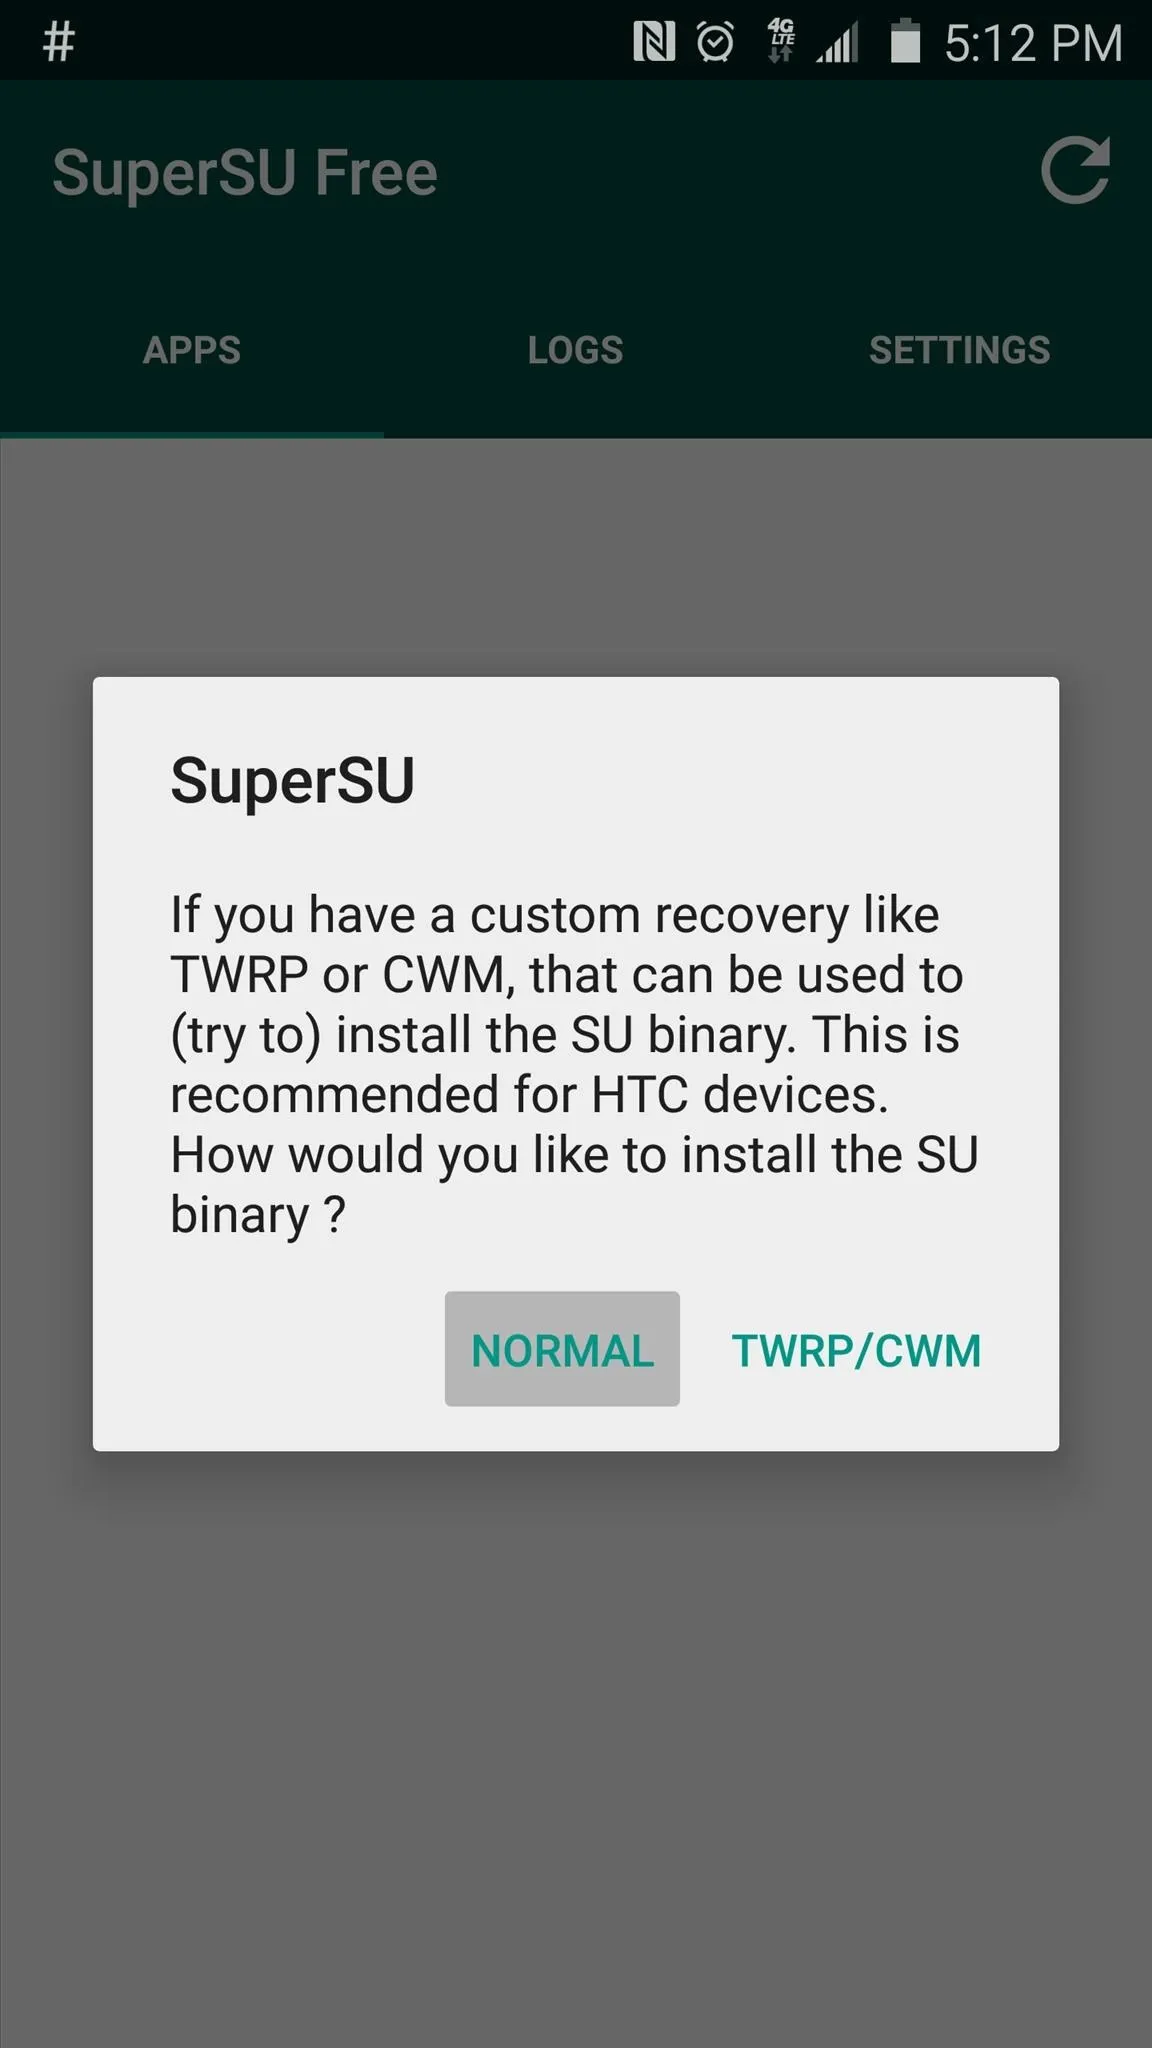
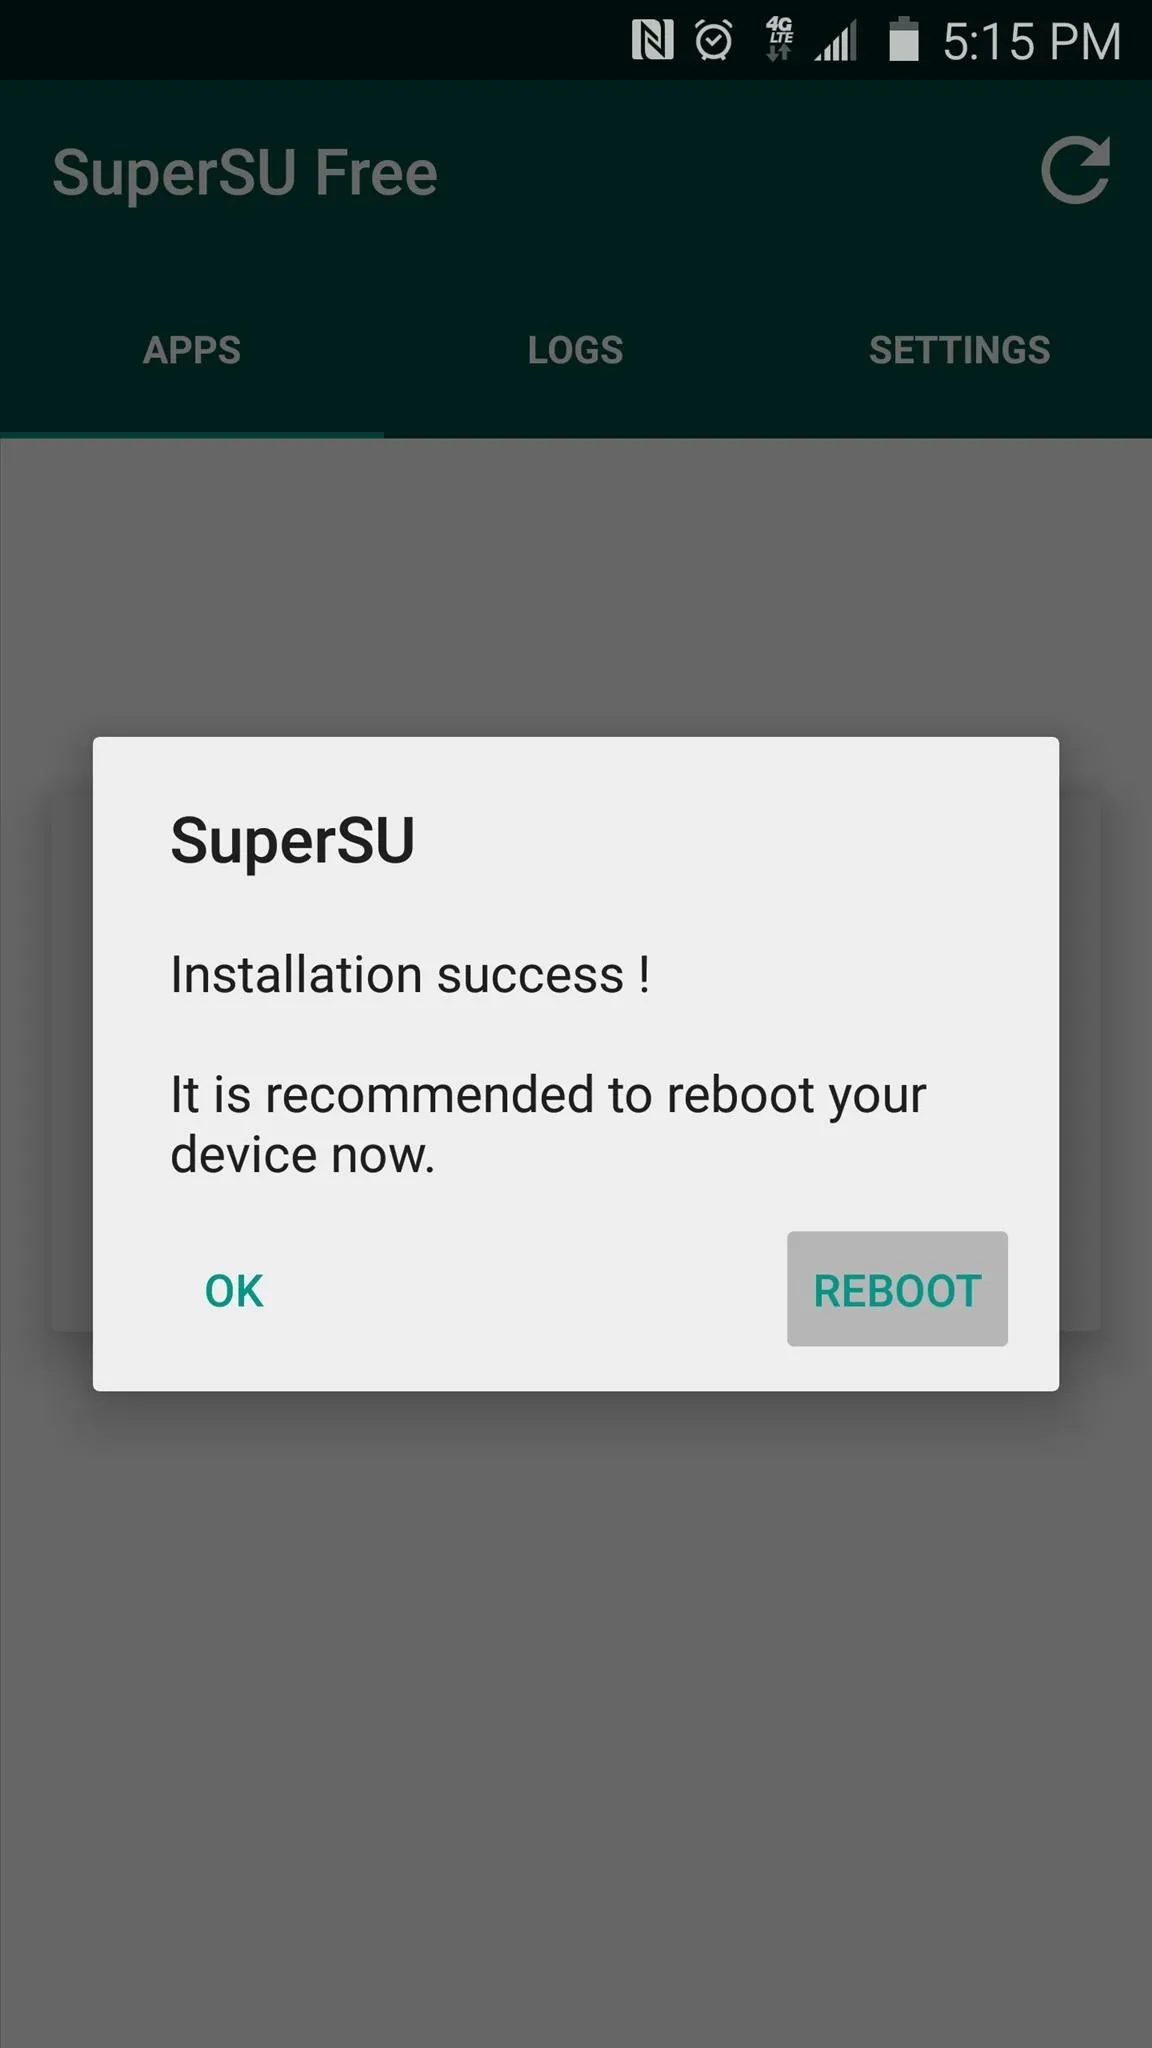
Next, SuperSU will ask how you'd like to update your binaries. Select the "Normal" option from this menu, then give it about 30 seconds to update your binaries. When the process has finished, tap "Reboot" on the confirmation dialog.


Step 5: Verify Root
After rebooting the second time, your device should be fully rooted and your KNOX counter will not be tripped. If you'd like to verify that everything went off without a hitch, I'd recommend that you download an app called Root Checker, which is available on the Google Play Store for free.
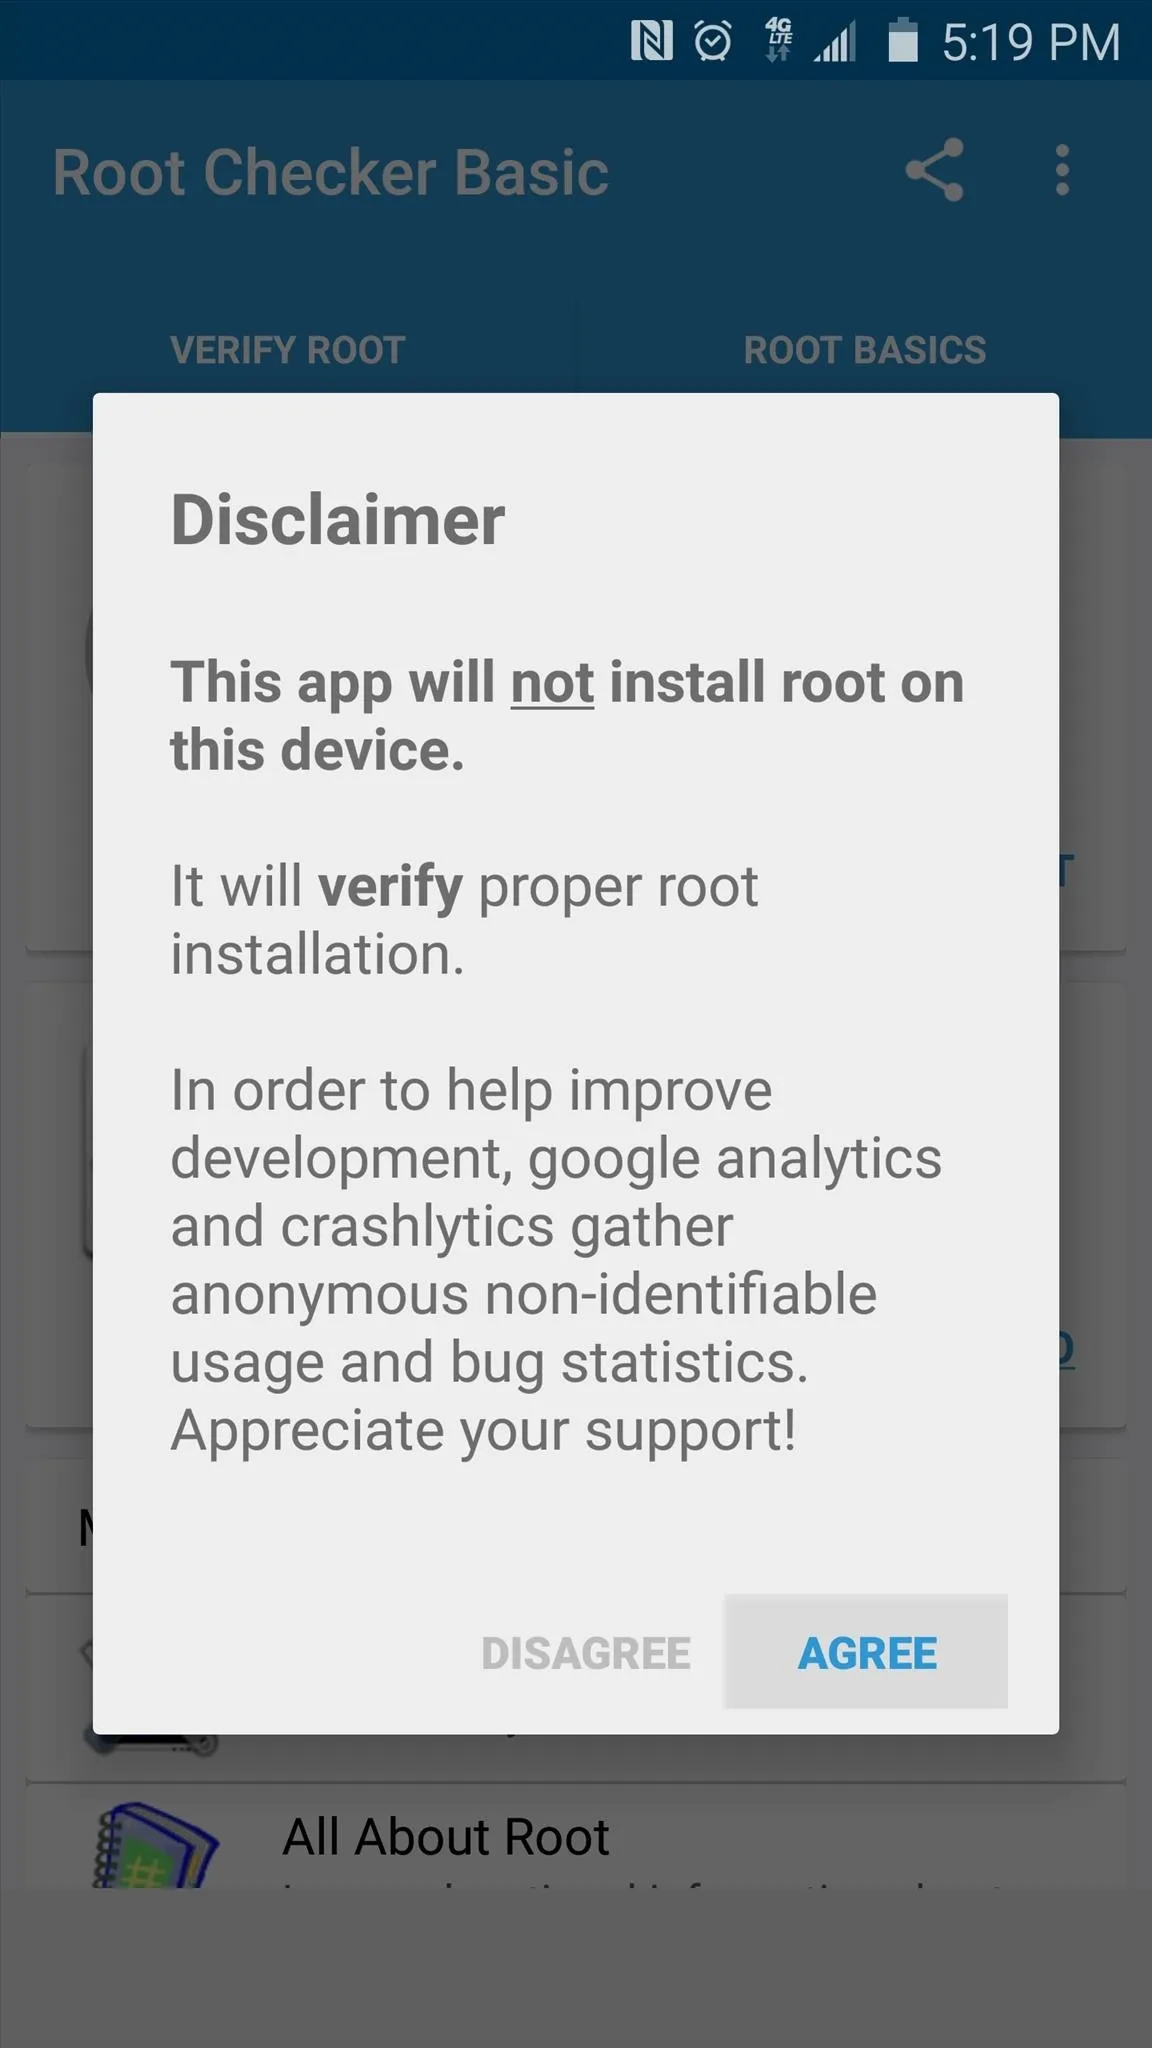
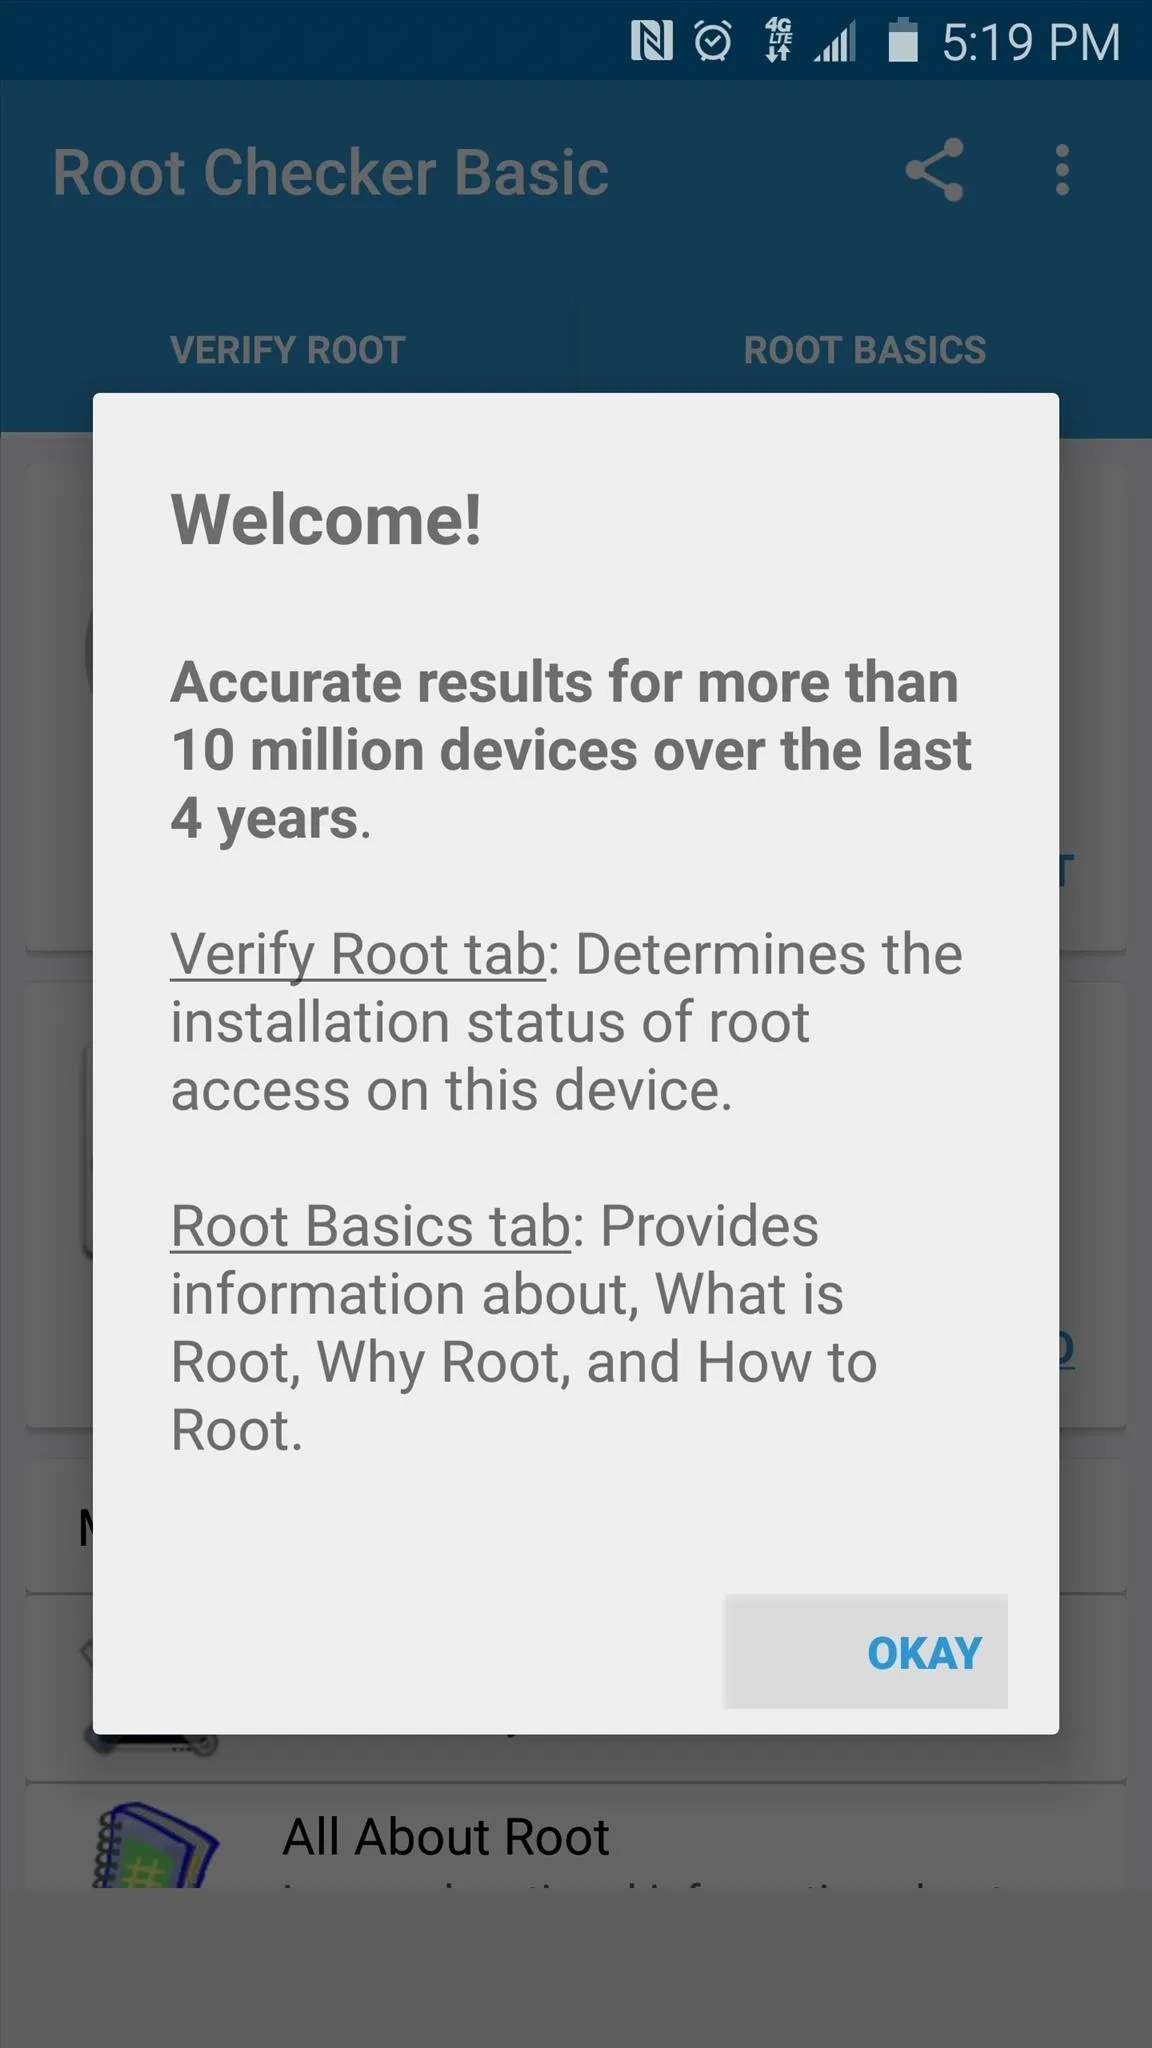
After installing Root Checker, simply launch the app, then press "Agree" and "Okay" on the two popups that follow.


From here, you'll be taken to the app's main menu. Tap "Verify Root" to make sure that PingPong Root was successful.
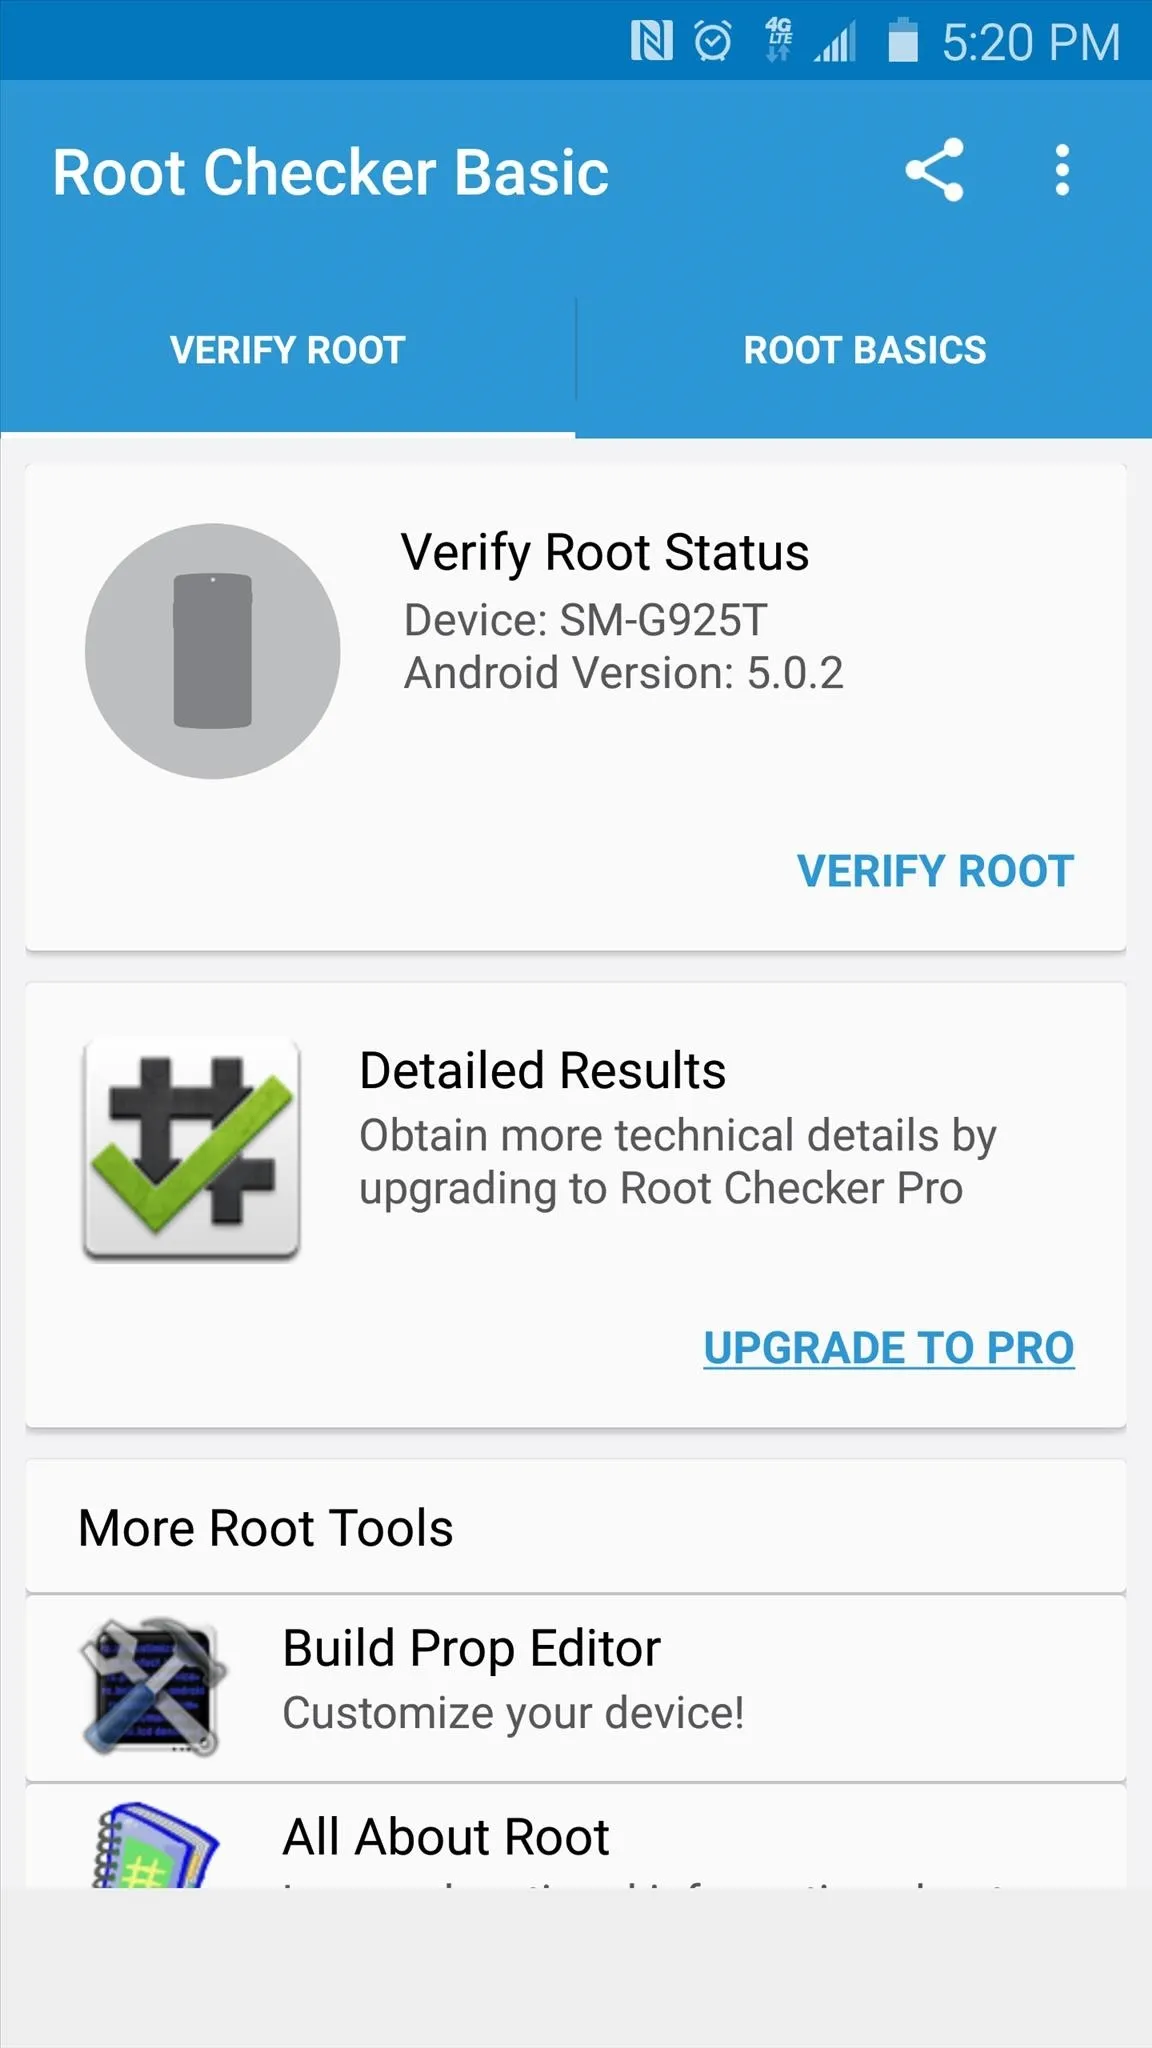
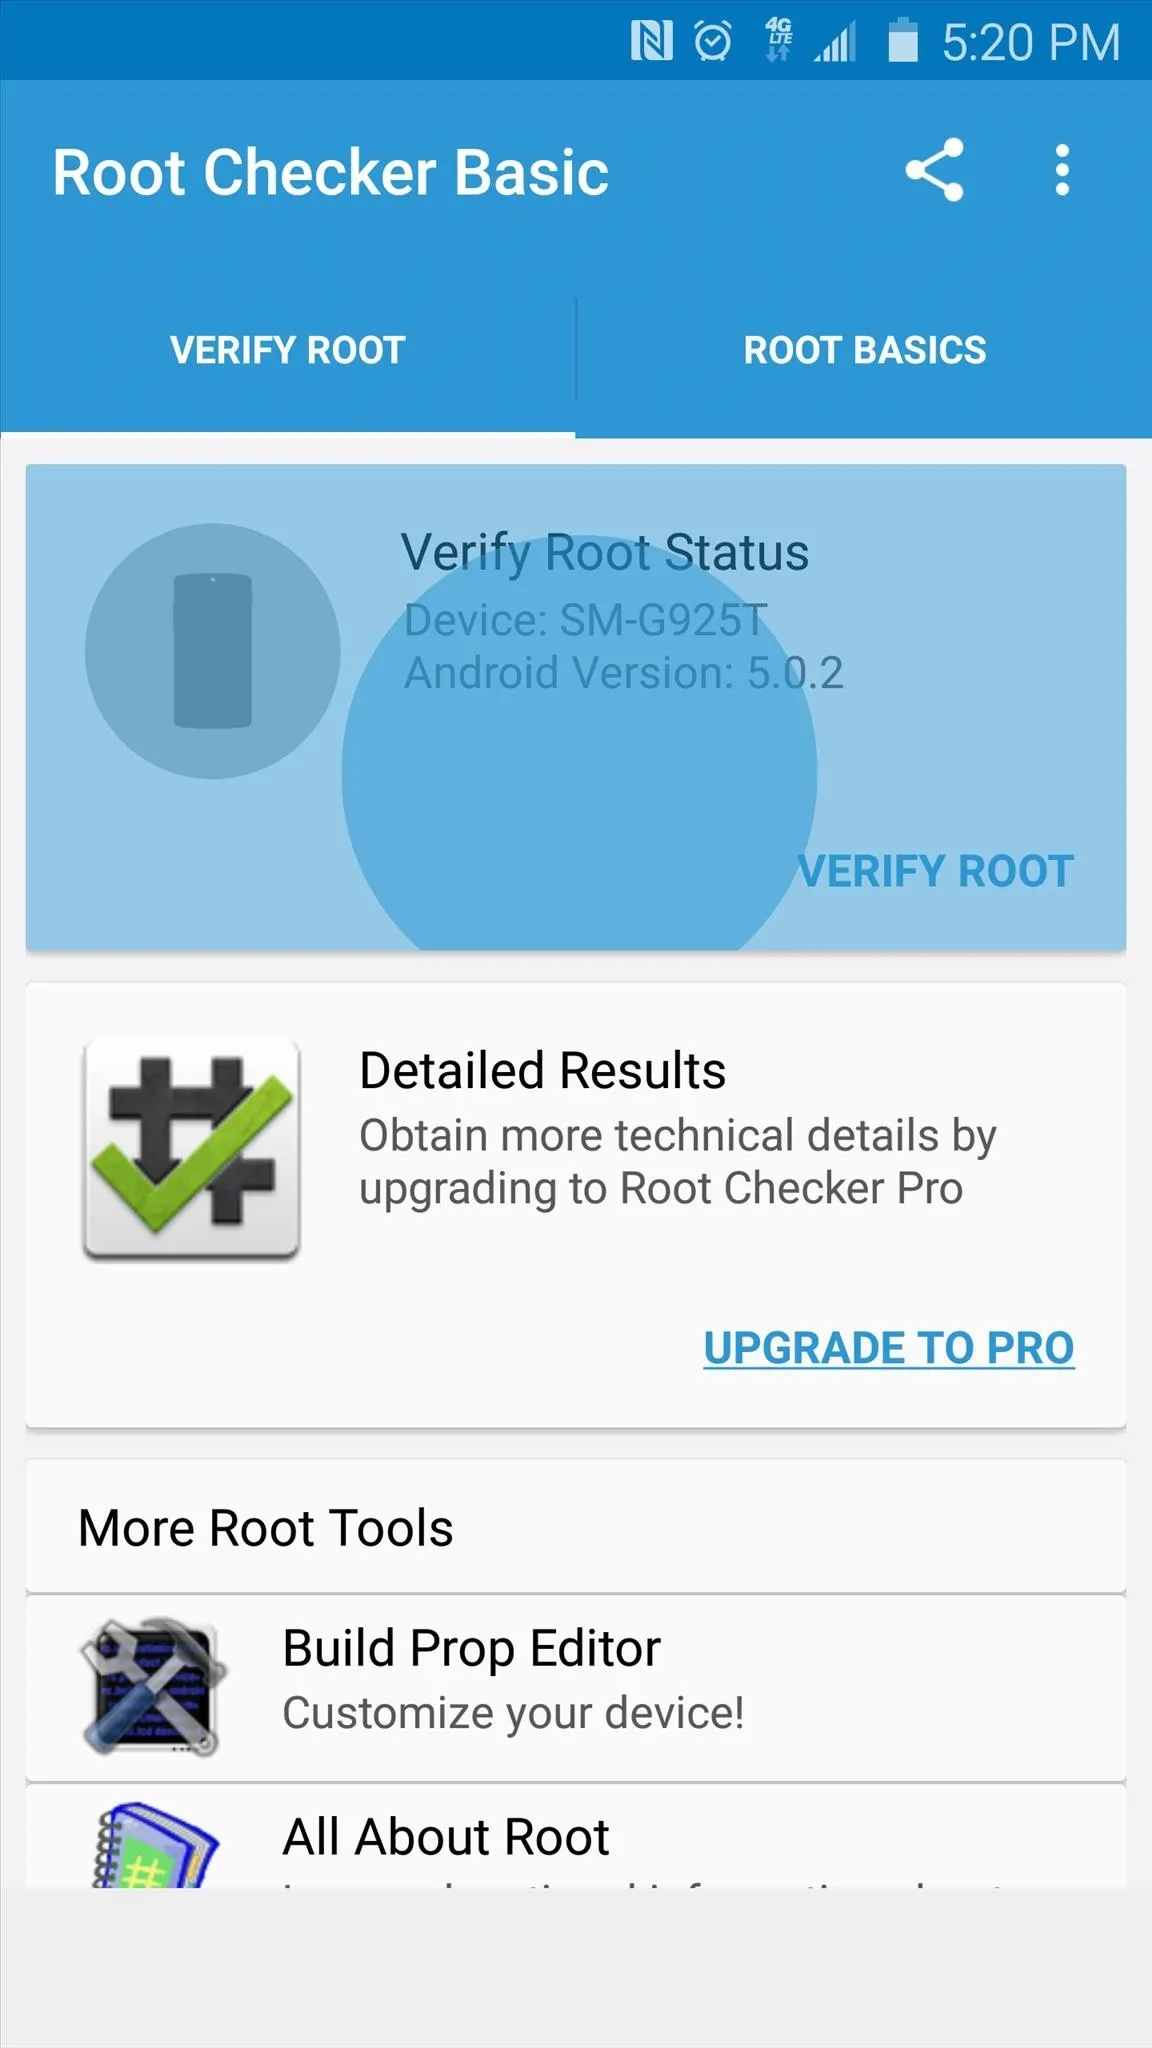


At this point, Root Checker will ask for Superuser access, so tap "Grant" on the popup. When that's finished, a message at the top of Root Checker should inform you that your device is properly rooted.
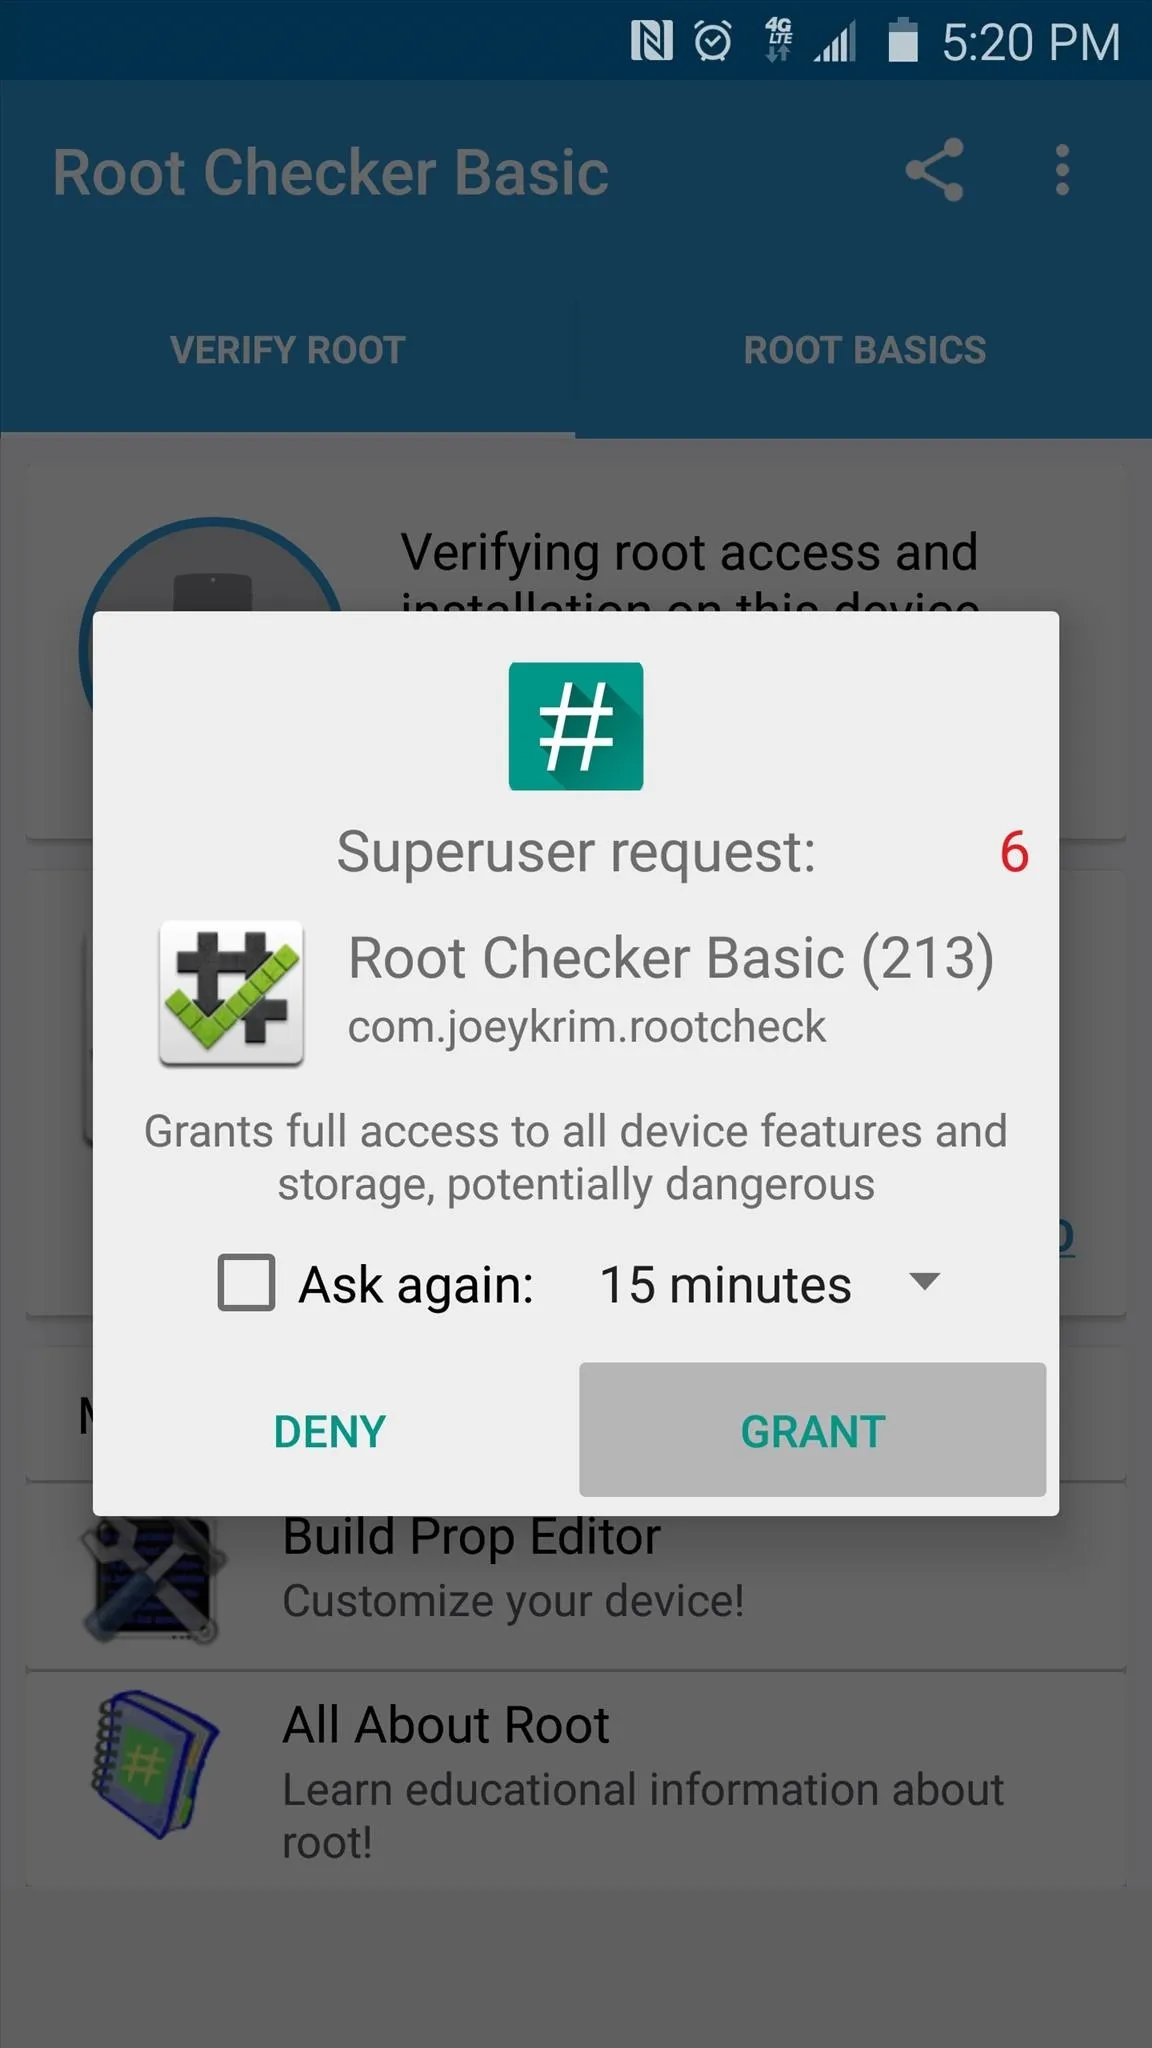
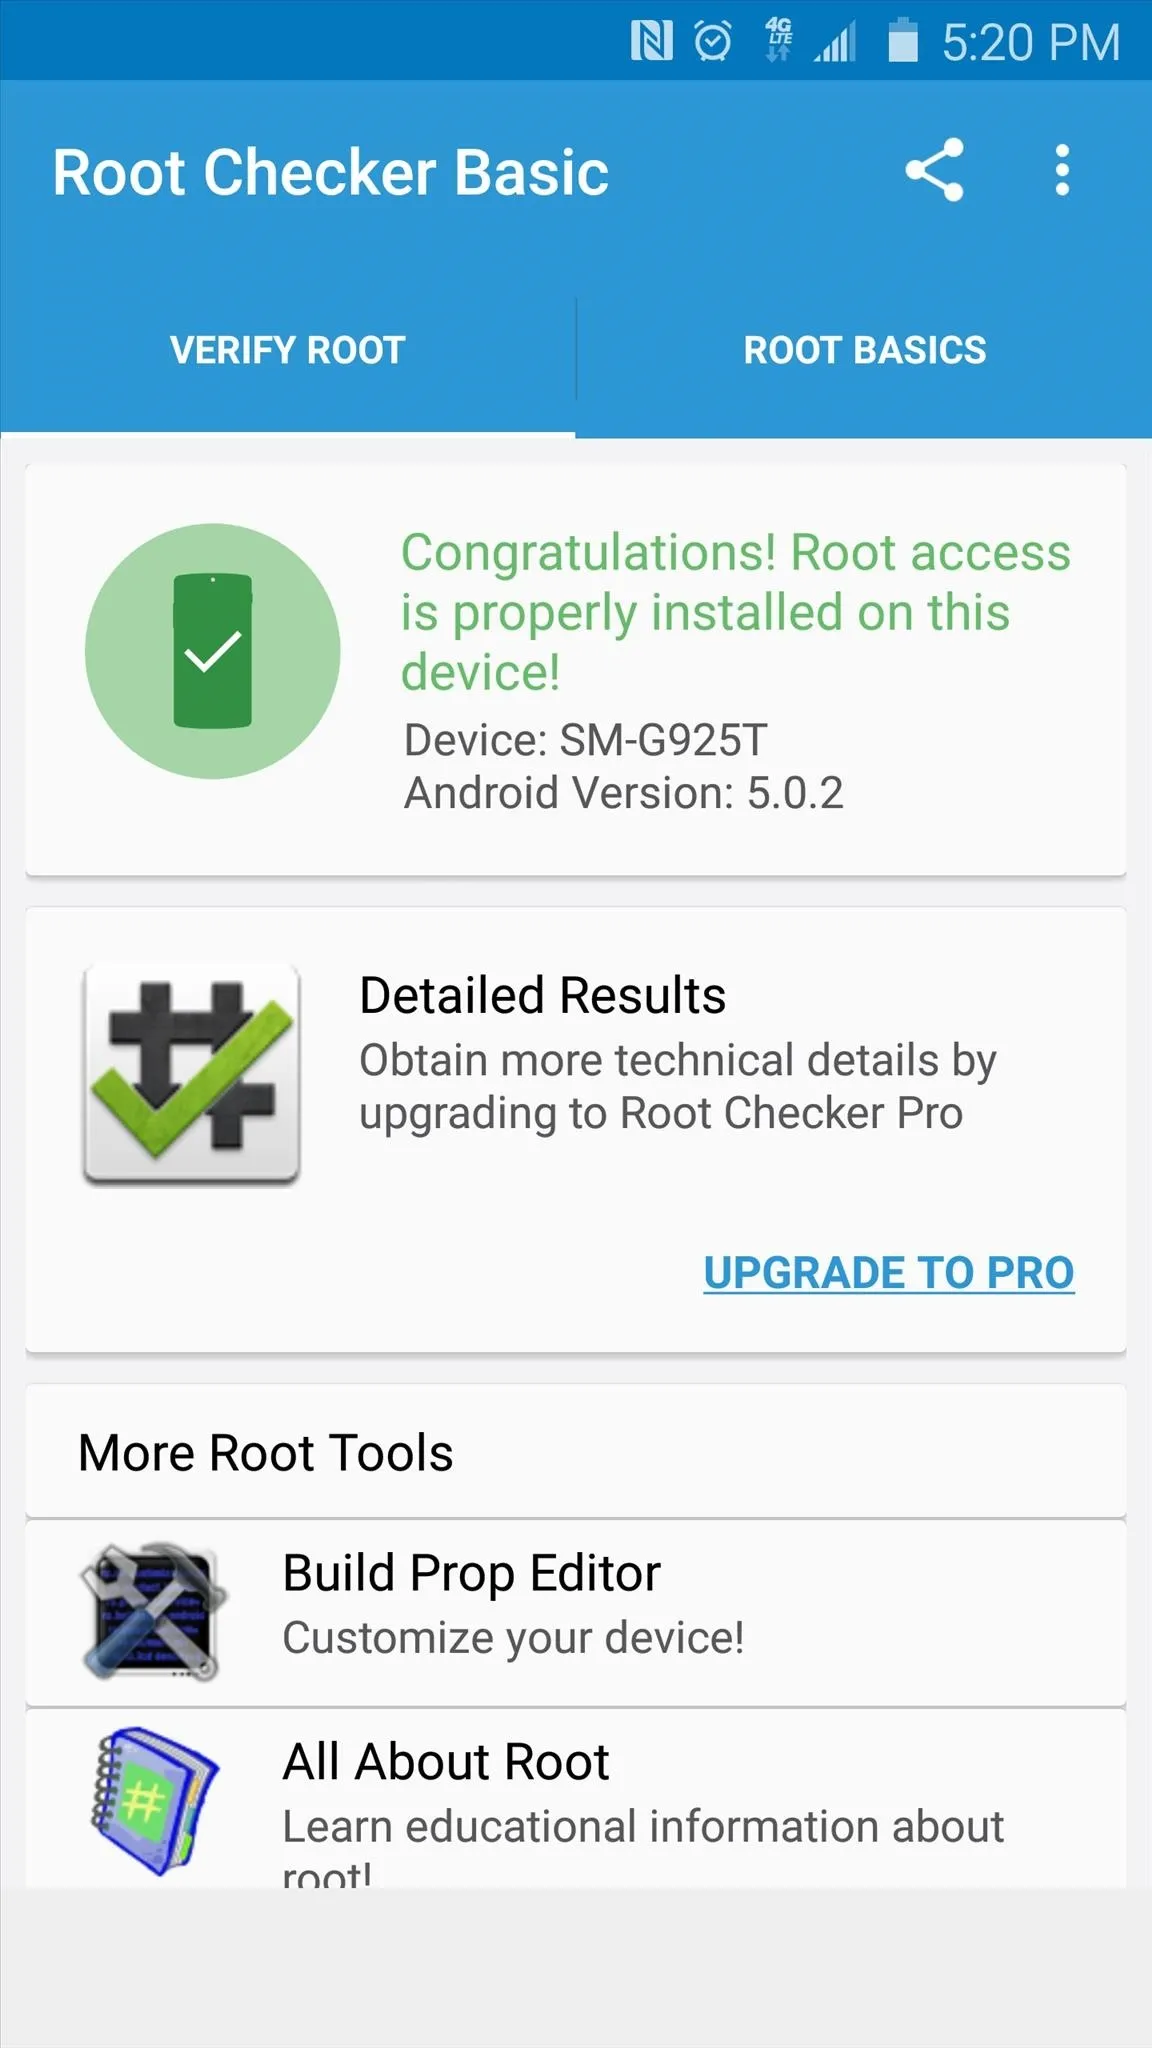


If for some reason you are not rooted at this point, run PingPong Root again (beginning from Step 3), only this time, place your device into Airplane mode prior to starting.
Once you're rooted, you can take advantage of several awesome mods that can customize your device like never before. Check out this guide if you're tired of the "S Finder" and "Quick Connect" buttons in your notification tray, or head to this tutorial to find out how to remove the annoying boot-up sound on your Galaxy S6. You can even install a custom recovery now, but be aware that this willtrip your KNOX counter.
What are some of the first root mods you applied on your Galaxy S6? Let us know in the comment section below, or drop us a line on Android Hacks' Facebook or Twitter, or Gadget Hacks' Facebook, Google+, or Twitter.



Comments
No Comments Exist
Be the first, drop a comment!