With the release of the Samsung Galaxy S5 right around the corner, the first full system dump has been released by Sammobile. As the inevitable ports of functioning apps slowly begin to leak, today we've got a non-app aspect of the system and the one that tends to leak first—ringtones.
Step 1: Download the Goods
Start by grabbing the Galaxy S5 audio files, then download AndroZip from Google Play (or any .zip manager of your choice) as well as Root Browser (or your favorite root-capable file browser).
Because we'll be adding these files directly to the base Android system, you will be to have a rooted device. And don't forget to make a backup so you can easily restore the original ringtones if needed.
If you're not rooted and have no desire to root your GS3 or other Android device, there is a workaround towards the bottom of this article for you.
Step 2: Extract Ringtones
Now open AndroZip and navigate to your Download folder (or wherever you placed the .zip file), and tap on the file. Select Extract to... and then name a folder for the audio files—I used S5 Ringtones—and press OK.
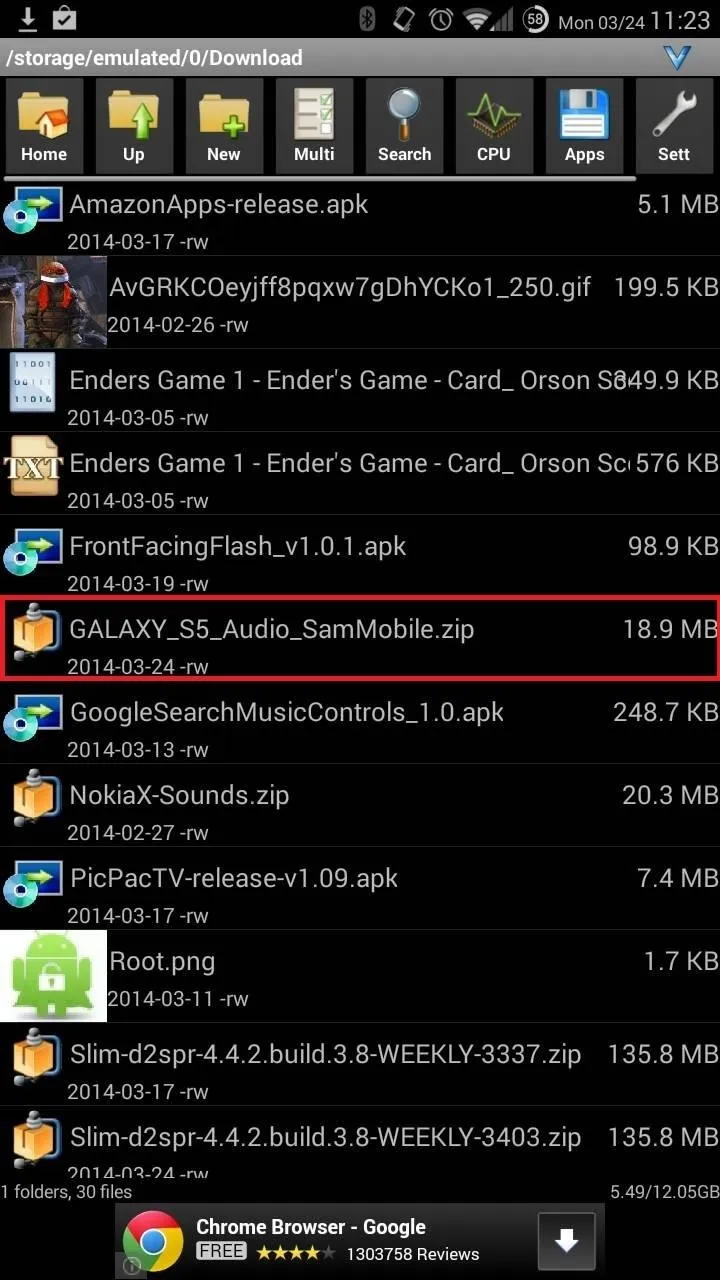
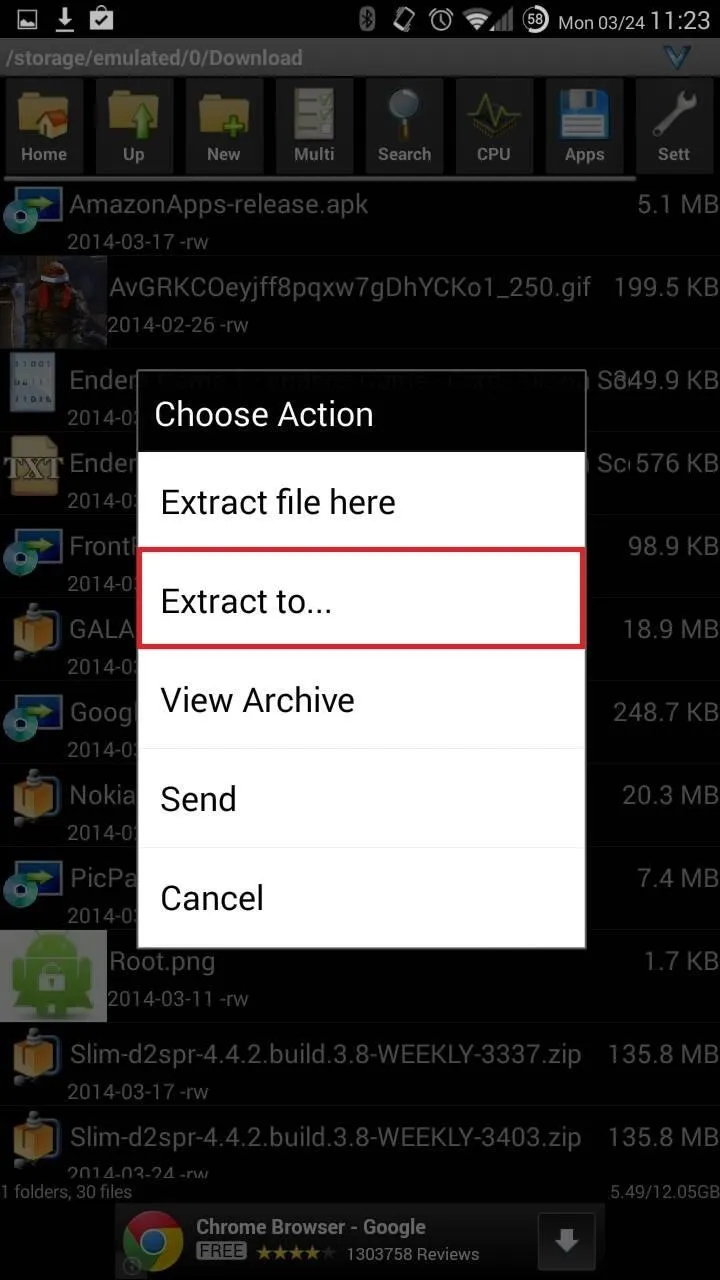
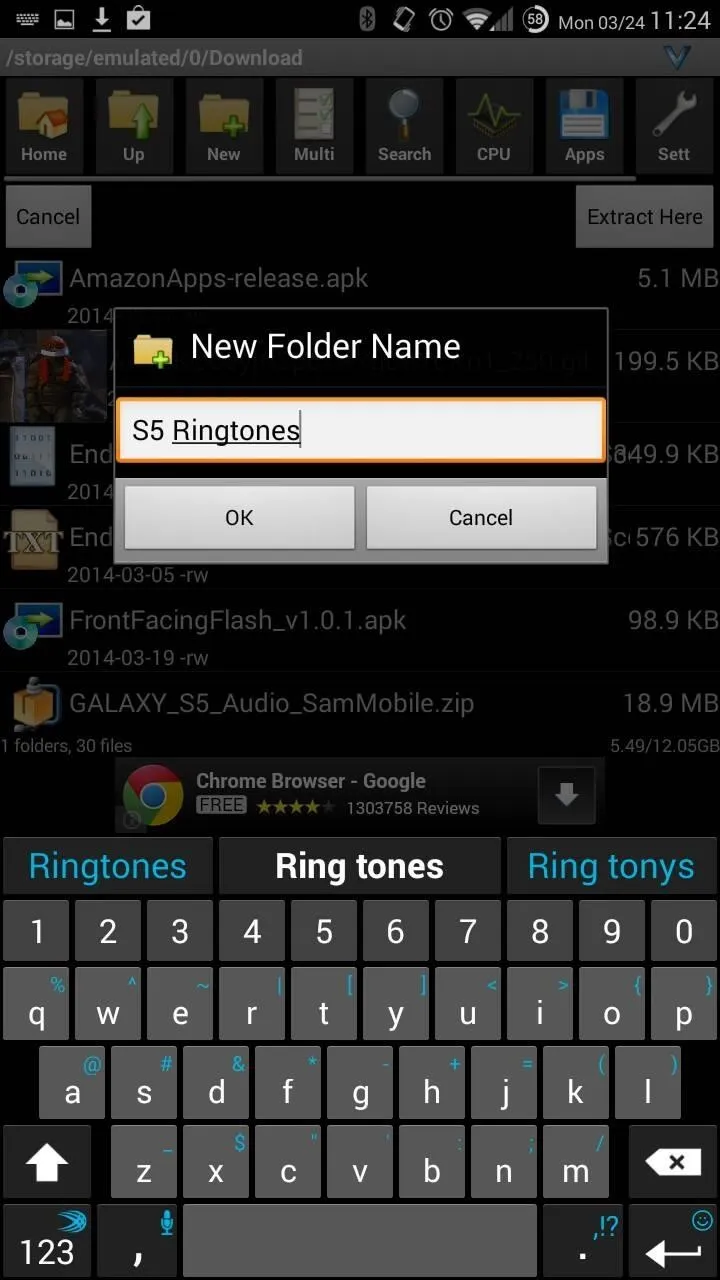


Once the process has completed, you'll have a new folder in your "Download" folder with all the audio files from the Galaxy S5.
Step 3: Copy Audio Files to Your System Directory
Here's where needing root privileges comes in, as we're going to copy over all these files to the /system/media/audio folder.
Open up Root Browser and navigate to the "S5 Ringtones" (or whatever you named it) folder, tap "audio", and you'll see four folders: alarms, notifications, ringtones, and ui.
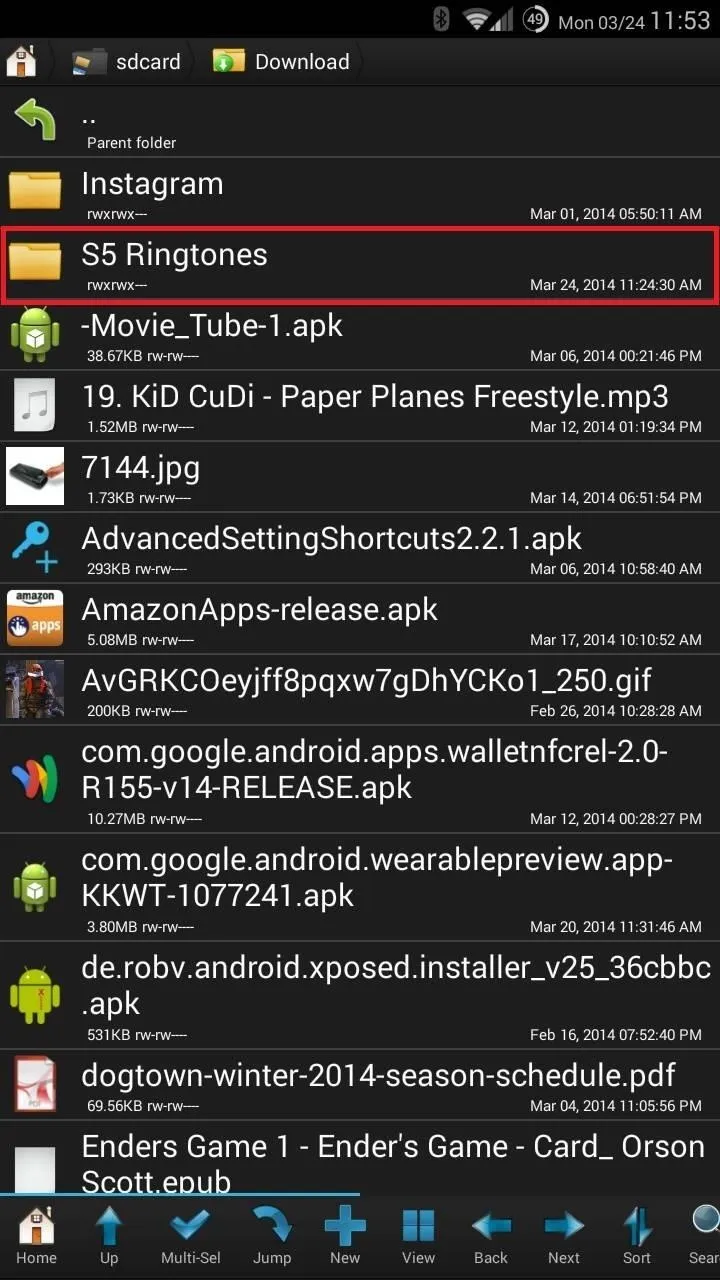
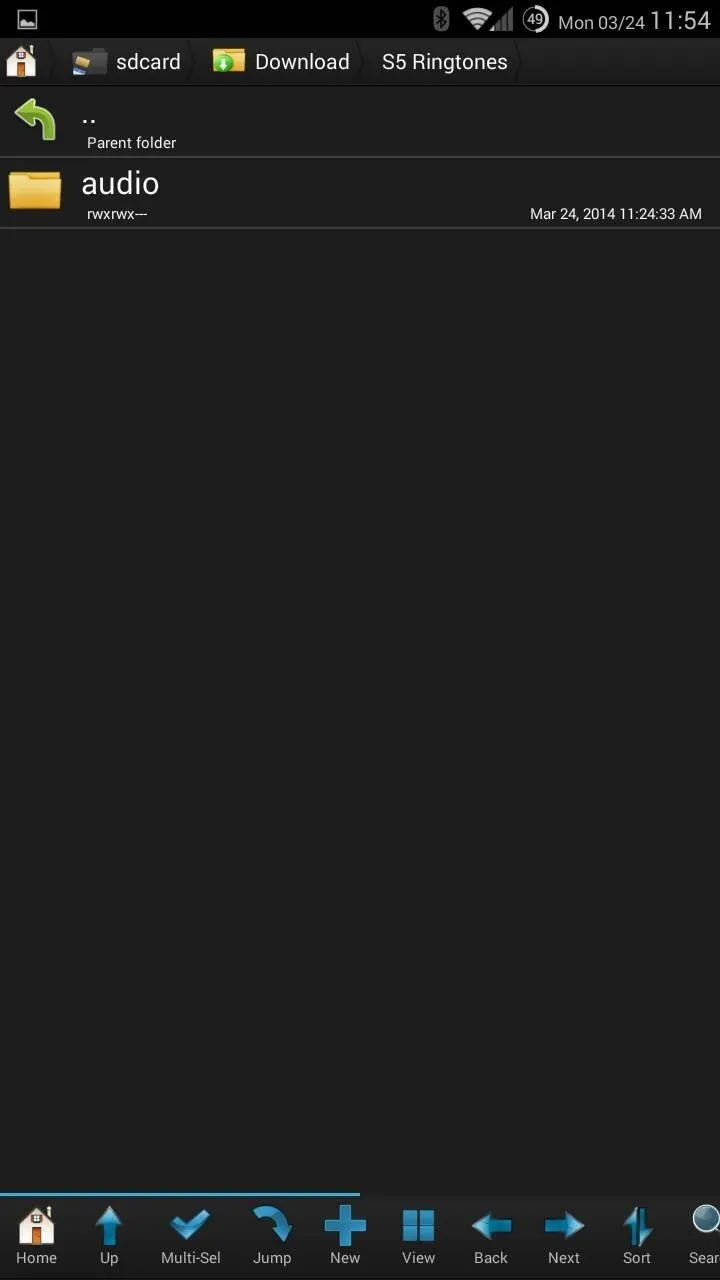
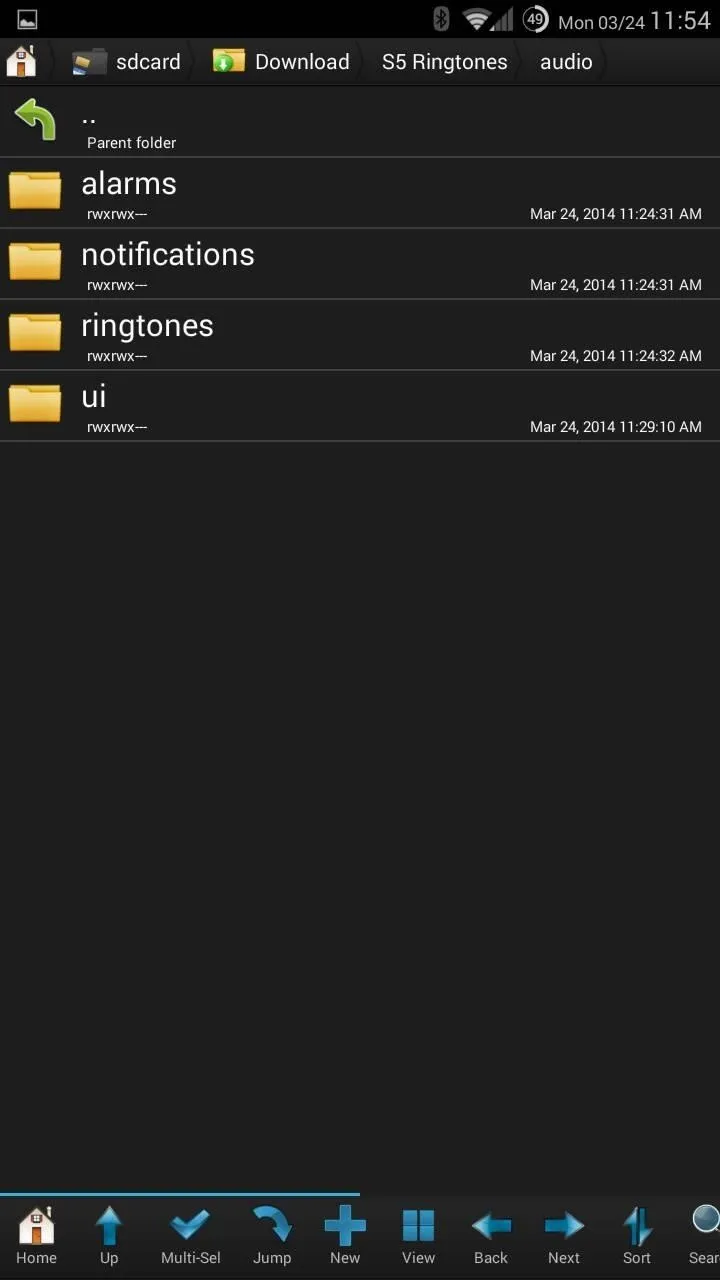


I'm going to show you how to copy the alarms folder to your system directory, after which you can copy the other three using the same method. Open the "alarms" folder, hit the "Mulit-Sel" key at the bottom, tap the "Select" key, and finally, tap "Copy".
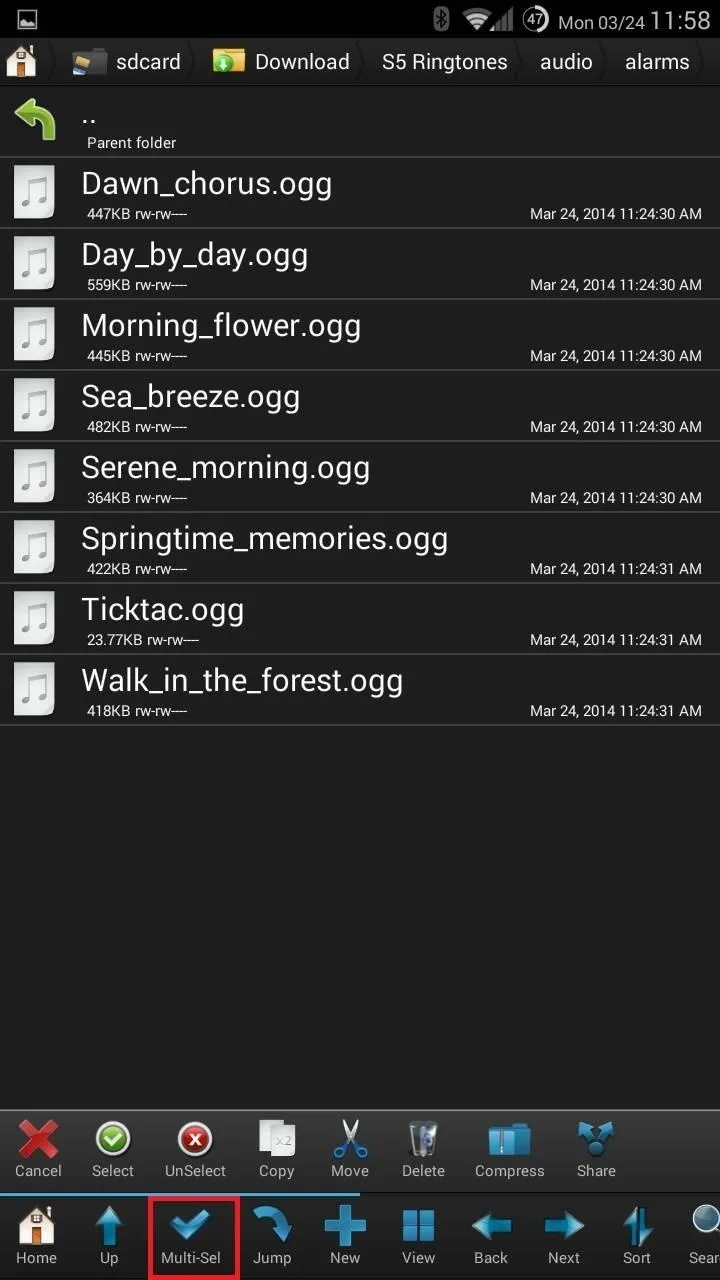
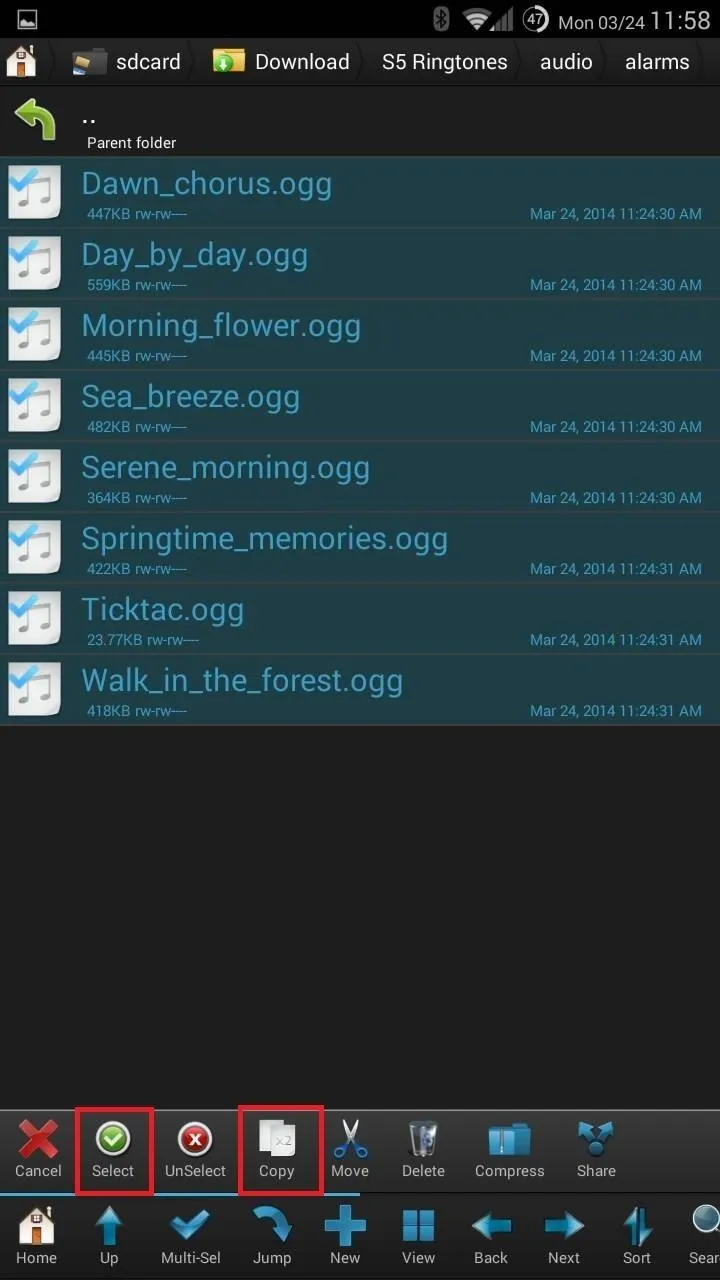
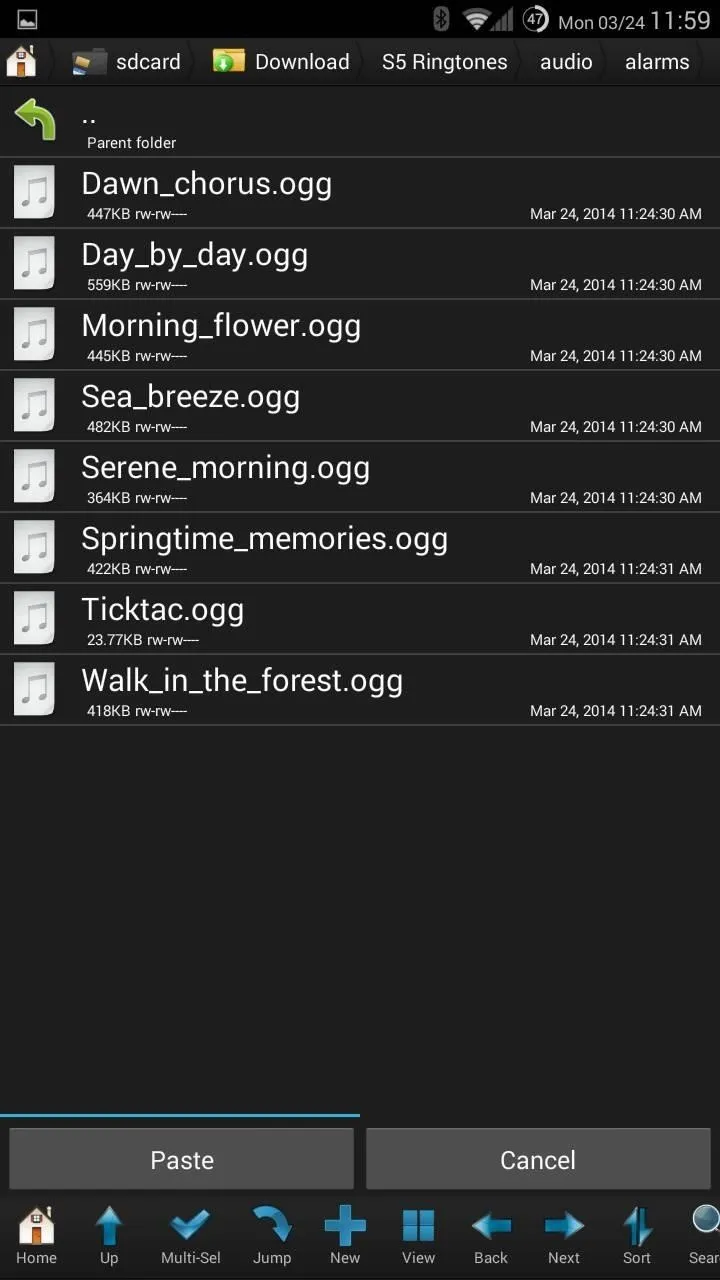


Alternatively, you can also select "Move", if you want these files erased after placing them in the "system" directory.
Step 4: Place Audio Files in the "System" Directory
Now tap the green arrow on the top left corner until you are at the base directory (the arrow will disappear). Find the System folder, then navigate to Media, then Audio, and you'll see a similar setup to the files we just downloaded.
This is a good place to copy these files over to a separate directory, if you didn't make a complete system backup. The only way to remove new ringers is to manually go through them one by one, or by erasing them all the replacing them with a copy.
Tap on the "alarms" folder, then hit the Paste button, which will copy (or move) the files from the downloaded folder onto our core system folder.
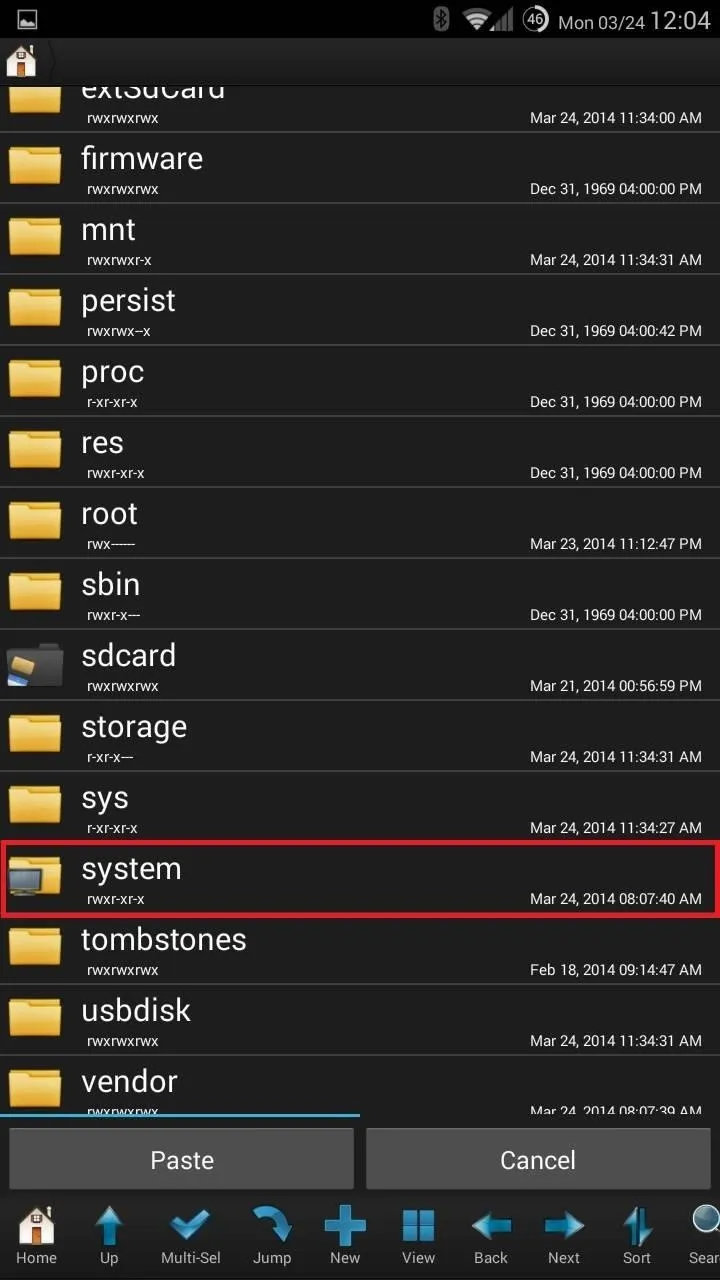
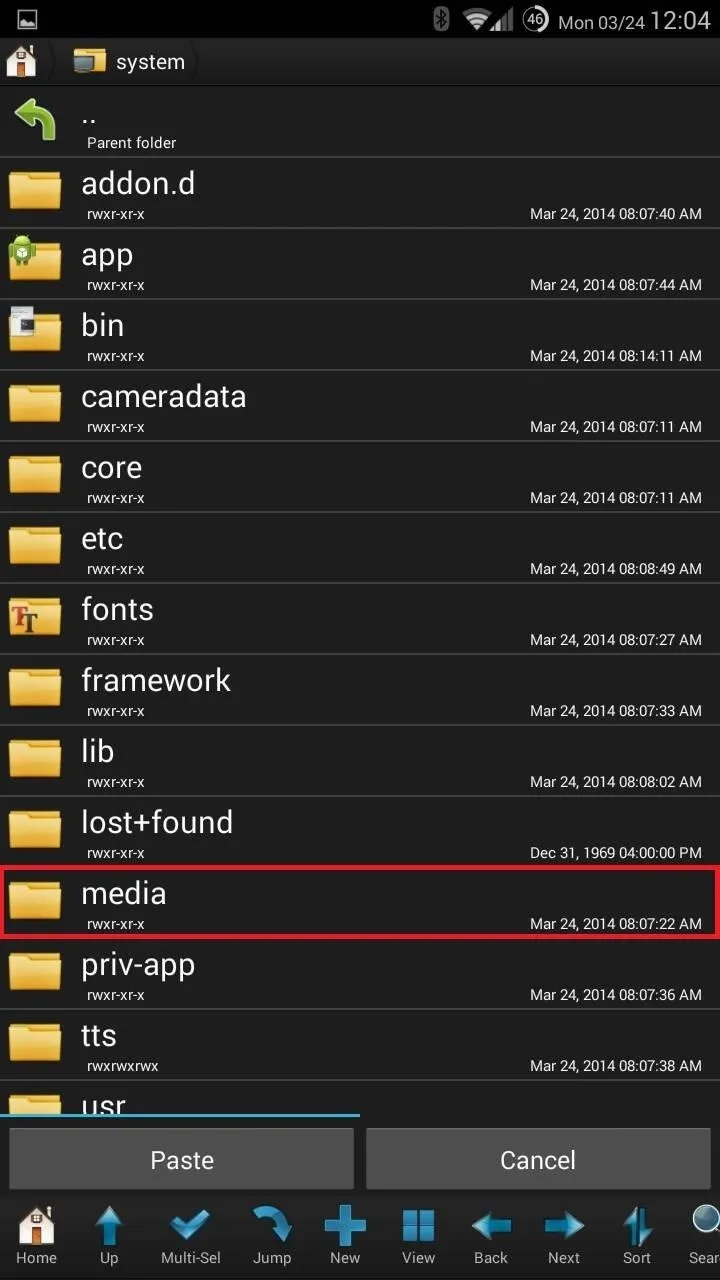
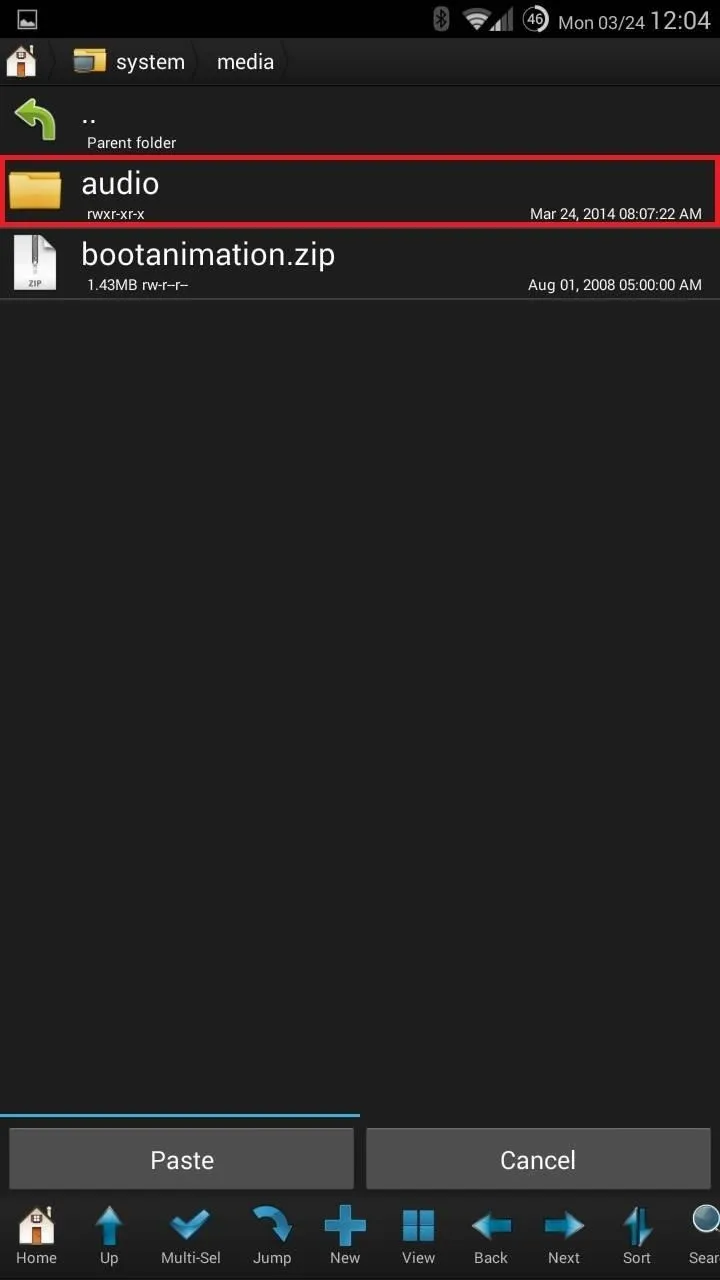


If you notice copy errors, ignore them. Once the process is complete, go back and follow the same steps for the other three folders. Once you're done, reboot your device for the changes to go into effect.
Step 5: View & Select New Ringtones
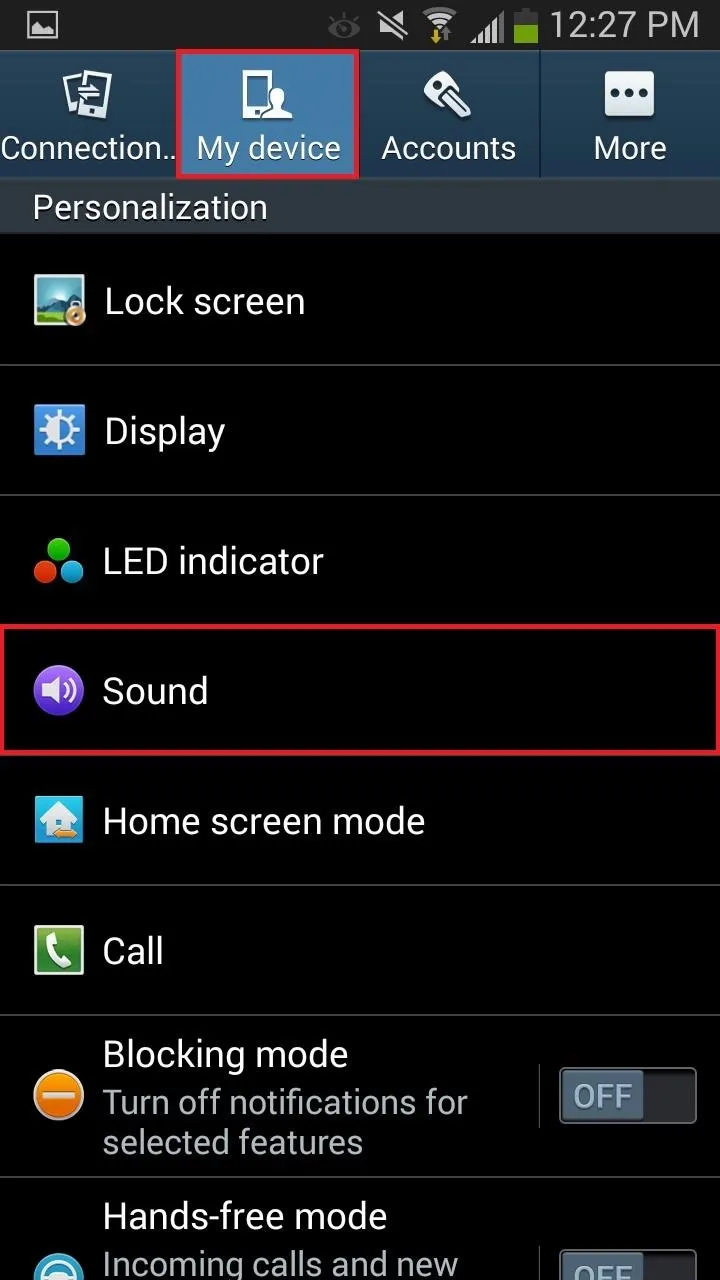
With your device rebooted, head to Settings -> My Device -> Sound. From here select "Ringtones" to change your ringer or "Default notification sound" to change the alert. Head to the Clock app to set an alarm and choose your new alarm sounds from there.
Not Rooted? Here's How You Can Get the Ringtones, Too
While the method above will add all audio to your device at a system level, our Galaxy devices are capable of adding audio on an individual basis.
Step 1: Follow Steps 1 & 2 Above
Follow Steps 1 and 2 (minus the root-browsing app) above so that you have a folder with the extracted audio files on your device.
Step 2: Go to Your Ringtones
Now go to Settings -> My Device - > Sound, and select Ringtones.
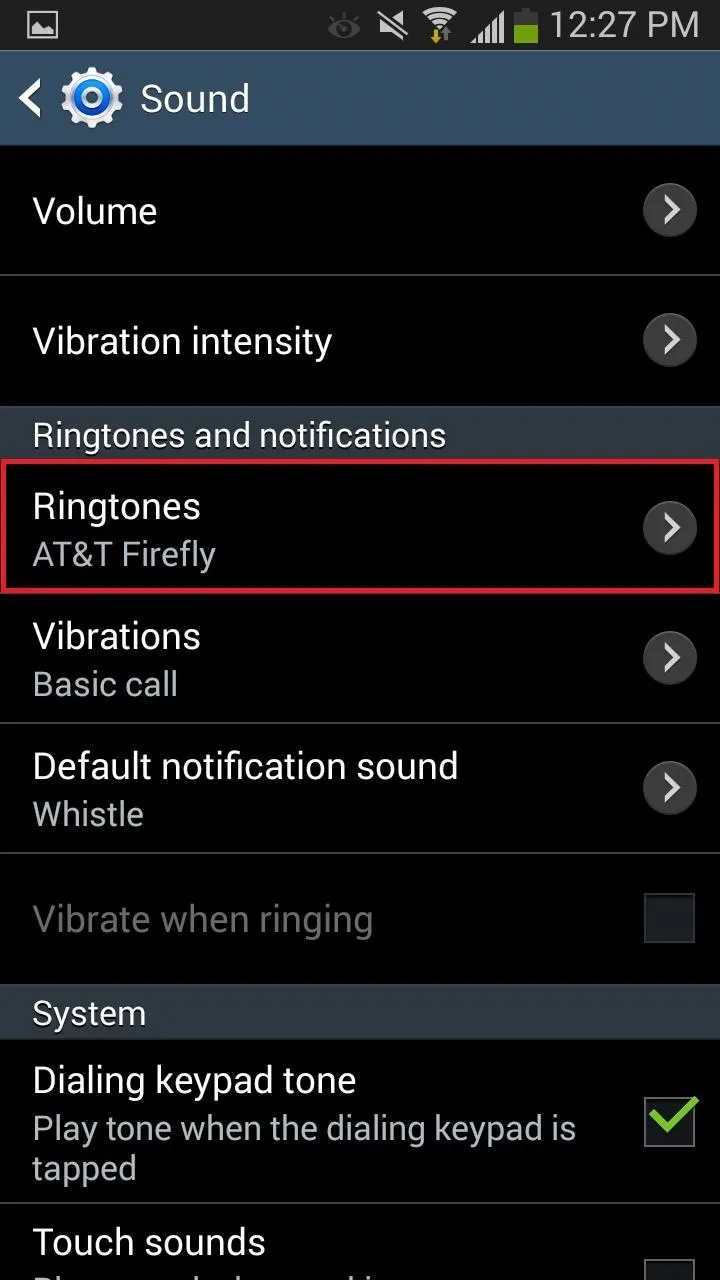


Step 3: Add Your New GS5 Ringtones
From the pop-up that follows, select Add, then navigate to the Folders tab, and select a ringtone from the folder where the new audio files are located.
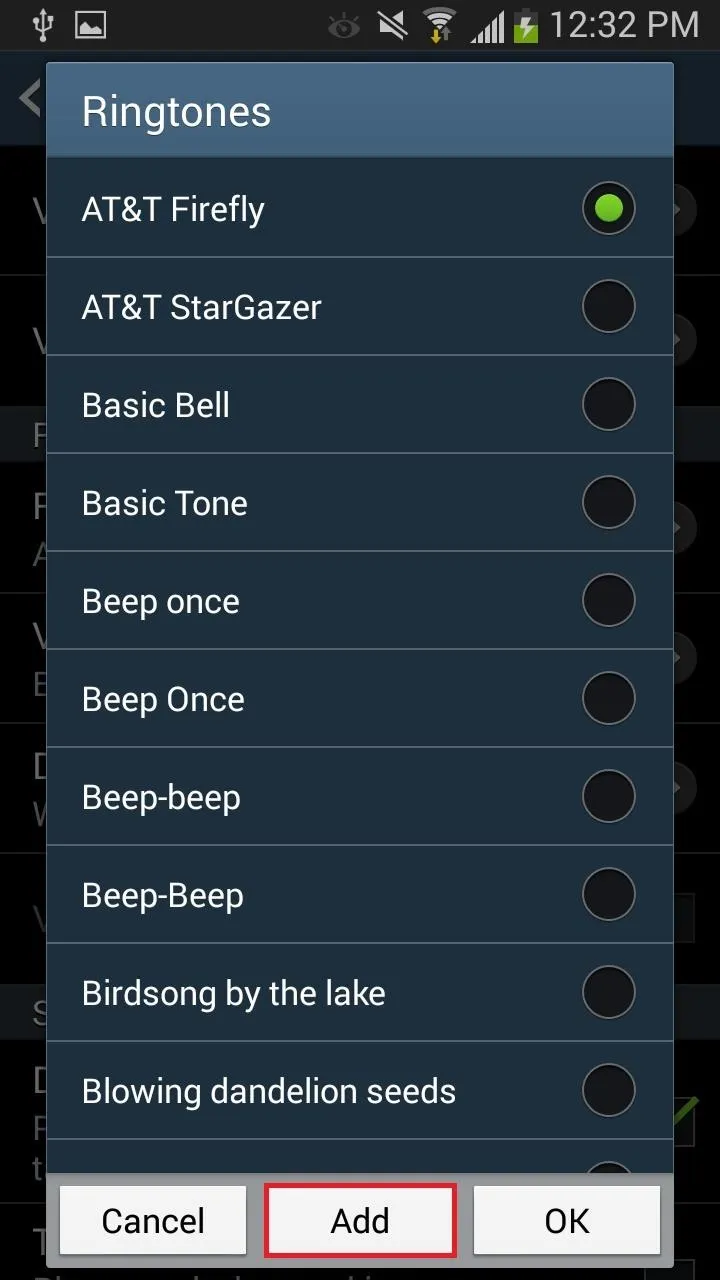
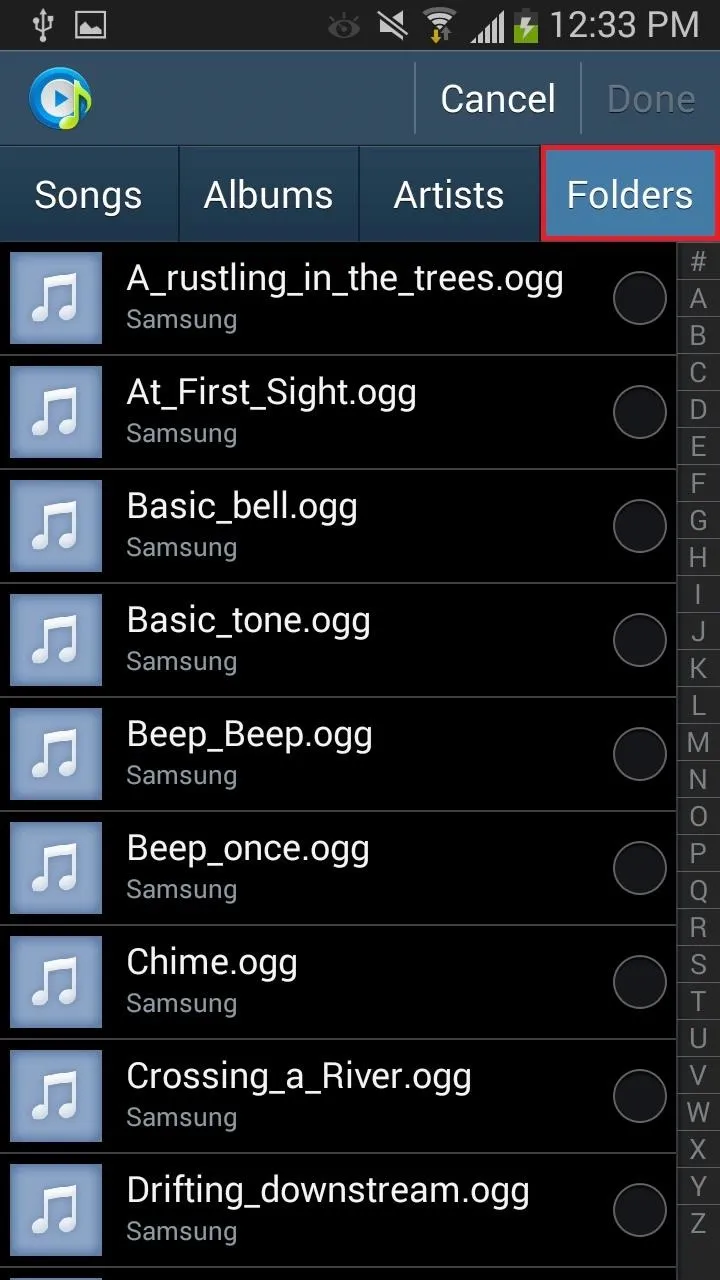
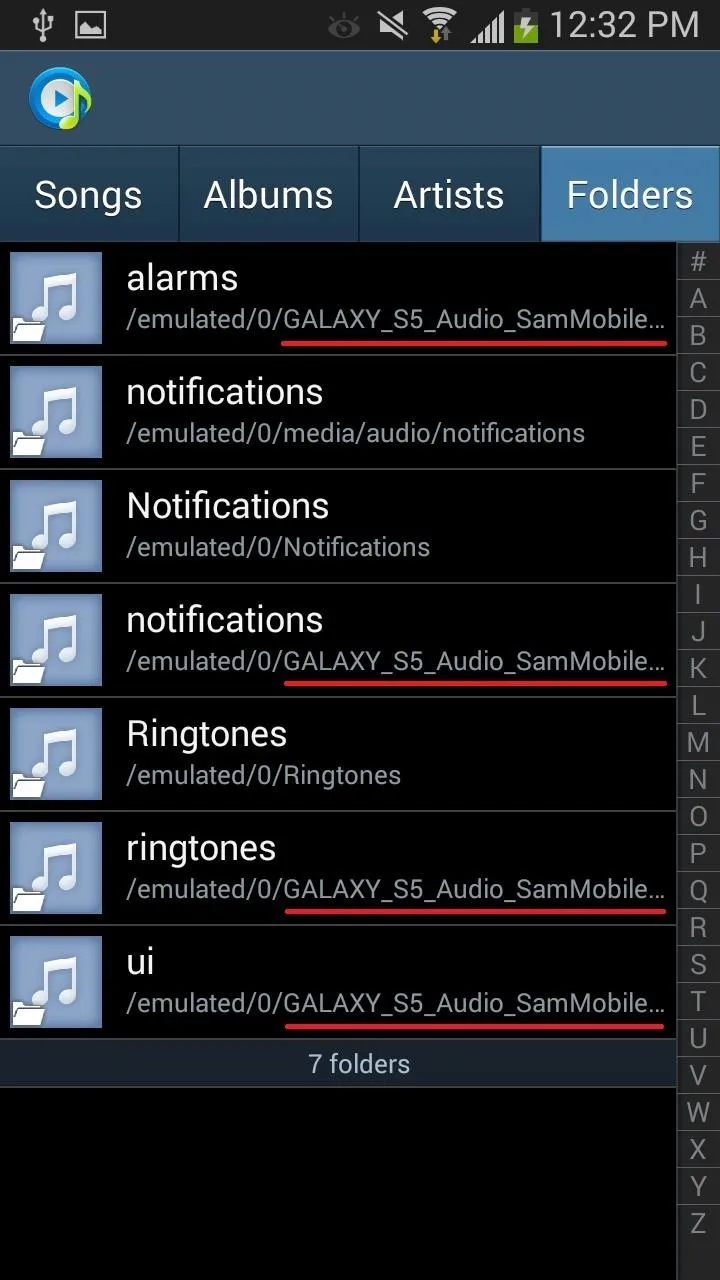


Now just tap on a folder and select the ringtone. While this method certainly works, it can be a bit tedious to add in all the various ringers. You can use this same method to add notification sounds, as well as alarm sounds through the Clock app.
Now you've got a small touch of the latest and greatest. Stay tuned for more as the Galaxy S5 release date approaches as we'll have a ton of stuff for you guys.



Comments
No Comments Exist
Be the first, drop a comment!