In the realm of Android mods, none is more powerful than a custom recovery. This is installed in place of the stock offering, and it lets you back up your entire system, flash mods, and install custom ROMs.
Recently, the guys over at Team Win Recovery Project released a version of their popular custom recovery for the Samsung Galaxy S6. This didn't include support for the S6 Edge, but developer eousphoros ported the official version of TWRP and made it compatible with the Edge.
While the S6 Edge build was made for the T-Mobile variant specifically, early user reports indicate that it works on all bootloader-unlocked variants of the Edge. Combined with the official build of TWRP for the regular S6, this means all versions of Samsung's latest flagship now have a custom recovery available to them, with the exception of the AT&T and Verizon models, which will likely never have root, custom recovery, or any such mods.
Step 1: Knock Out the Prerequisites
Before you get started, there are a few things you should know about installing custom recovery on your Galaxy S6.
First, while user reports indicate that the T-Mobile S6 Edge build will work on all Edge variants, it has not been extensively tested. So I'd only recommend that you install this custom recovery on a Sprint or international variant of the S6 Edge if you're comfortable with restoring the factory firmware on your device in case anything goes wrong.
Secondly, the method outlined here will require that your Galaxy S6 is rooted, but Nelson has a good rooting guide which should make that part easy. Be aware, though, that both rooting and installing a custom recovery on your device will trip the KNOX counter, meaning that your warranty will be void, and Samsung Pay will likely not work on your device.
Step 2: Download the TWRP Image File for Your Model
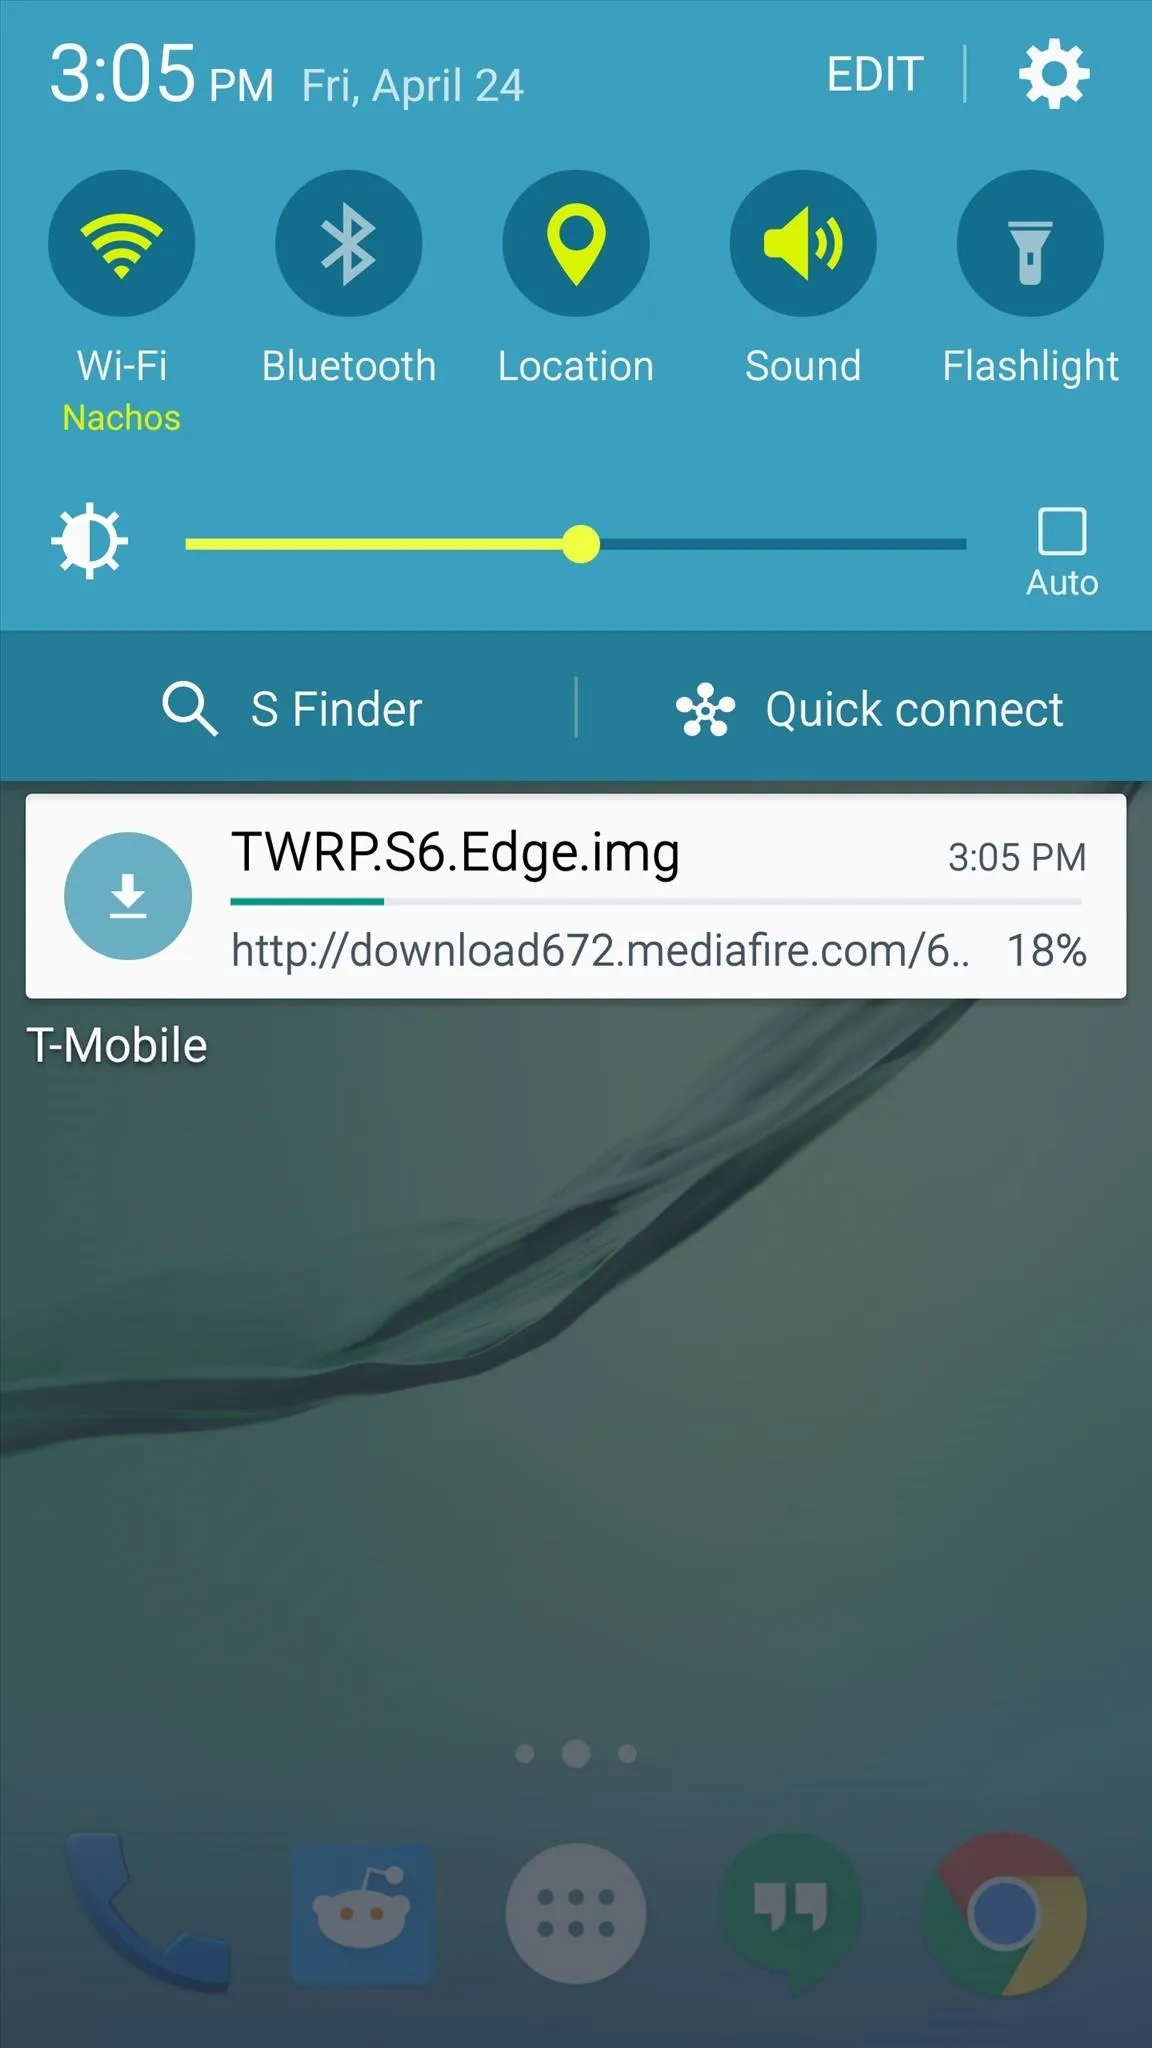
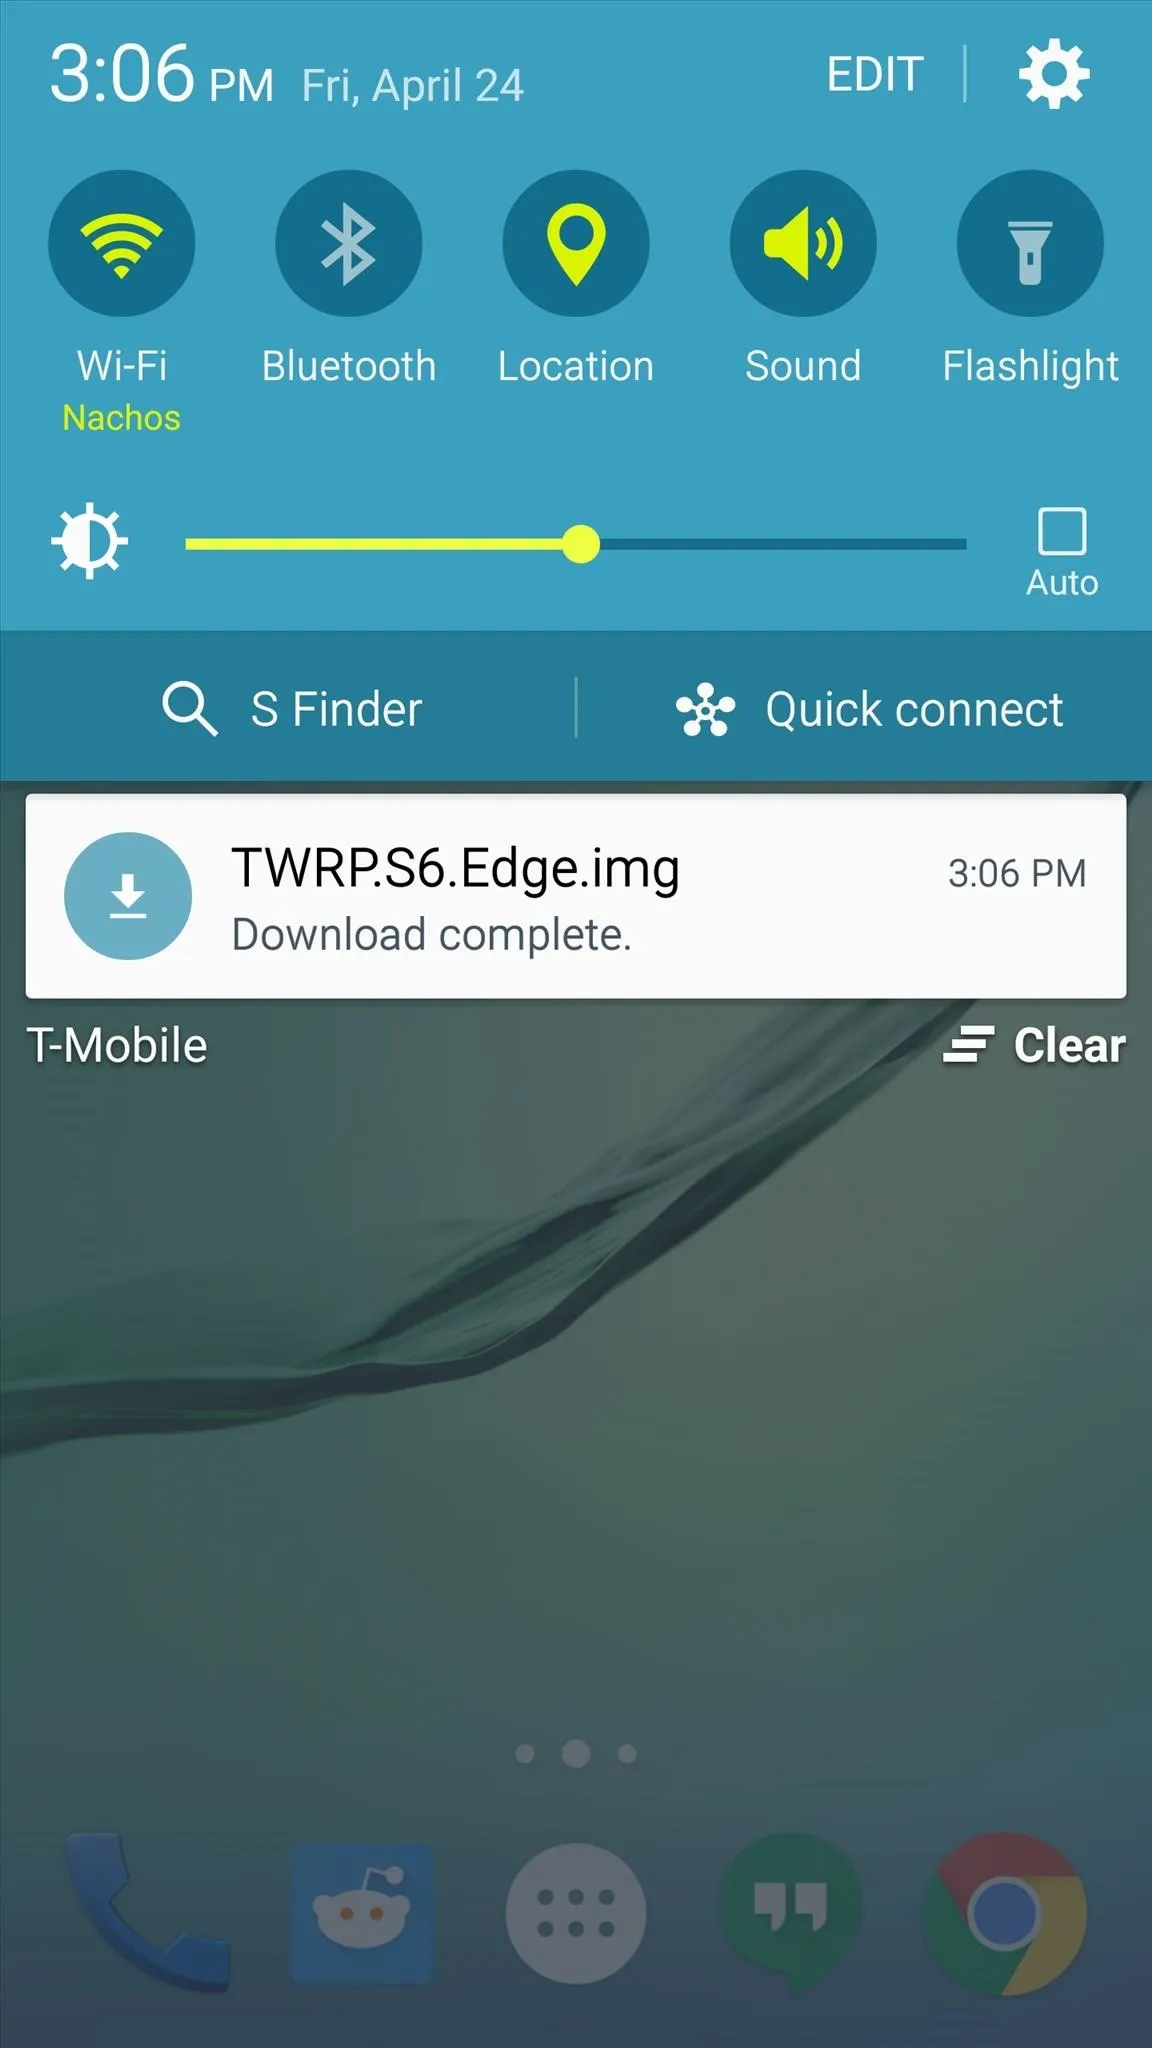
There are three different builds of TWRP available, and each is for a different Galaxy S6 model. So point your device's web browser to the link that corresponds to your particular variant:


Step 3: Install Flashify
The file that you just downloaded is an image, and a great tool for flashing such files is available for free on the Google Play Store. It's called Flashify, so search it by name to get it installed, or head directly to the install page at this link.

Step 4: Install TWRP
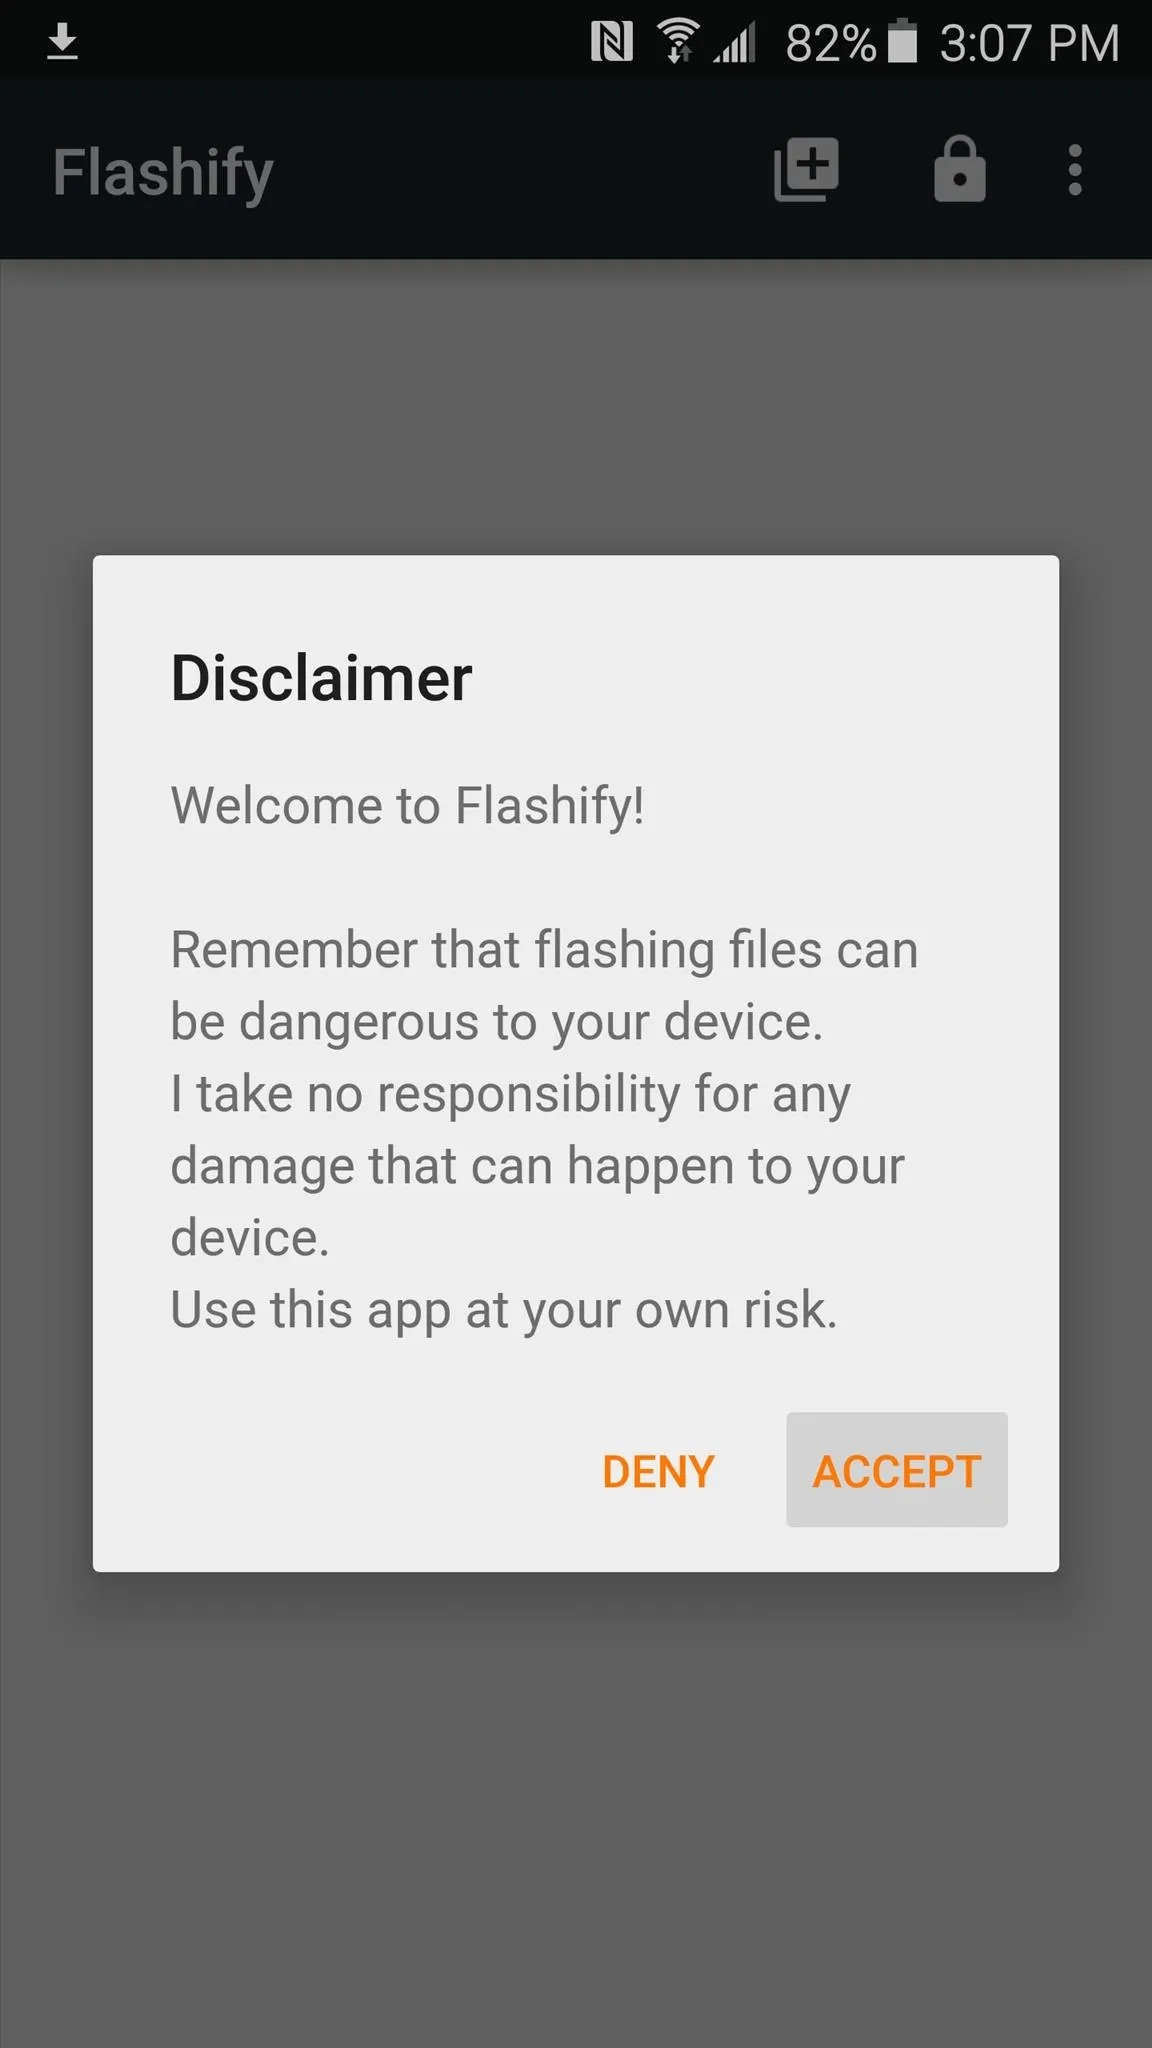
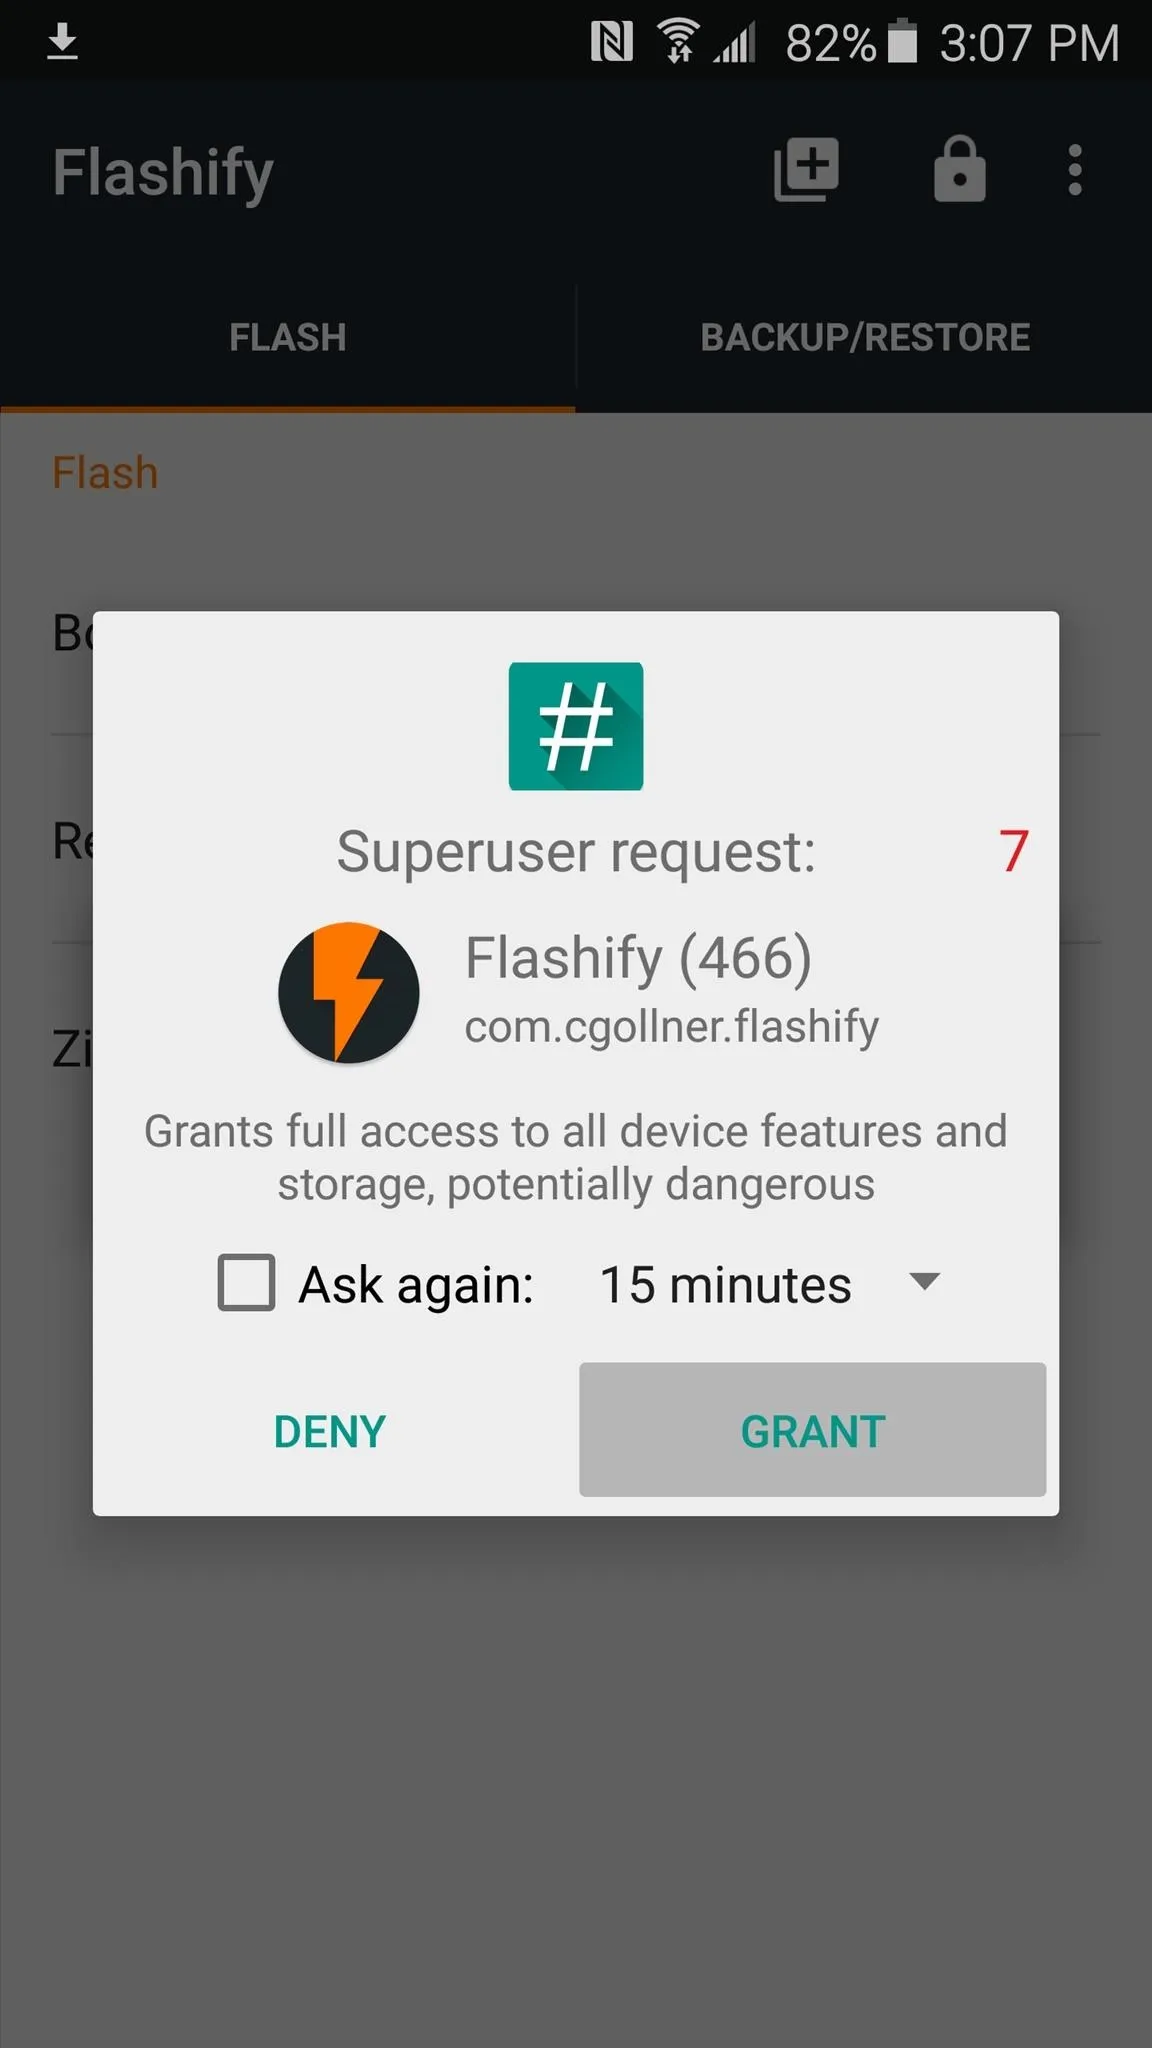
Next, go ahead and launch Flashify, then the app will give you a disclaimer. Press "Accept" here, then Flashify will ask for Superuser access, so tap "Grant" on the popup.


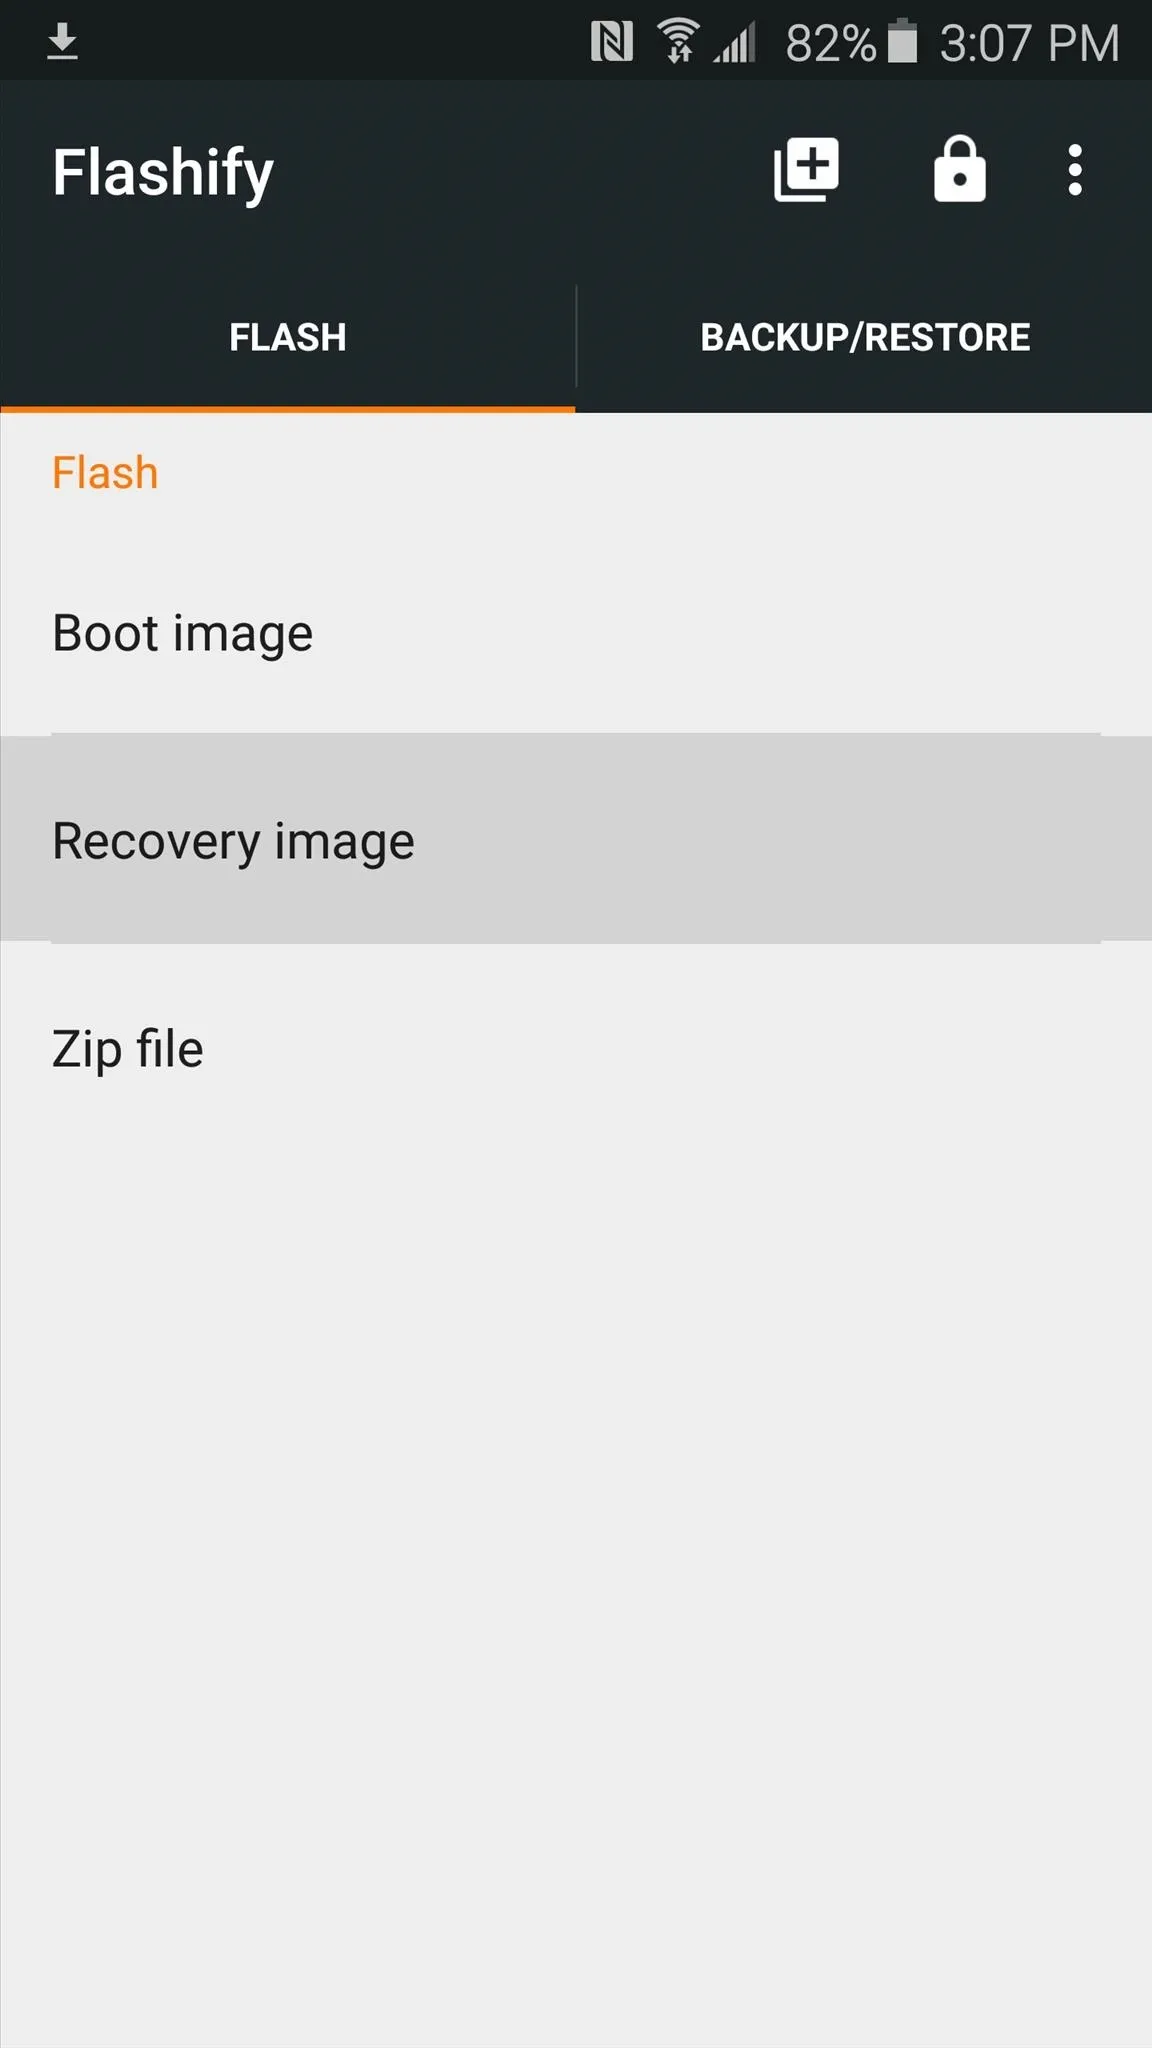
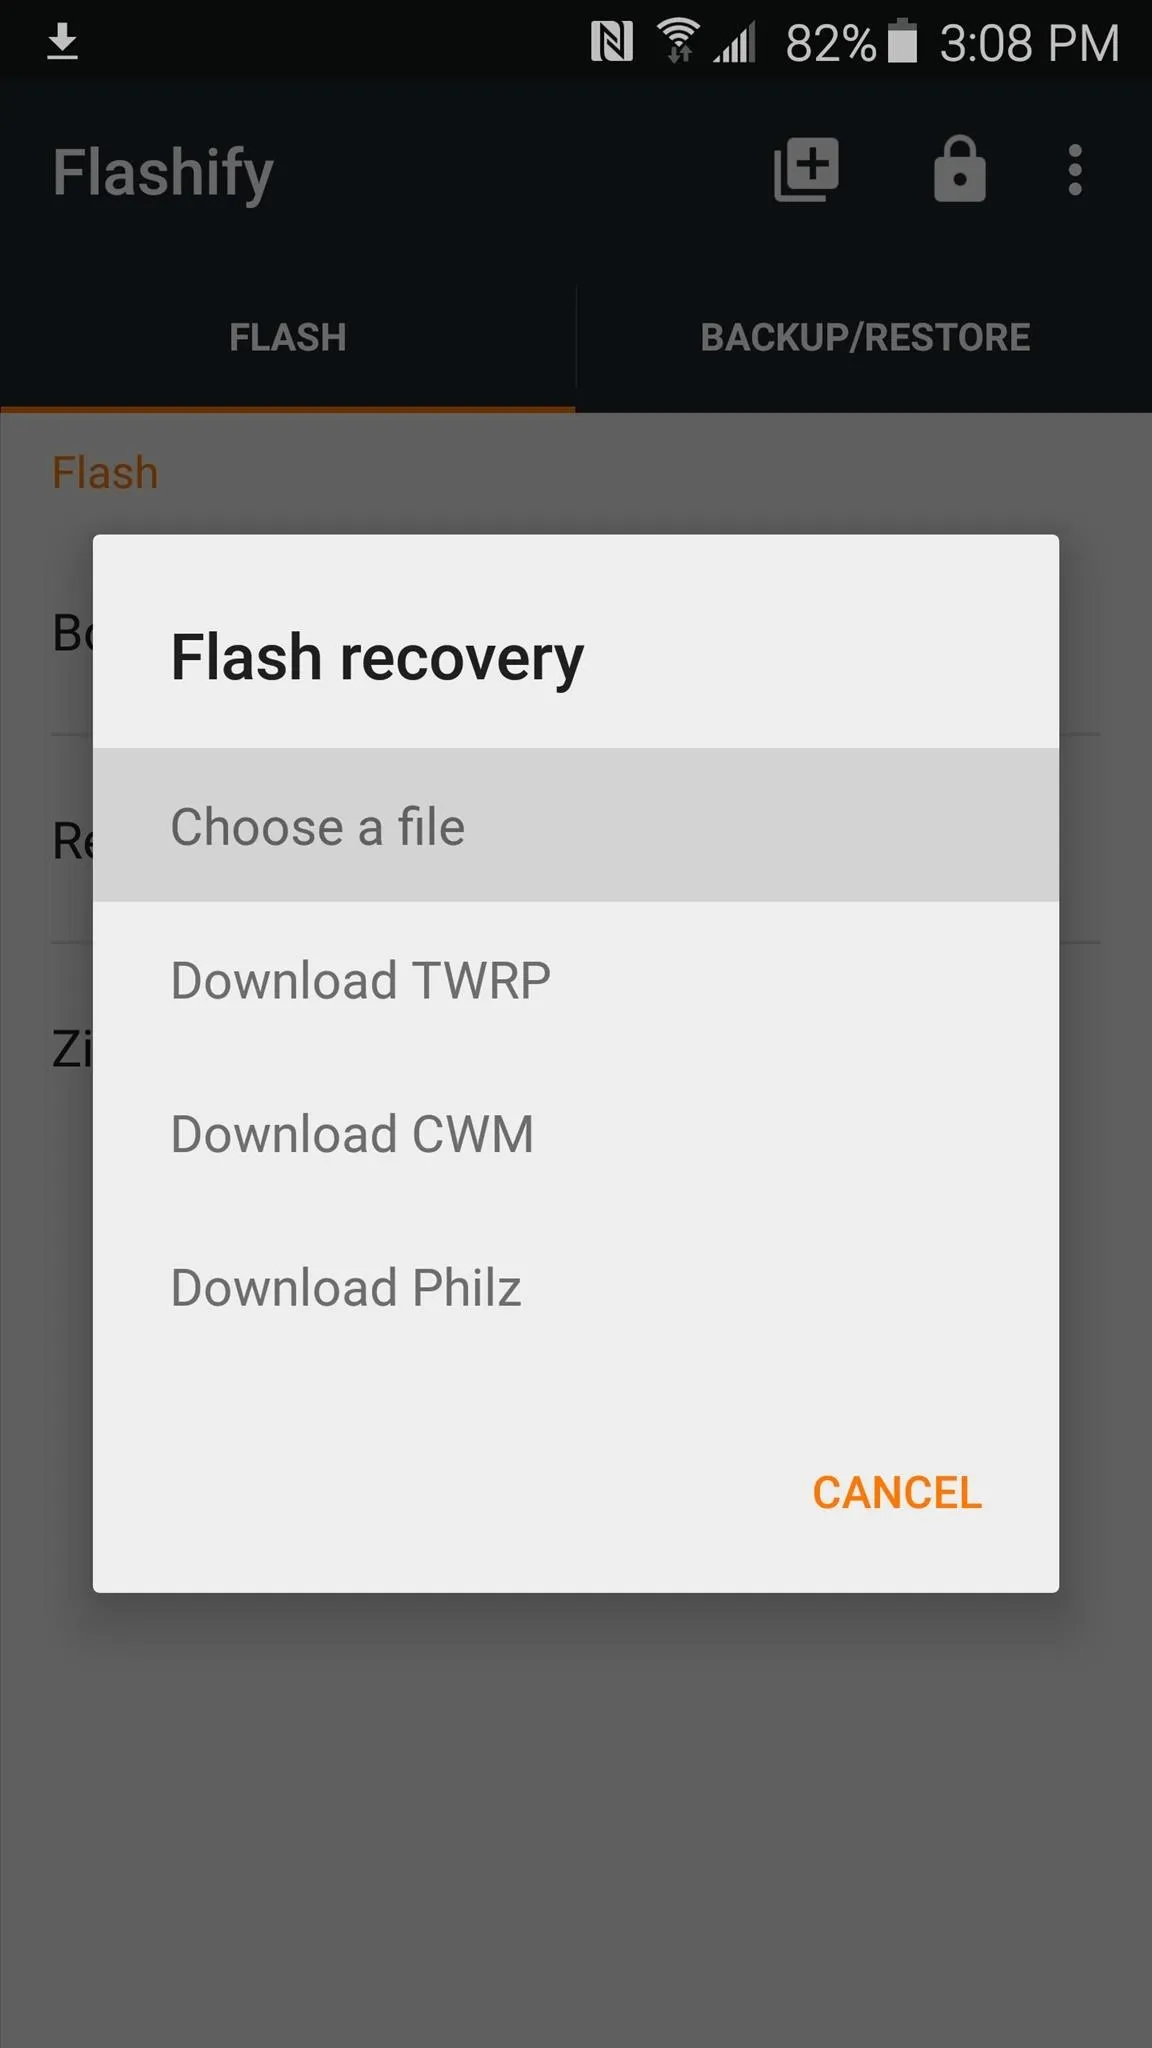
After that, tap the "Recovery Image" option, then hit "Choose a file." From here, use the next menu to browse and select the TWRP image file that you downloaded in Step 2.


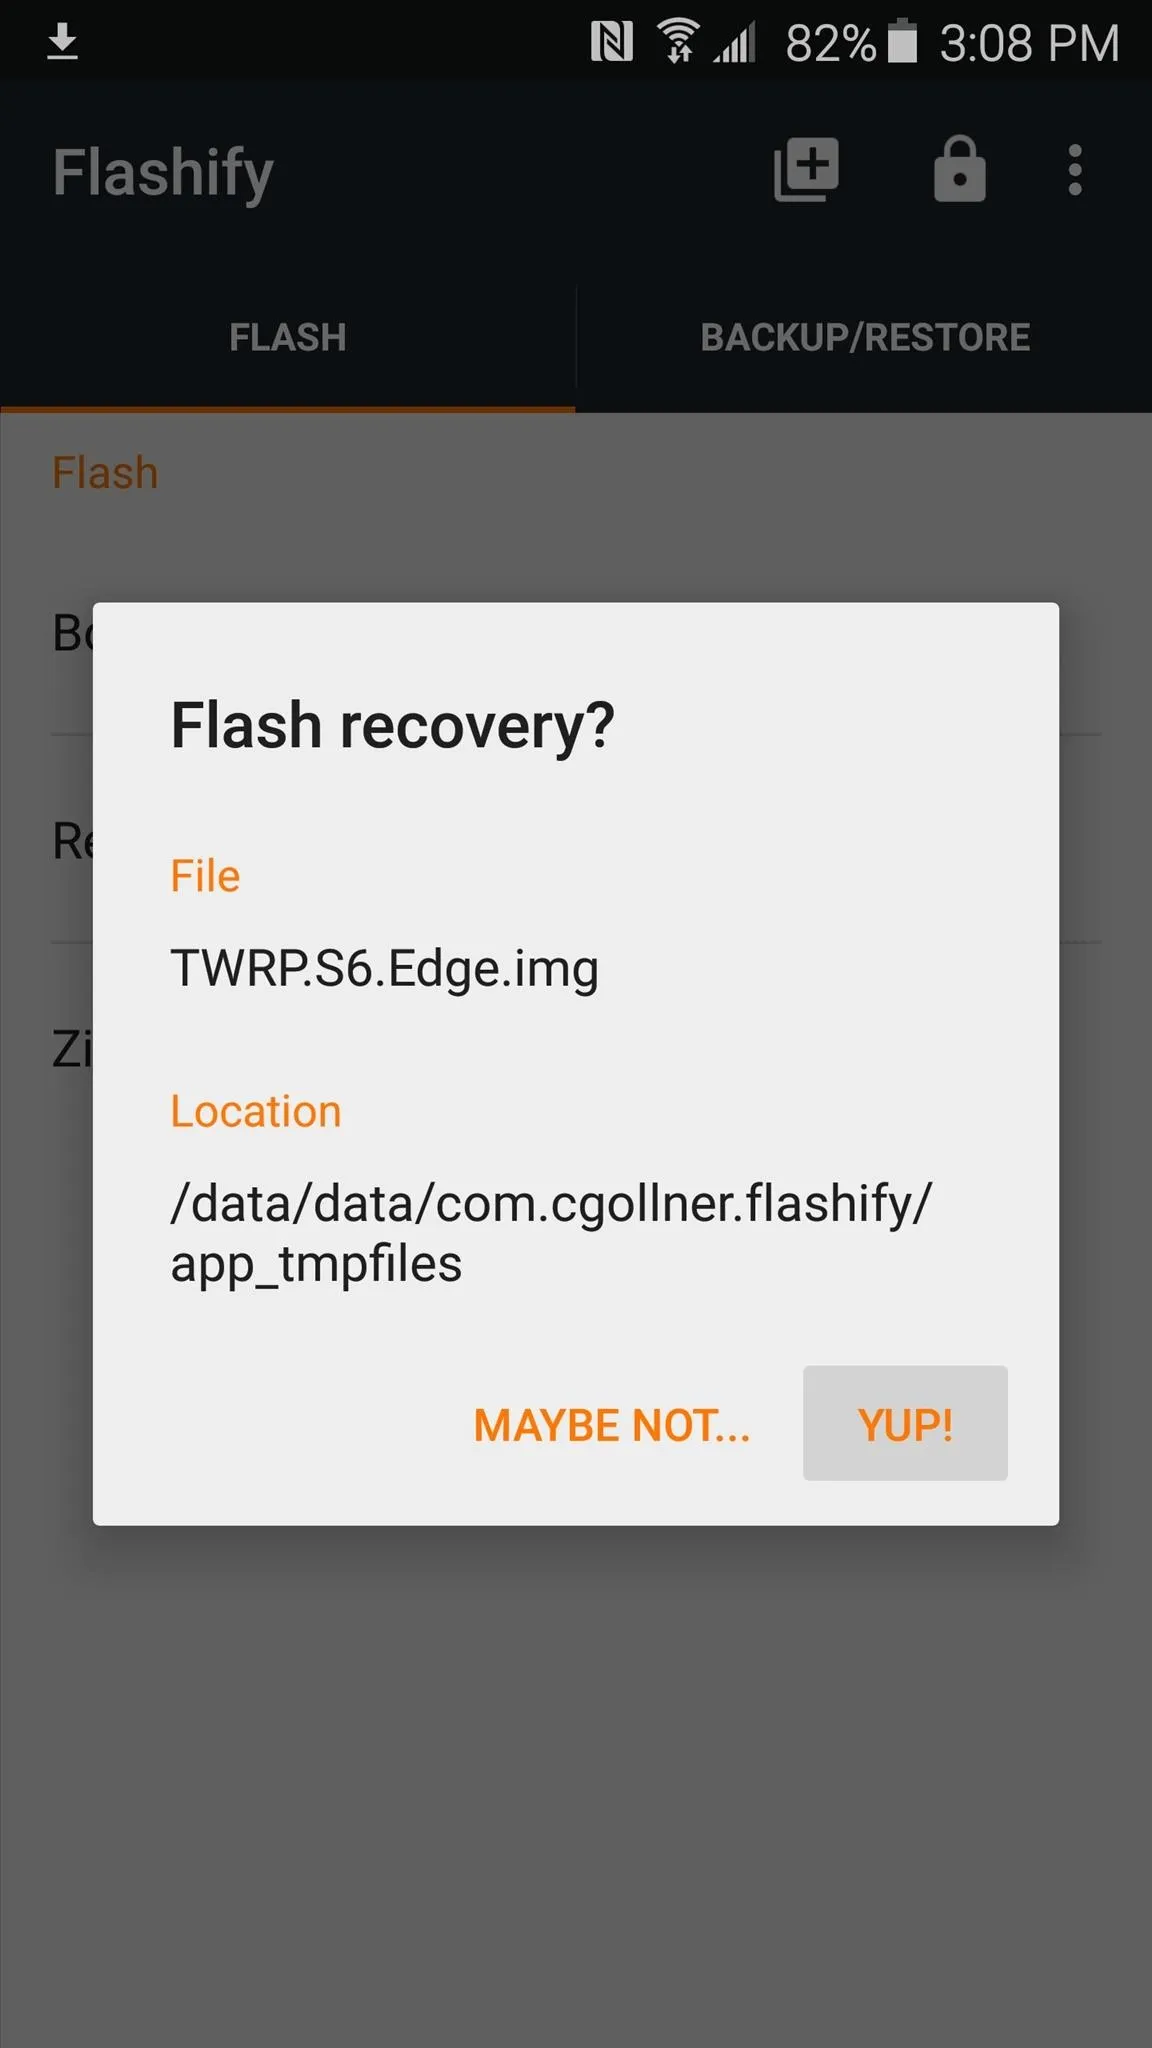
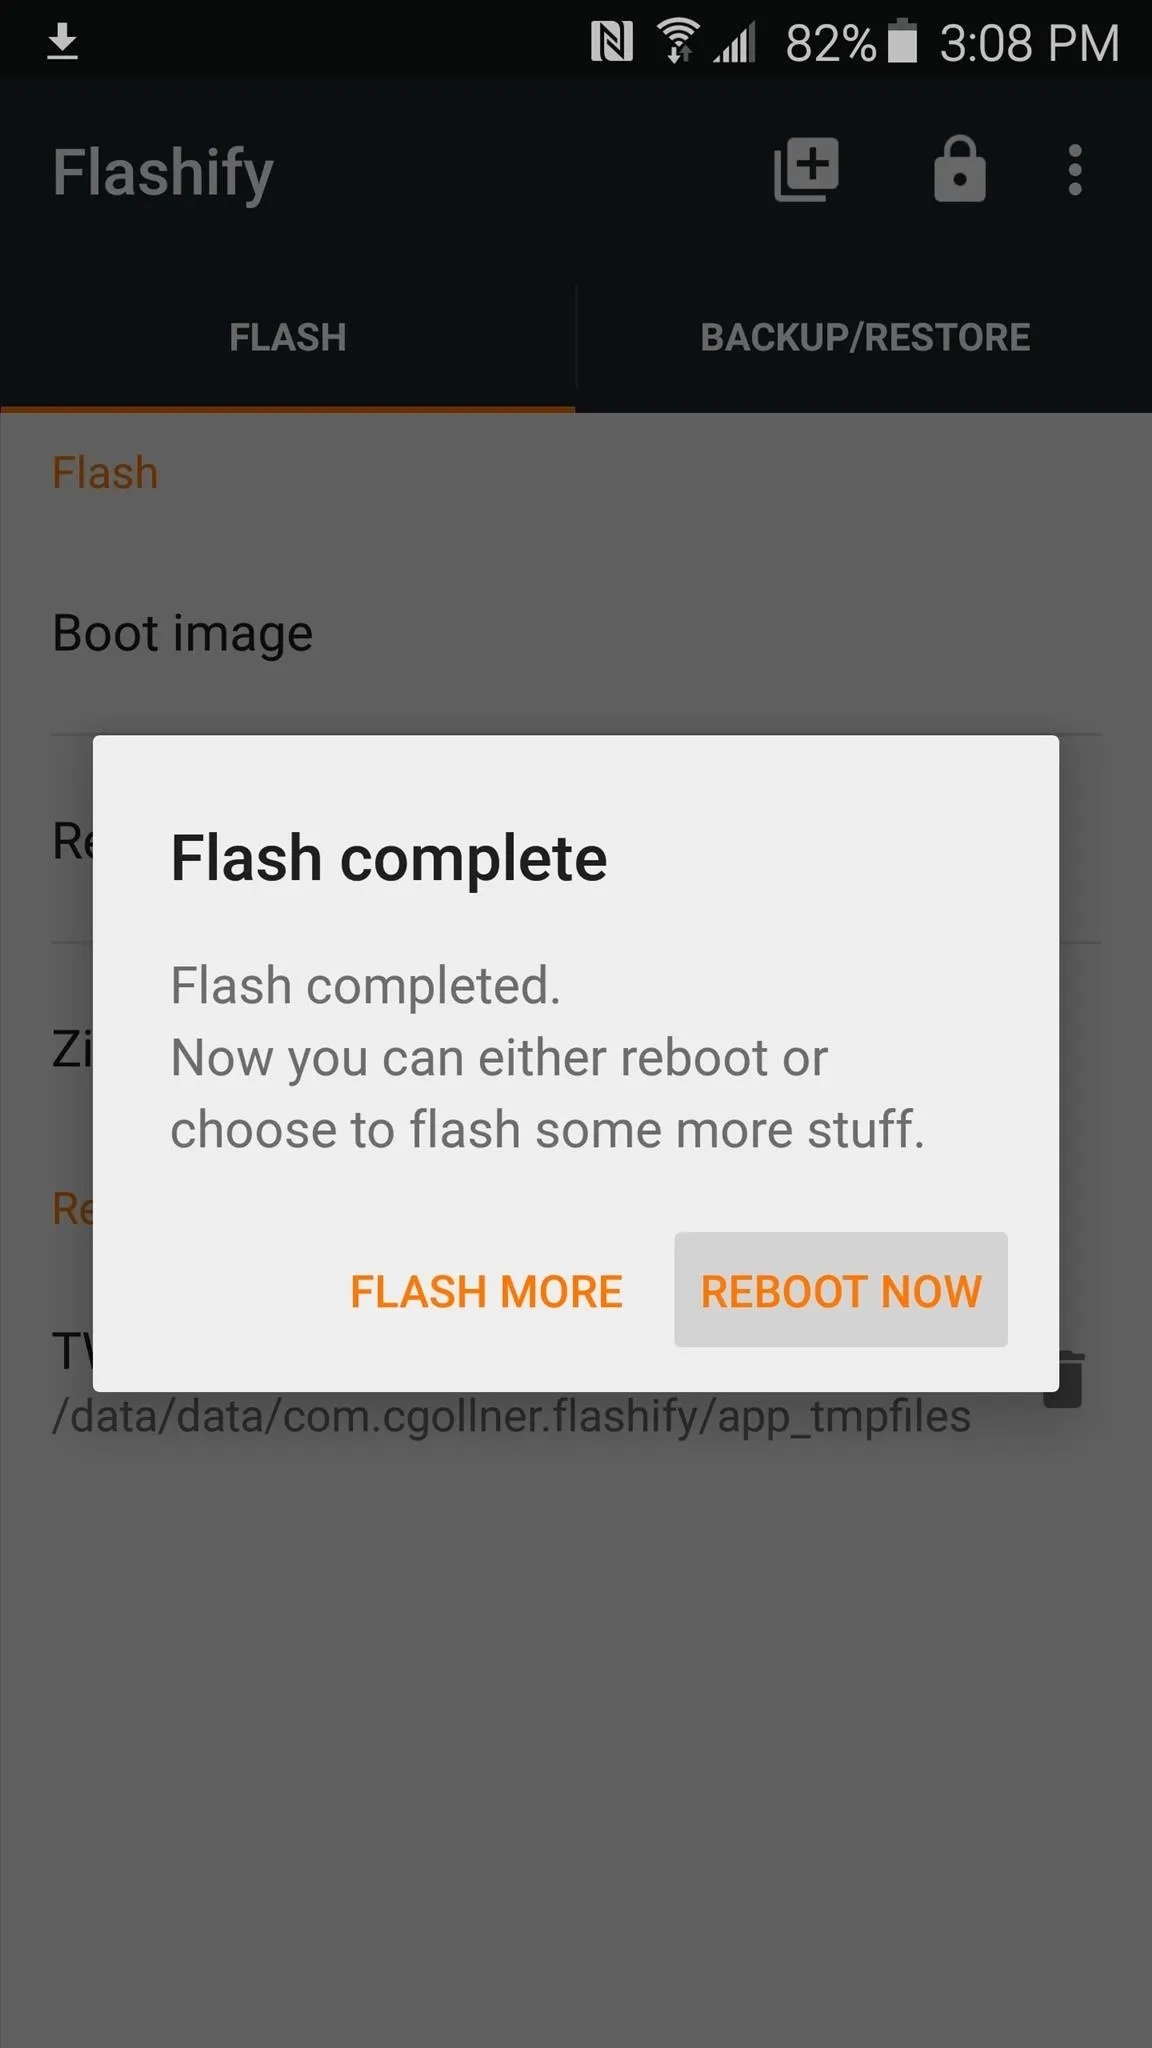
Next, Flashify will ask if you're ready to install TWRP. Tap "Yup!" if you are, then give it about 30 seconds to complete the process. When it's finished, Flashify will prompt you to reboot your phone. Tap "Reboot Now," and your phone will boot directly into your newly-installed custom recovery.


Alternatively, you can always boot into custom recovery with an easy button combo. From a powered-off state, press and hold your device's home, volume up, and power buttons simultaneously, and TWRP should come right up.
Step 5: Make a NANDroid Backup
Now that you've booted into TWRP, you're ready to go about flashing ZIPs and custom ROMs. But before you do that, it would be a great idea to make a full NANDroid backup. That way, if any mod you flash causes issues, you can easily restore your backup to get everything up and running.
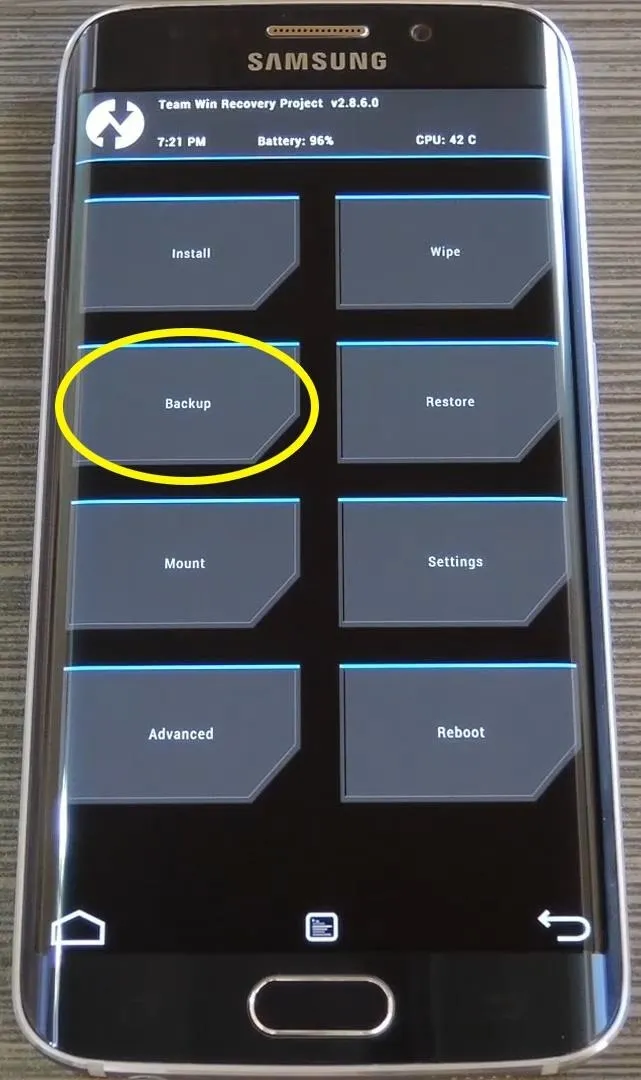
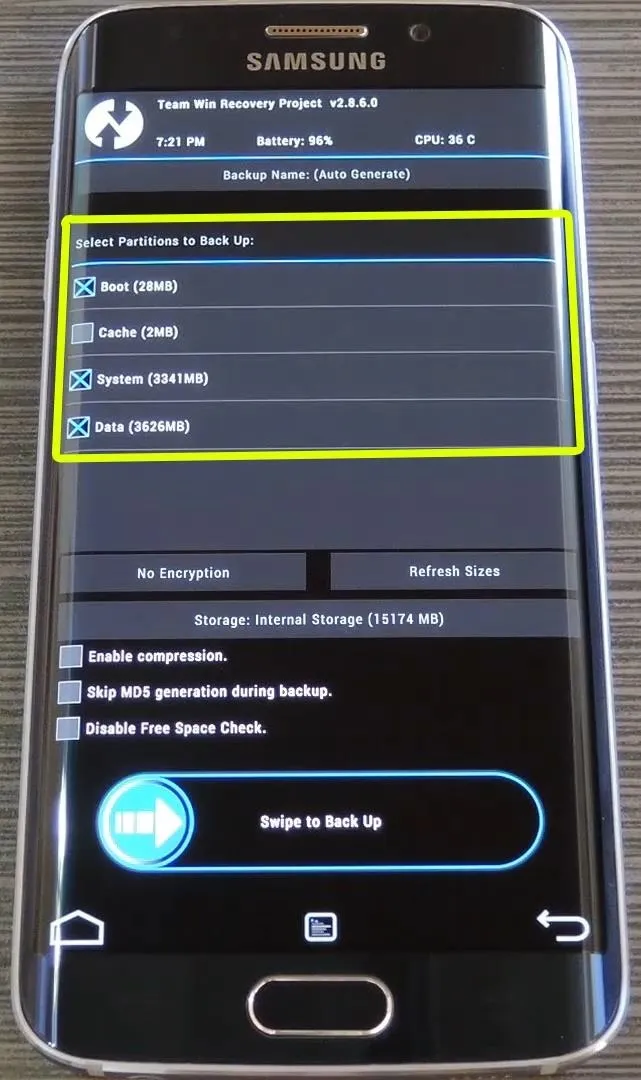
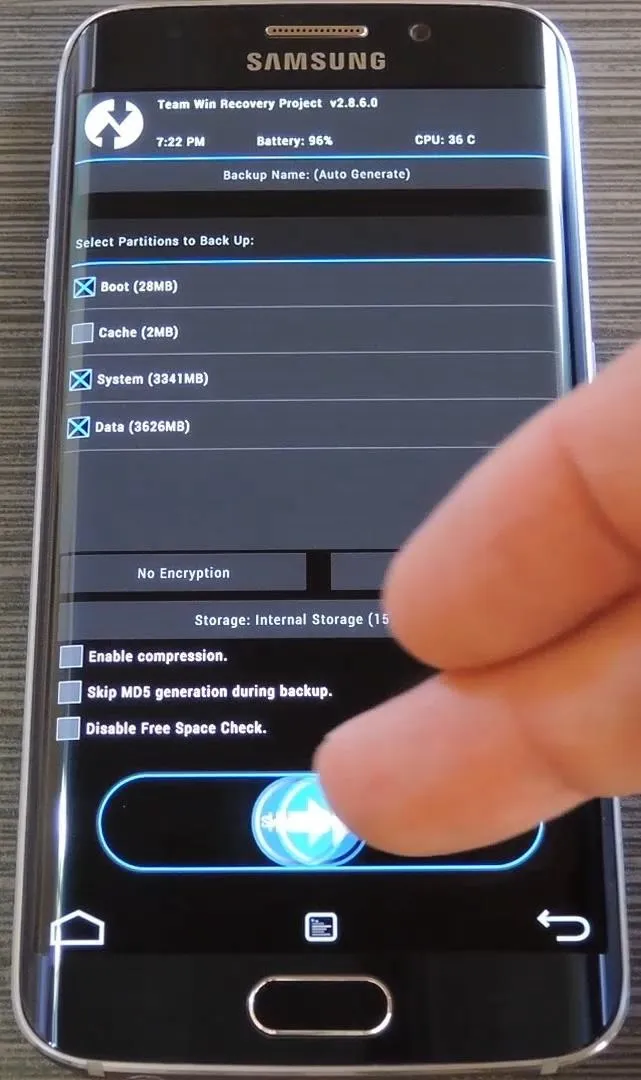
From TWRP's main menu, tap "Backup," then leave everything selected as it is. After that, simply swipe the slider at the bottom of the screen, and a full NANDroid backup will be created. Give it about 5 or 10 minutes to complete the backup, then you'll always have a system restore point to fall back on.


What was the first mod you flashed with TWRP on your Galaxy S6? Let us know in the comment section below, or drop us a line on Android Hacks' Facebook or Twitter, or Gadget Hacks' Facebook, Google+, or Twitter.


Comments
No Comments Exist
Be the first, drop a comment!