The bootloaders on the AT&T and Verizon Wireless variants of the Samsung Galaxy Note 3 still cannot be unlocked, despite the $1,400+ bounty that arose late last year. Nine months later and still nothing. But just because we can't "unlock" the bootloader doesn't mean we can't get around it.
For those of you not familiar with a bootloader, it's the program that loads the phones firmware on startup. With a locked bootloader, your phone is forever stuck on stock ROMs, meaning custom ROMs, kernels, and flashing ZIPs are off limits.
Safestrap Recovery bypasses the bootloader altogether and creates a virtual recovery, based on the very popular TWRP. It's incredibly easy to install on the locked down AT&T and Verizon Wireless variants, and it will let you do all of those glorious things you couldn't do before.
Prerequisites
Step 1: Choose Which Safestrap Recovery to Install
There are different versions of Safestrap depending on what Android version you're running and your carrier. Before we get to them, though, let's first figure out what firmware you have on your Note 3.
Finding Your Firmware Version
You can find what firmware and version of Android that you're running by going into your app drawer and tapping the Settings icon. Next, navigate to General -> About device and find your firmware version under Build number—the last three characters designates your firmware version.

Now that you know your OS version, firmware build, and carrier, you can download the appropriate Safestrap version using one of the links below. Just do not attempt to install the APK yet.
AT&T Users
- Jelly Bean (all JB firmwares): Safestrap-HLTEATT-3.71.apk
- KitKat (MLG/NB4/NC2): Safestrap-HLTEATT-NC2-3.75-B03.apk
See here for more download links for other devices.
Verizon Wireless Users
- Jelly Bean (all JB firmwares): Safestrap-HLTEVZW-3.71.apk
- KitKat (NC2): Safestrap-HLTEVZW-NC2-3.75-B04.apk
See here for more download links for other devices.
Warning for Verizon Wireless Users
Verizon Wireless users who have "Android device encryption" turned on should stay clear of Safestrap Recovery, as it will put your device into a bootloop.
Step 2: Install BusyBox
In order to install Safestrap Recovery correctly, we need to use BusyBox, which is free on the Play Store. BusyBox is a collection of tools required by many root-capable apps, Safestrap being one of them.
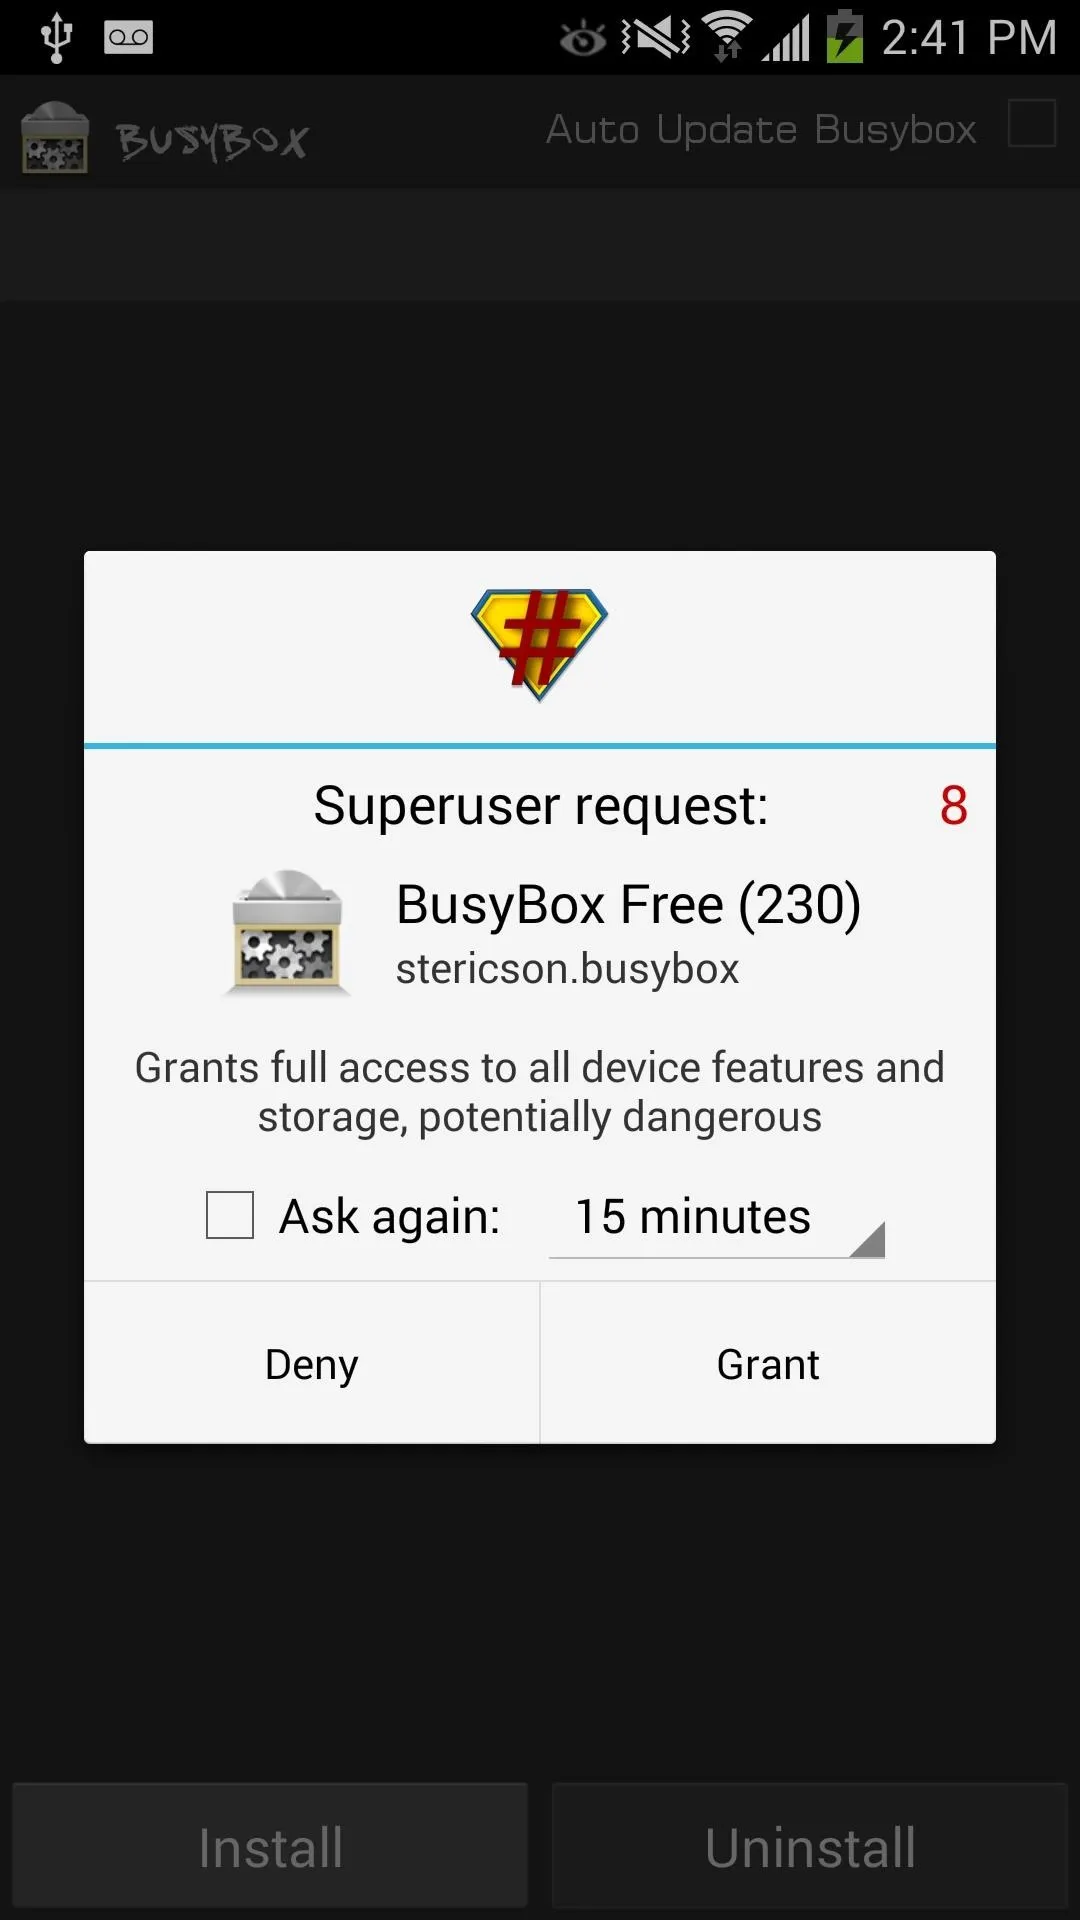
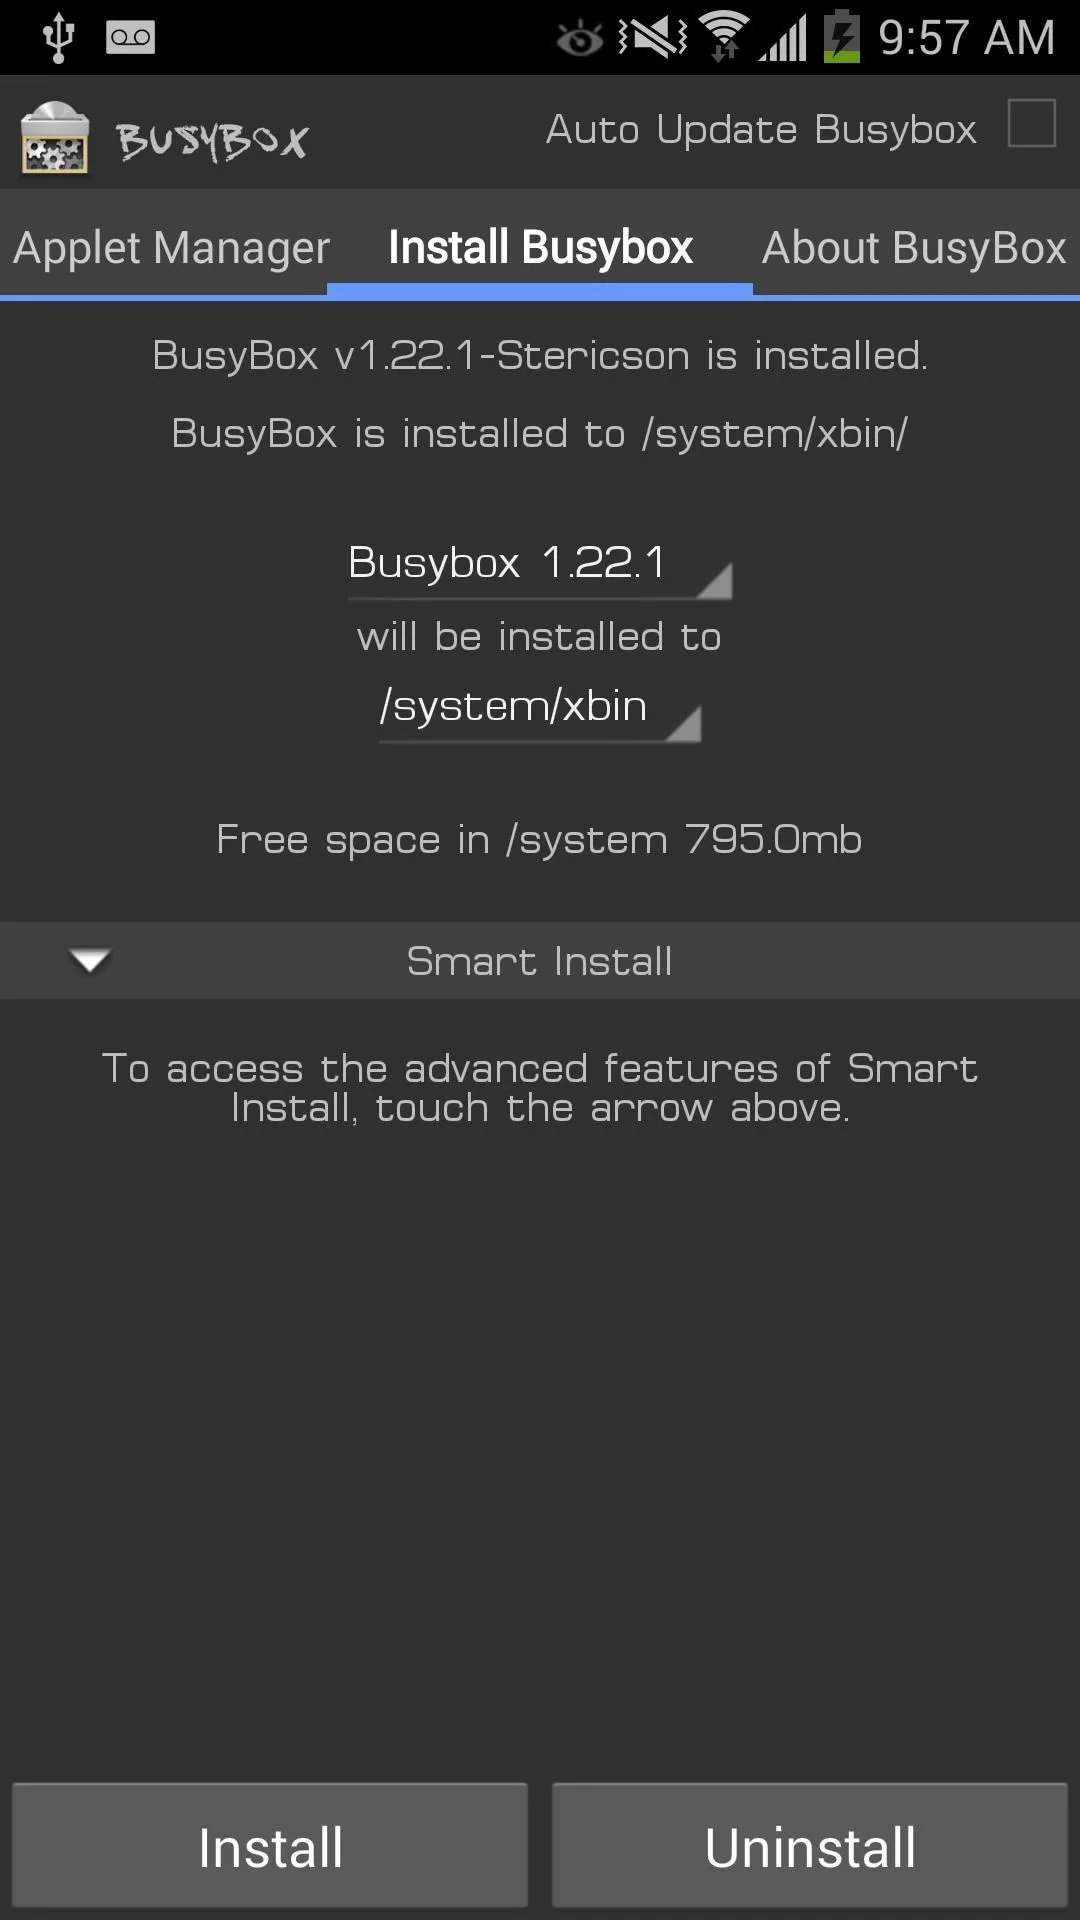
After it installs, launch BusyBox and grant it superuser permissions, then tap the button for Install.


Step 3: Install Safestrap
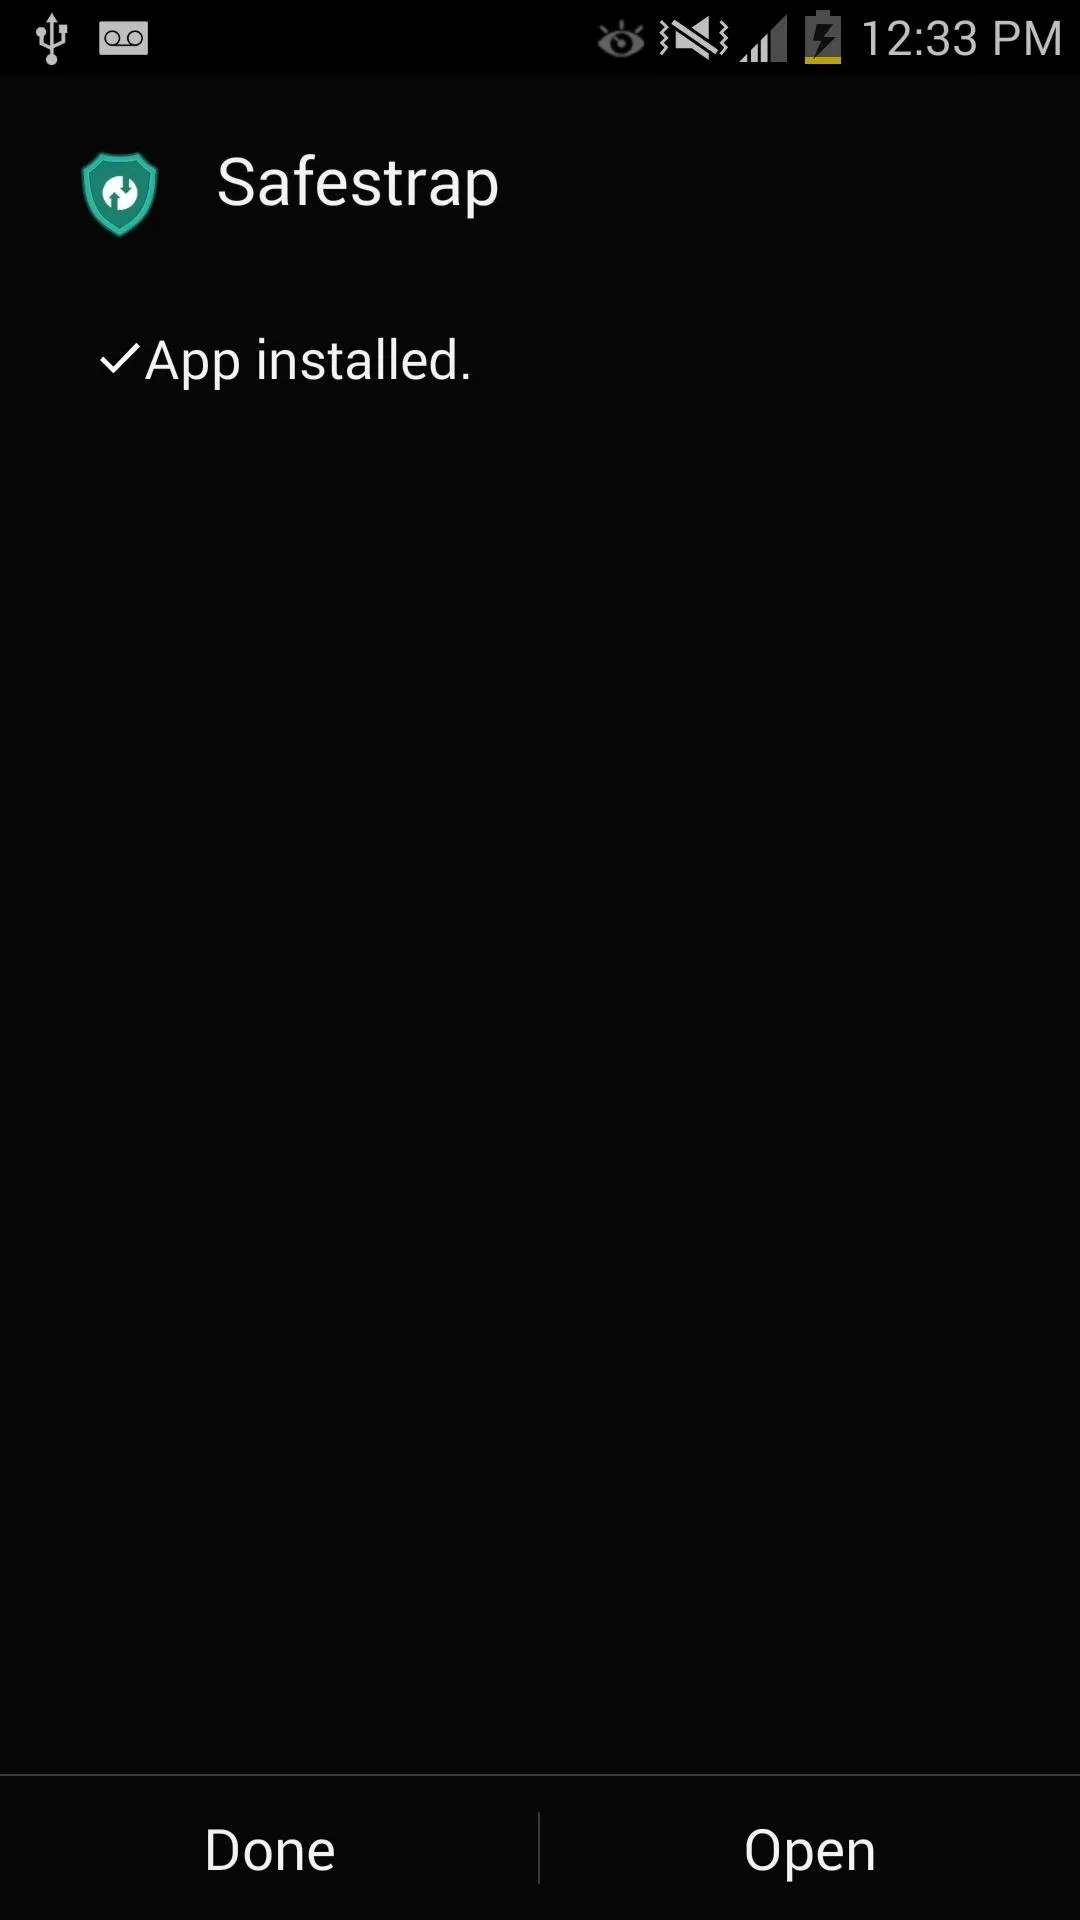
Using BusyBox's install tool, tap on the Safestrap APK file that you downloaded in Step #1 and install it.



Step 4: Use Safestrap to Install Recovery
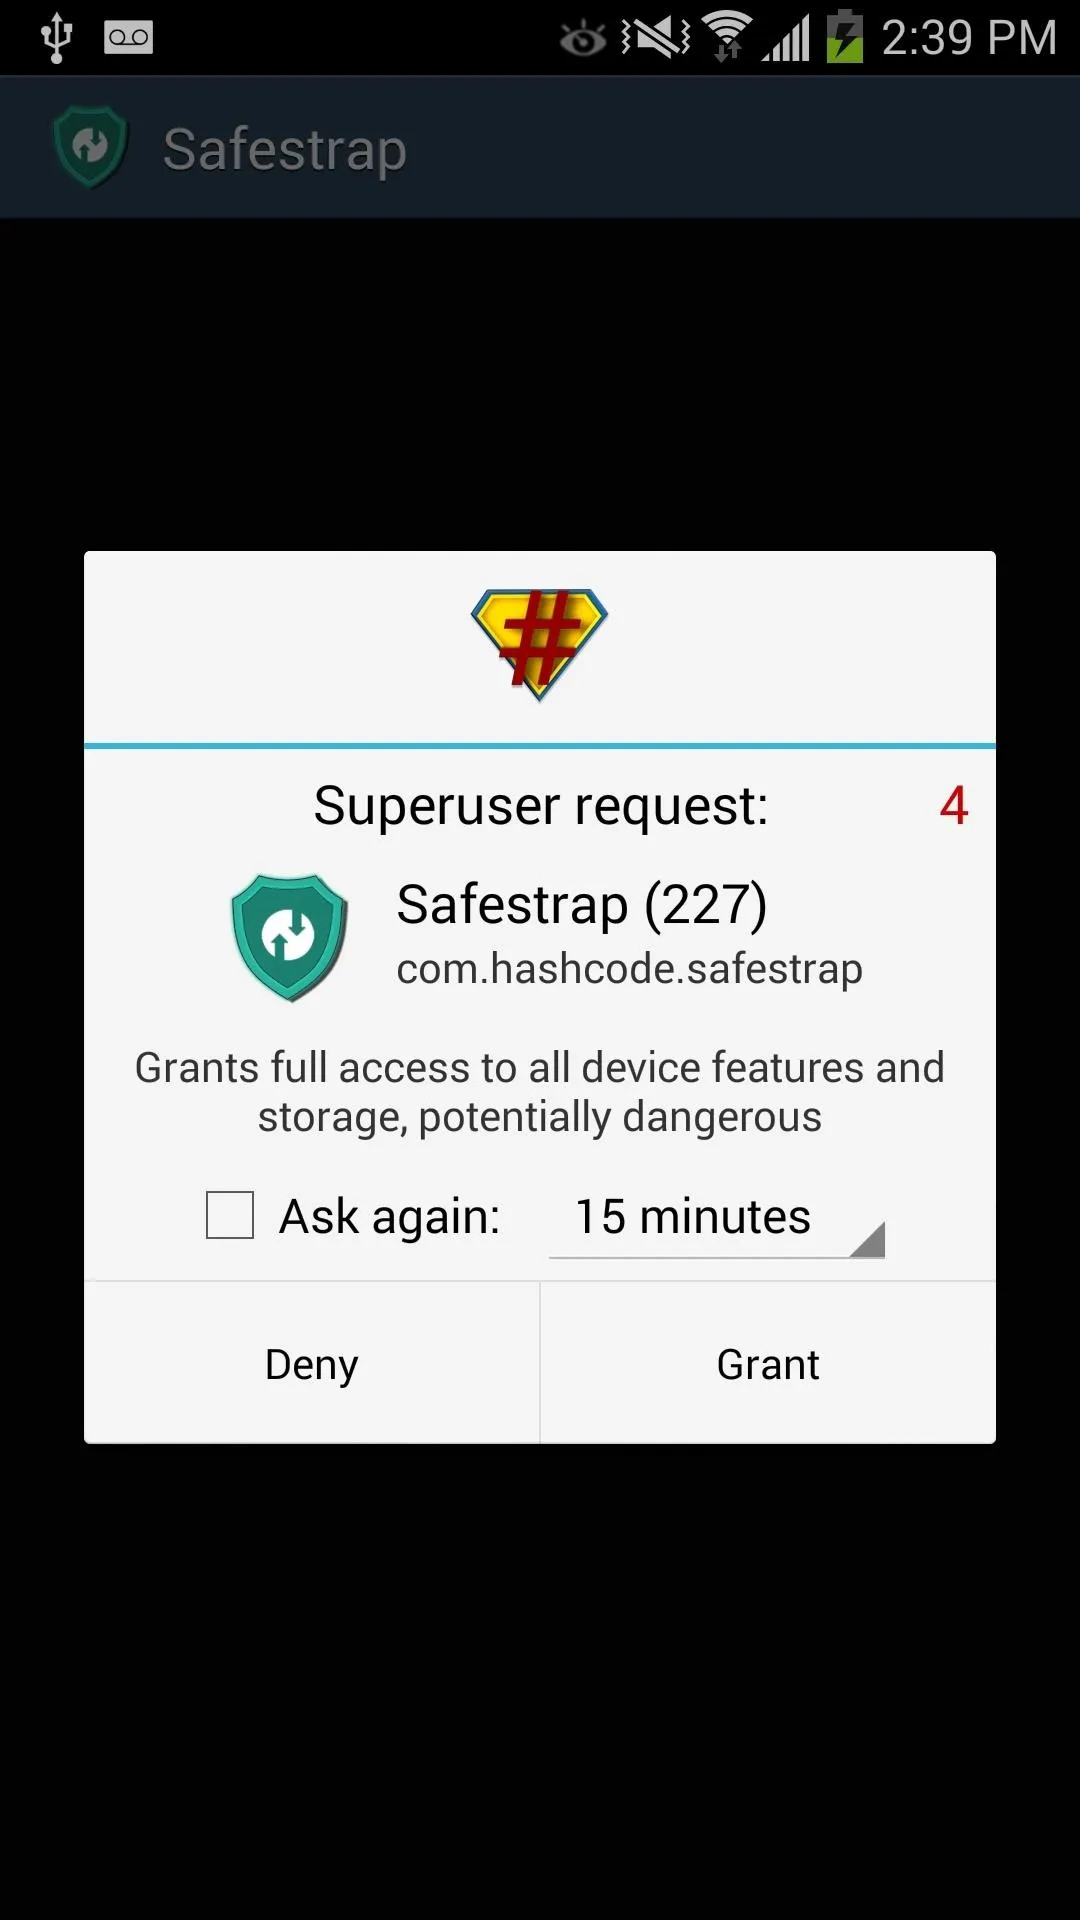
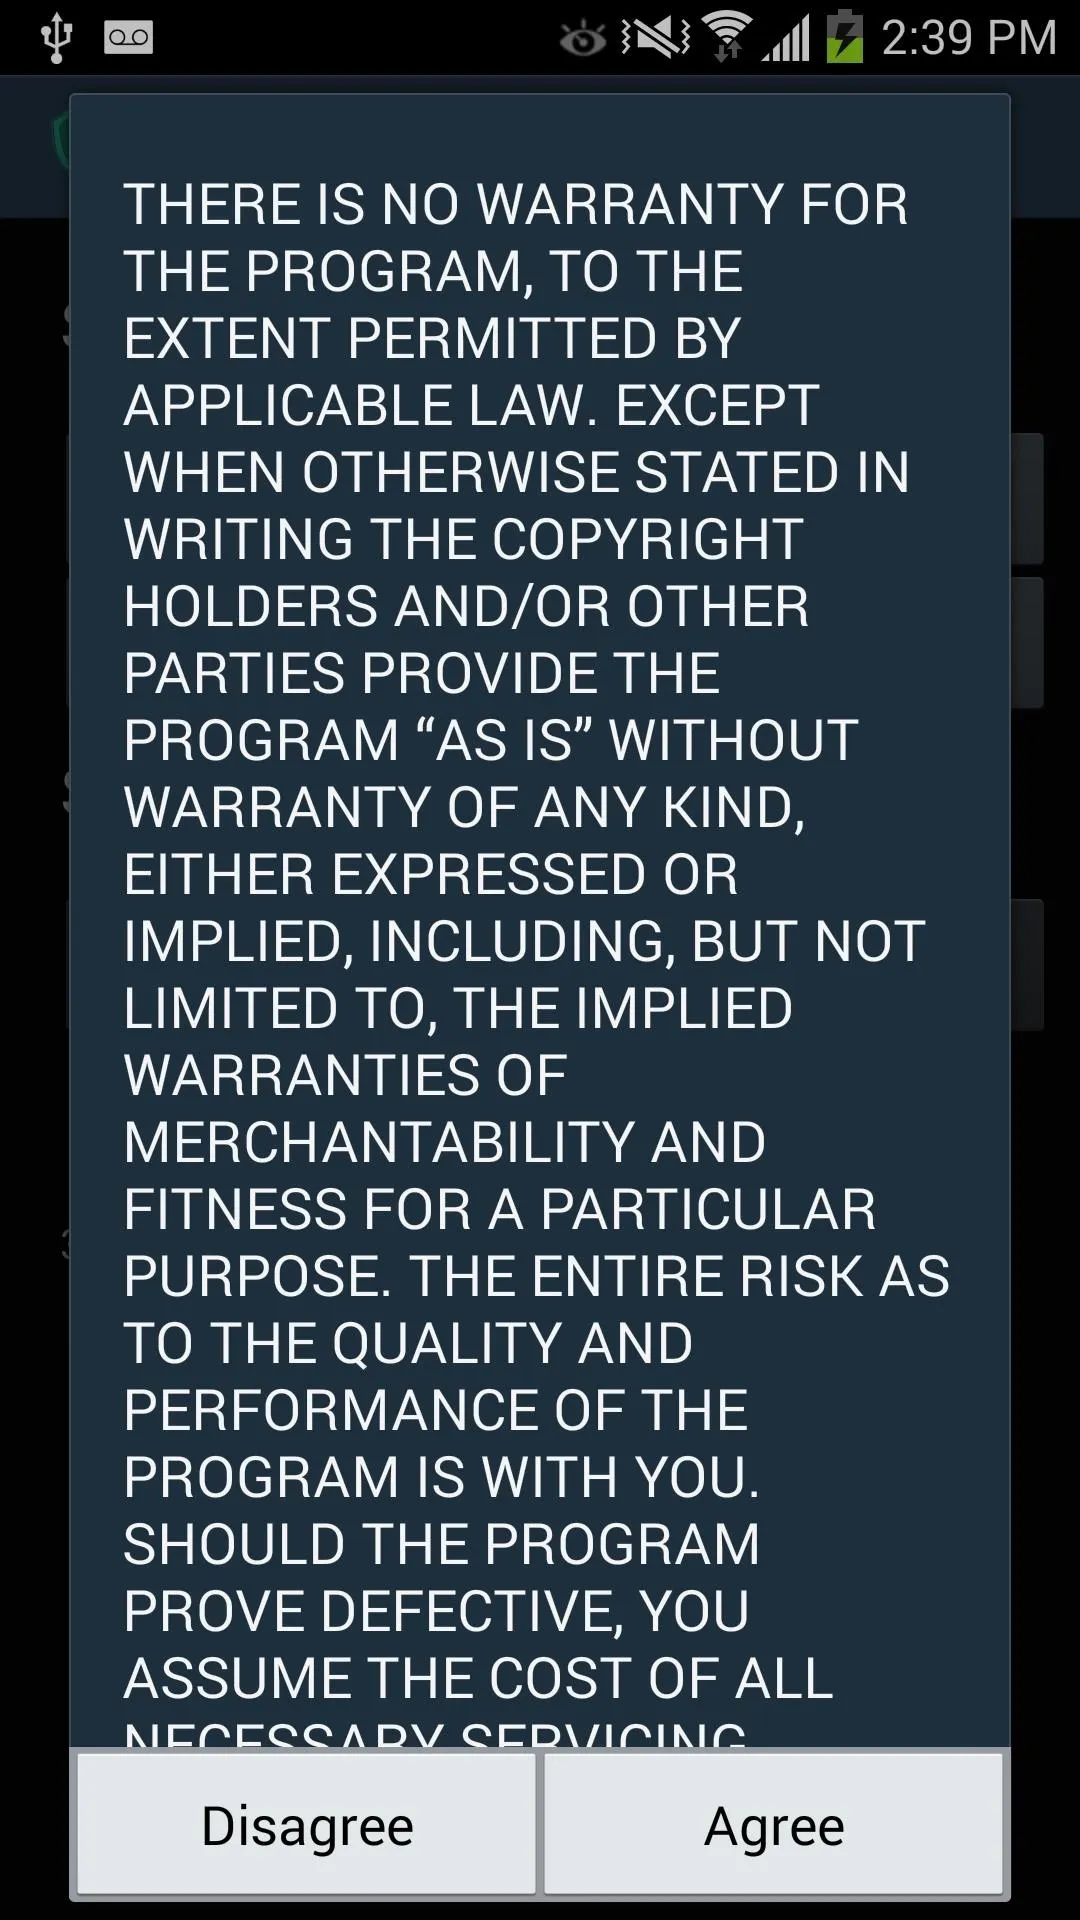
Now open Safestrap, grant it superuser permissions, agree to the disclaimer, then tap Install Recovery on the main screen.
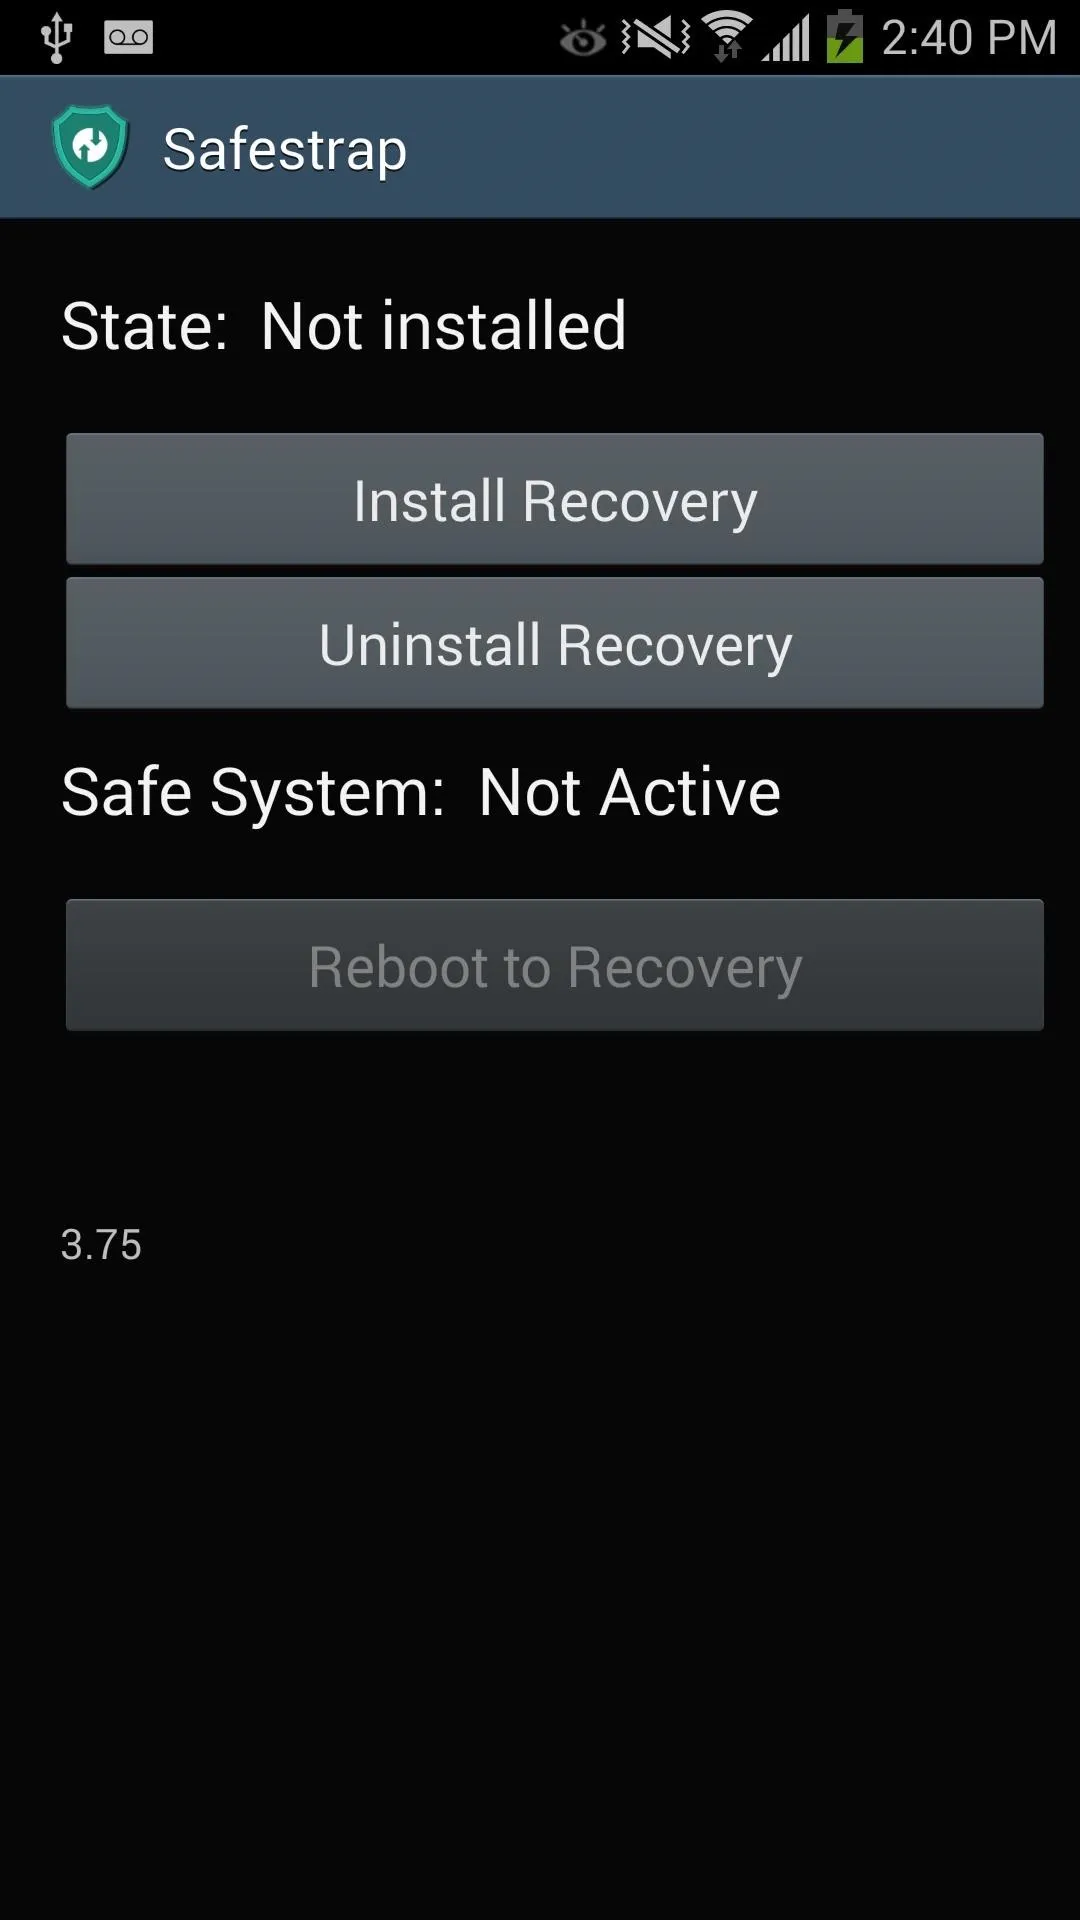


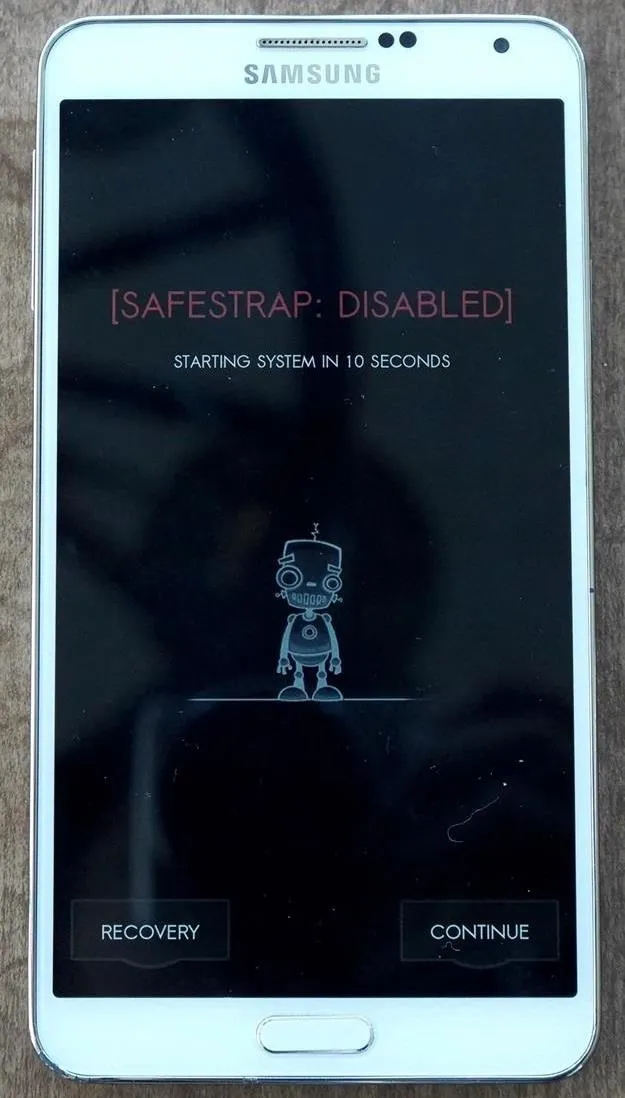
To boot into your custom recovery from within Safestrap, tap the button for Reboot to Recovery. You will also see the option to boot into Safestrap when you reboot or power on your device.
Select Recovery to go into Safestrap, or Continue to boot up normally. You can ignore this message as well; after 10 seconds, your device will boot normally.
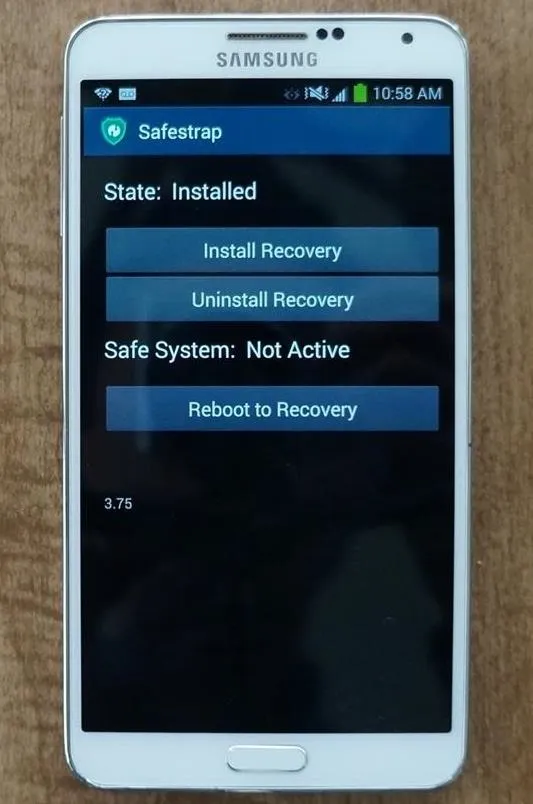
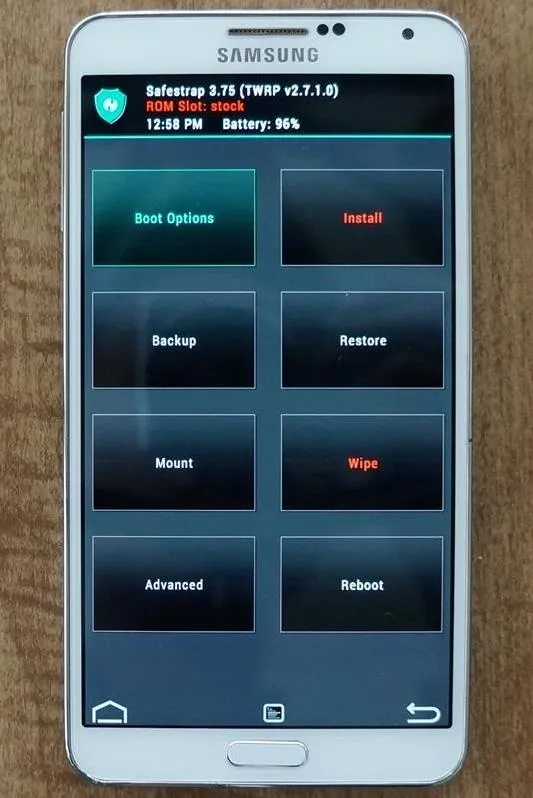


Now you're free to flash custom ROMs and any other device mods on your Note 3. That's all there is to installing Safestrap and getting a custom recovery on your bootloader-locked Note 3. If you have any questions or need some help troubleshooting, post a comment below.
Cover image background via Shutterstock



Comments
No Comments Exist
Be the first, drop a comment!