Before your carrier got its grubby little hands on your Galaxy S5, there was less bloatware installed and more functionality offered by the Samsung flagship device. Case in point: the GS5 that Samsung designed was capable of recording phone calls, yet the one that you own probably isn't.
But, as is the case with most things on an Android device, it's hard to keep a good feature away from rooted users. Developer DevVorteX has found a way to reactivate call recording on the Galaxy S5 by way of an Xposed module.
Despite my hatred for carrier modifications, I should mention that this feature's removal is not entirely the fault of the service providers—they were mostly doing their due diligence.
Call recording is illegal to some extent in most jurisdictions, so the feature was removed to prevent legal issues. Many jurisdictions require that you notify the other party before you record them, and other jurisdictions require explicit permission from the recorded party. So be sure to check the laws in your area before having a go at this one.
Prerequisites
Step 1: Install TWCallRecorder
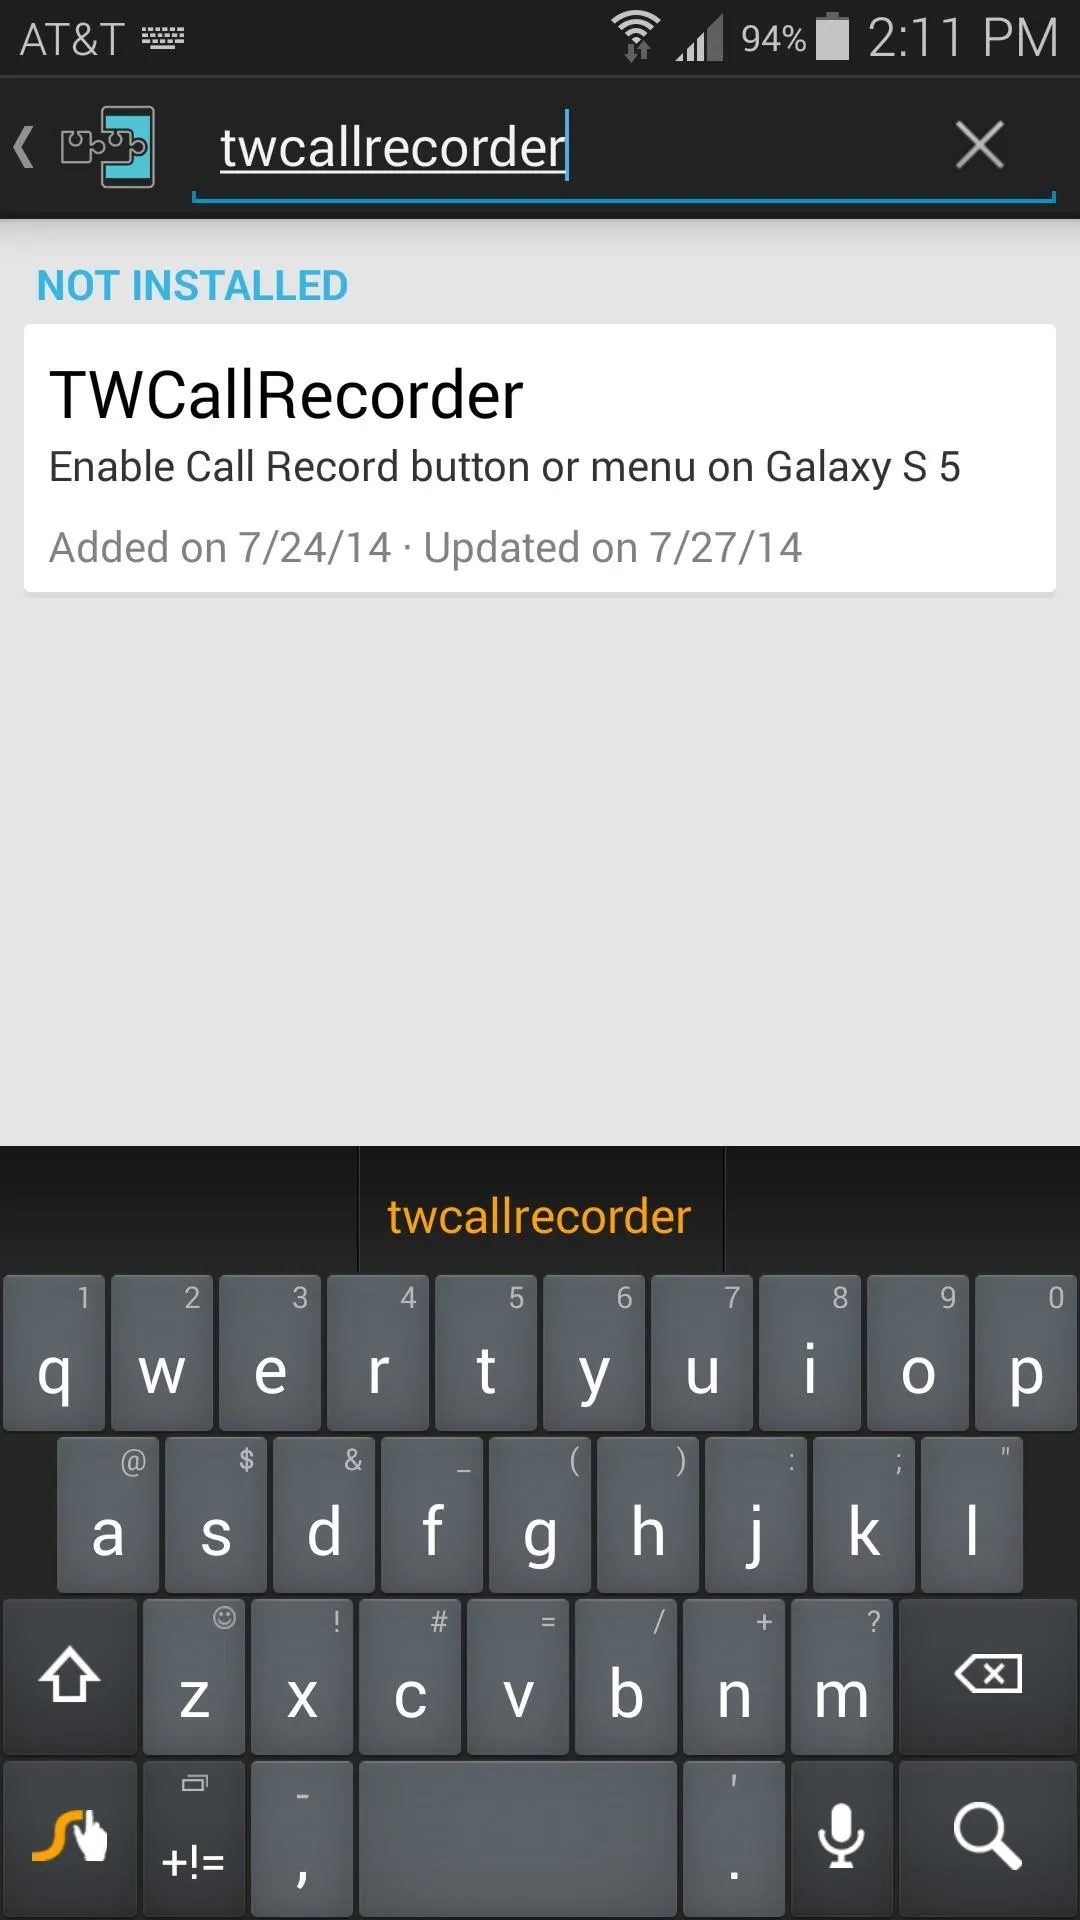
The module that reenables call recording on your Galaxy S5 is called TWCallRecorder, referencing the TouchWiz interface skin installed on Galaxy devices.
To get it installed, simply head to the Downloads section of your Xposed Installer app and search it by name. Tap the top result, then swipe over to the Versions tab and hit the Download button on the most recent entry.
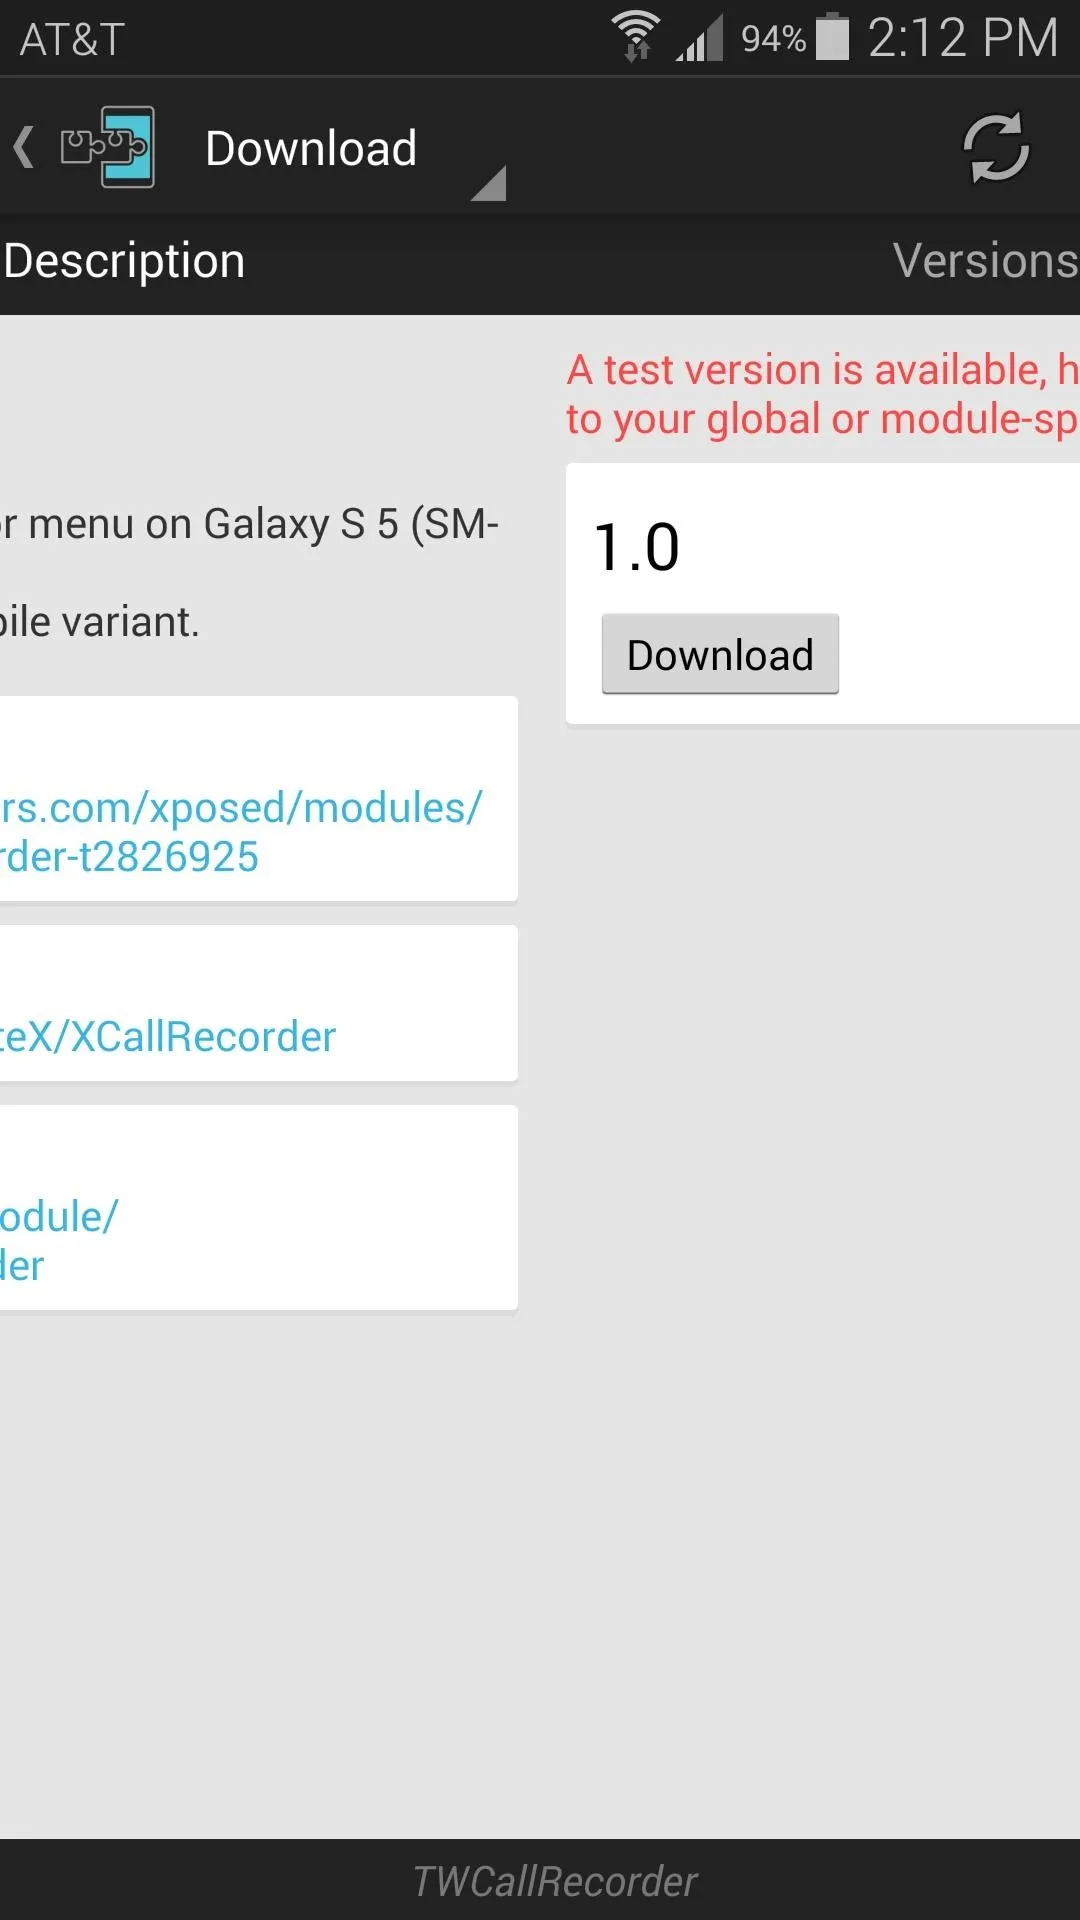
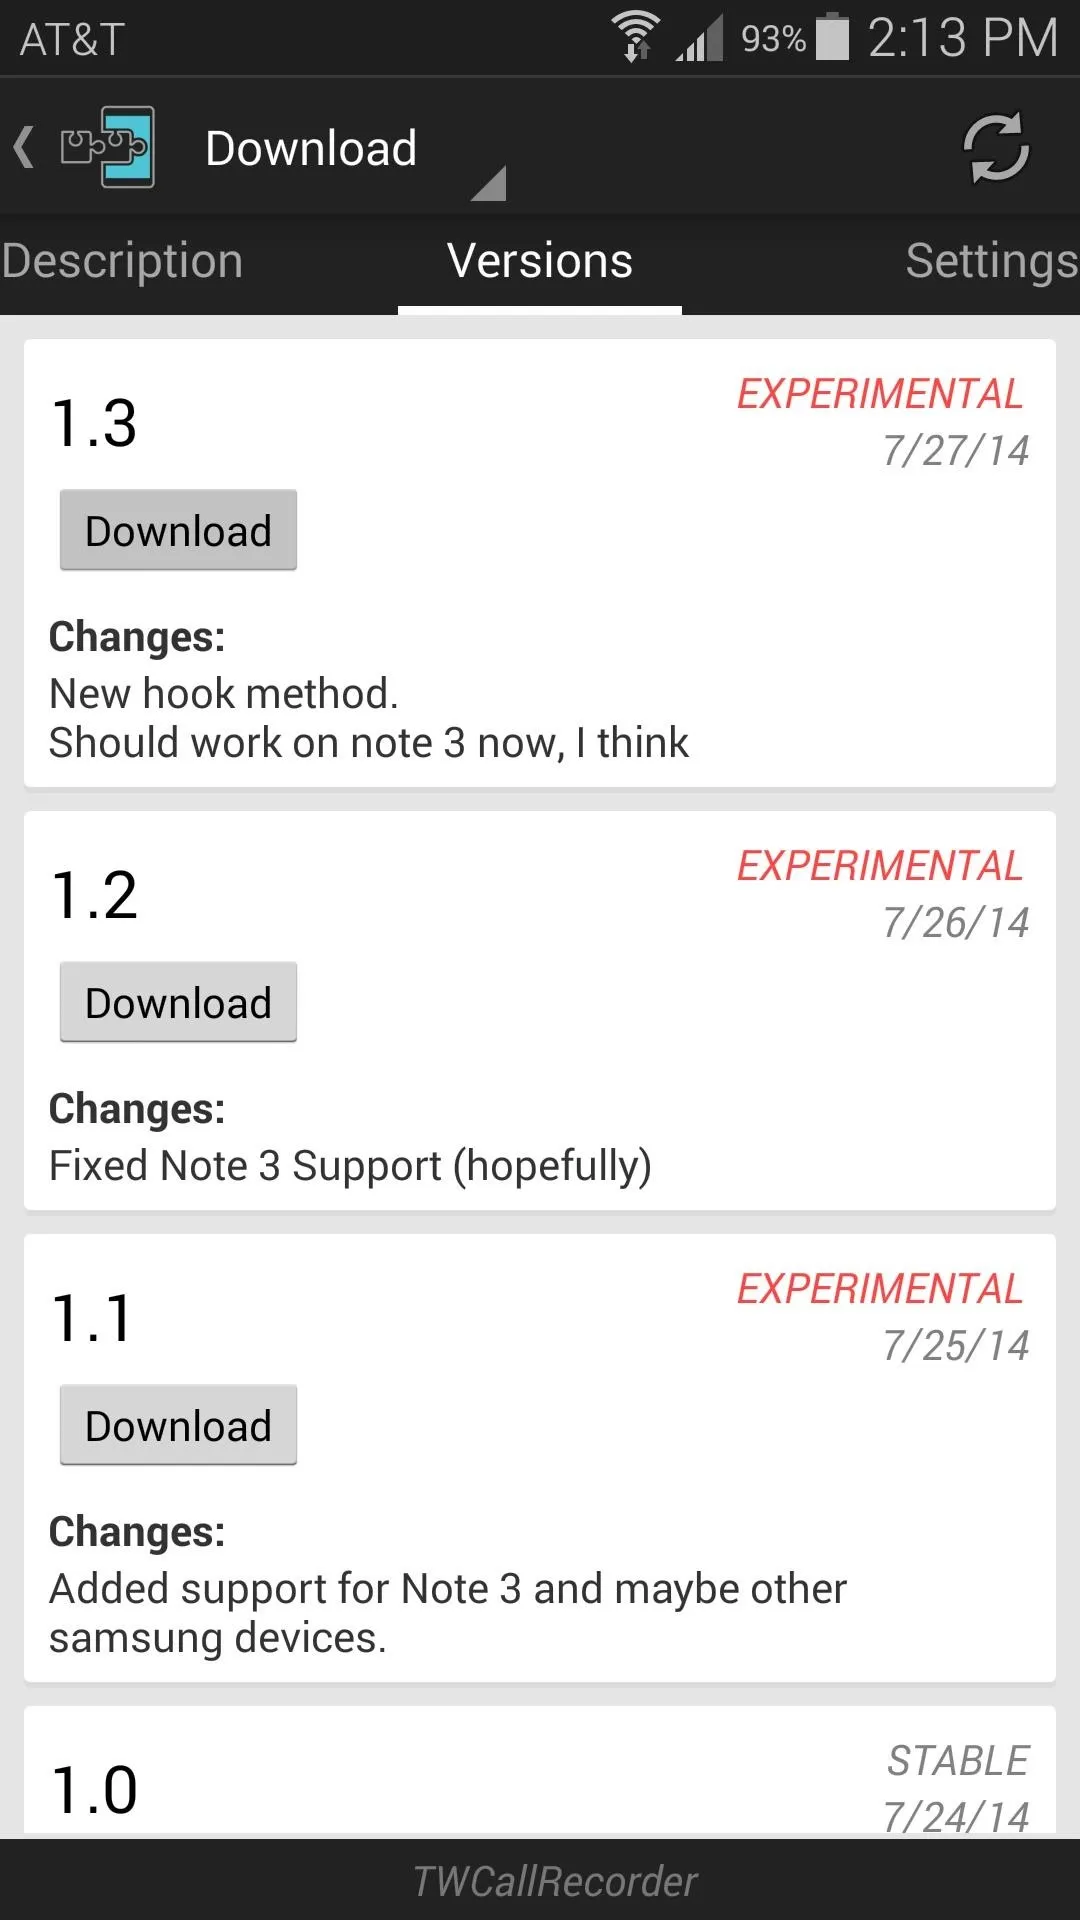


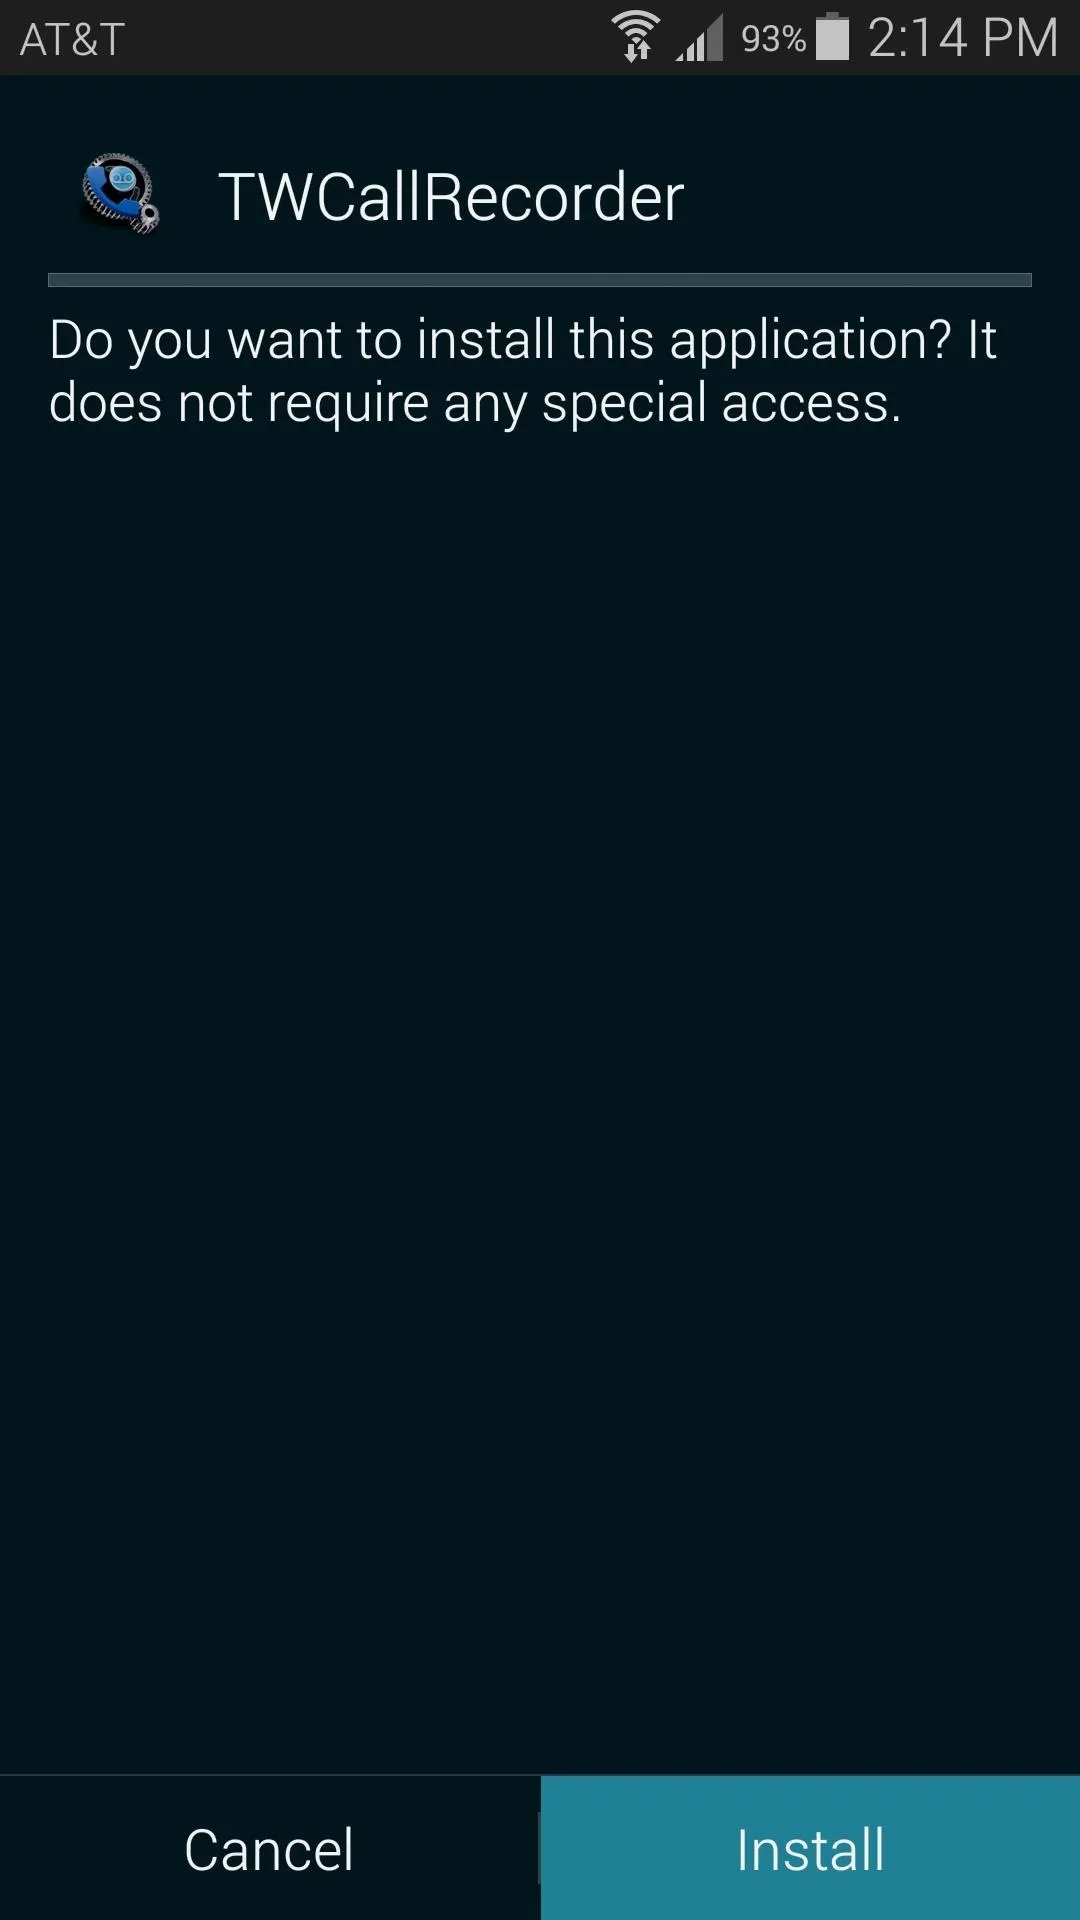
This will automatically launch Android's installer interface, so press Install on the next screen.
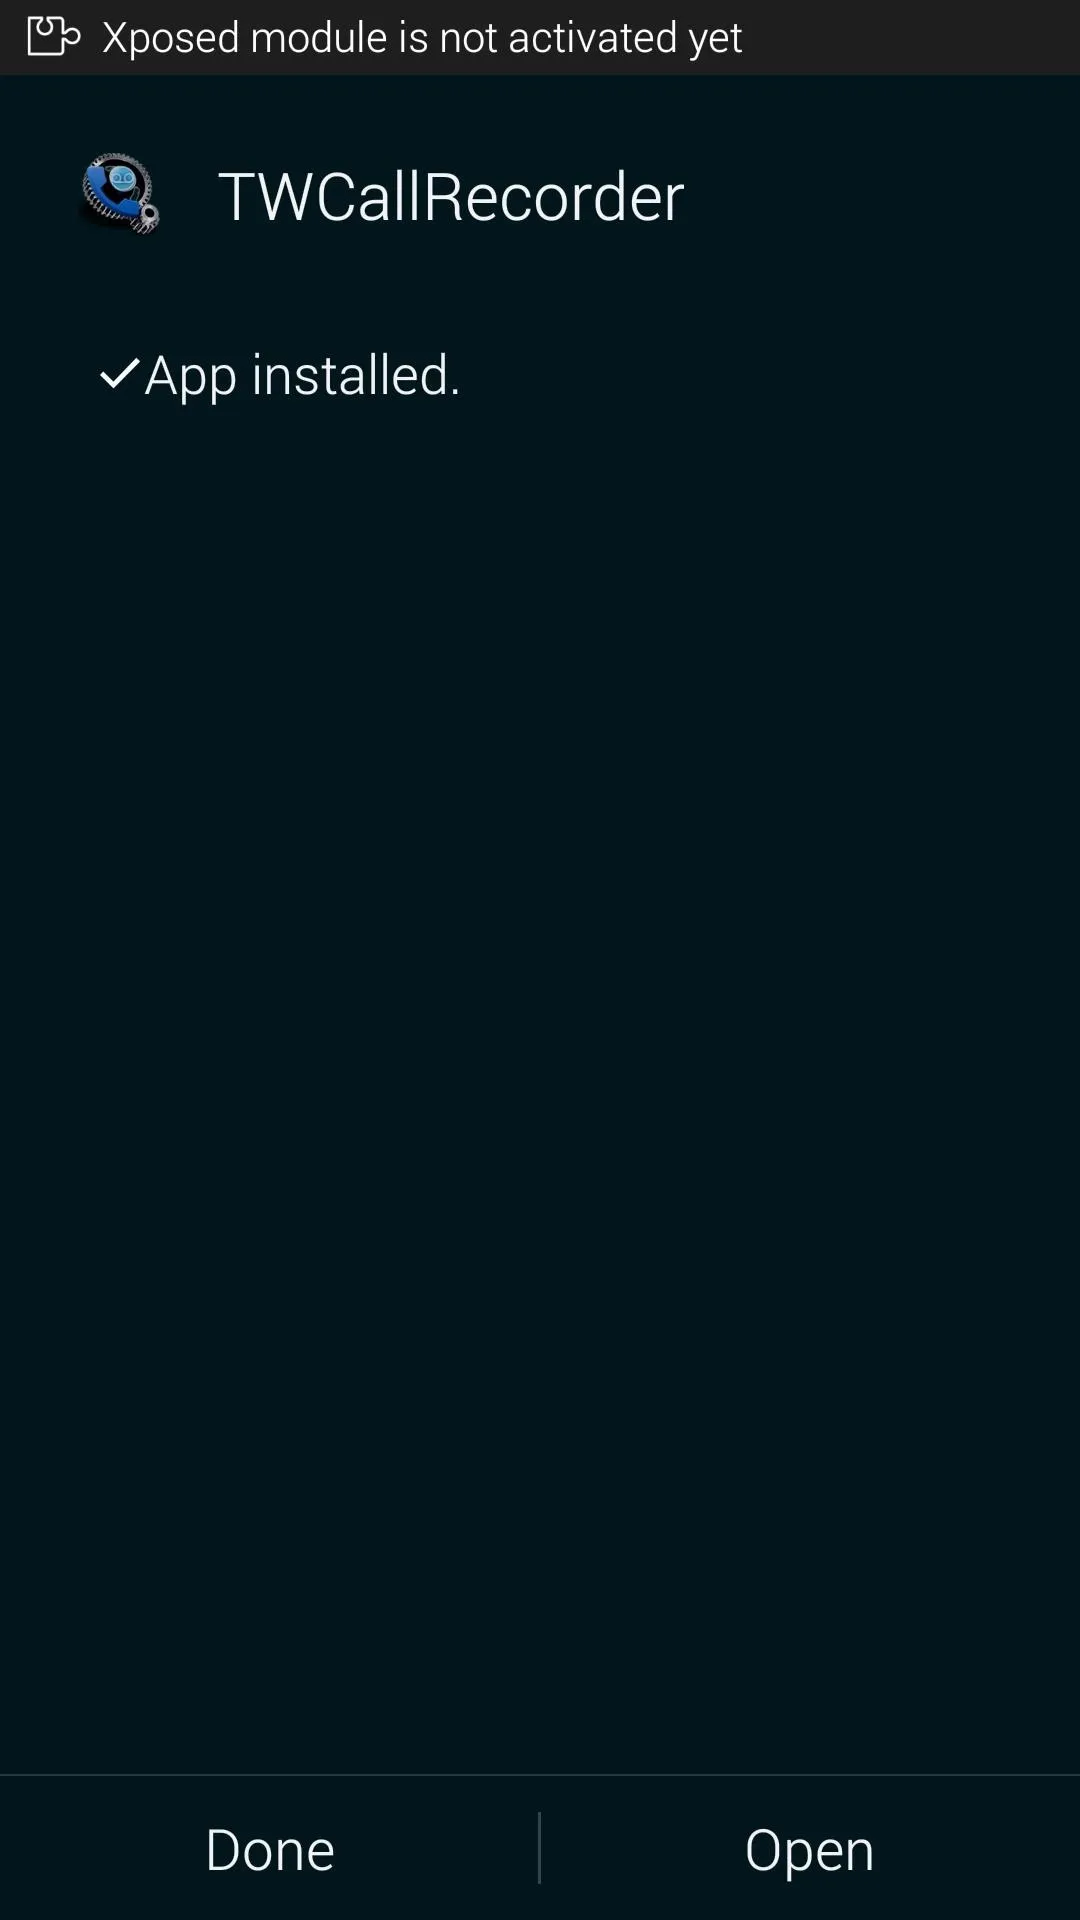


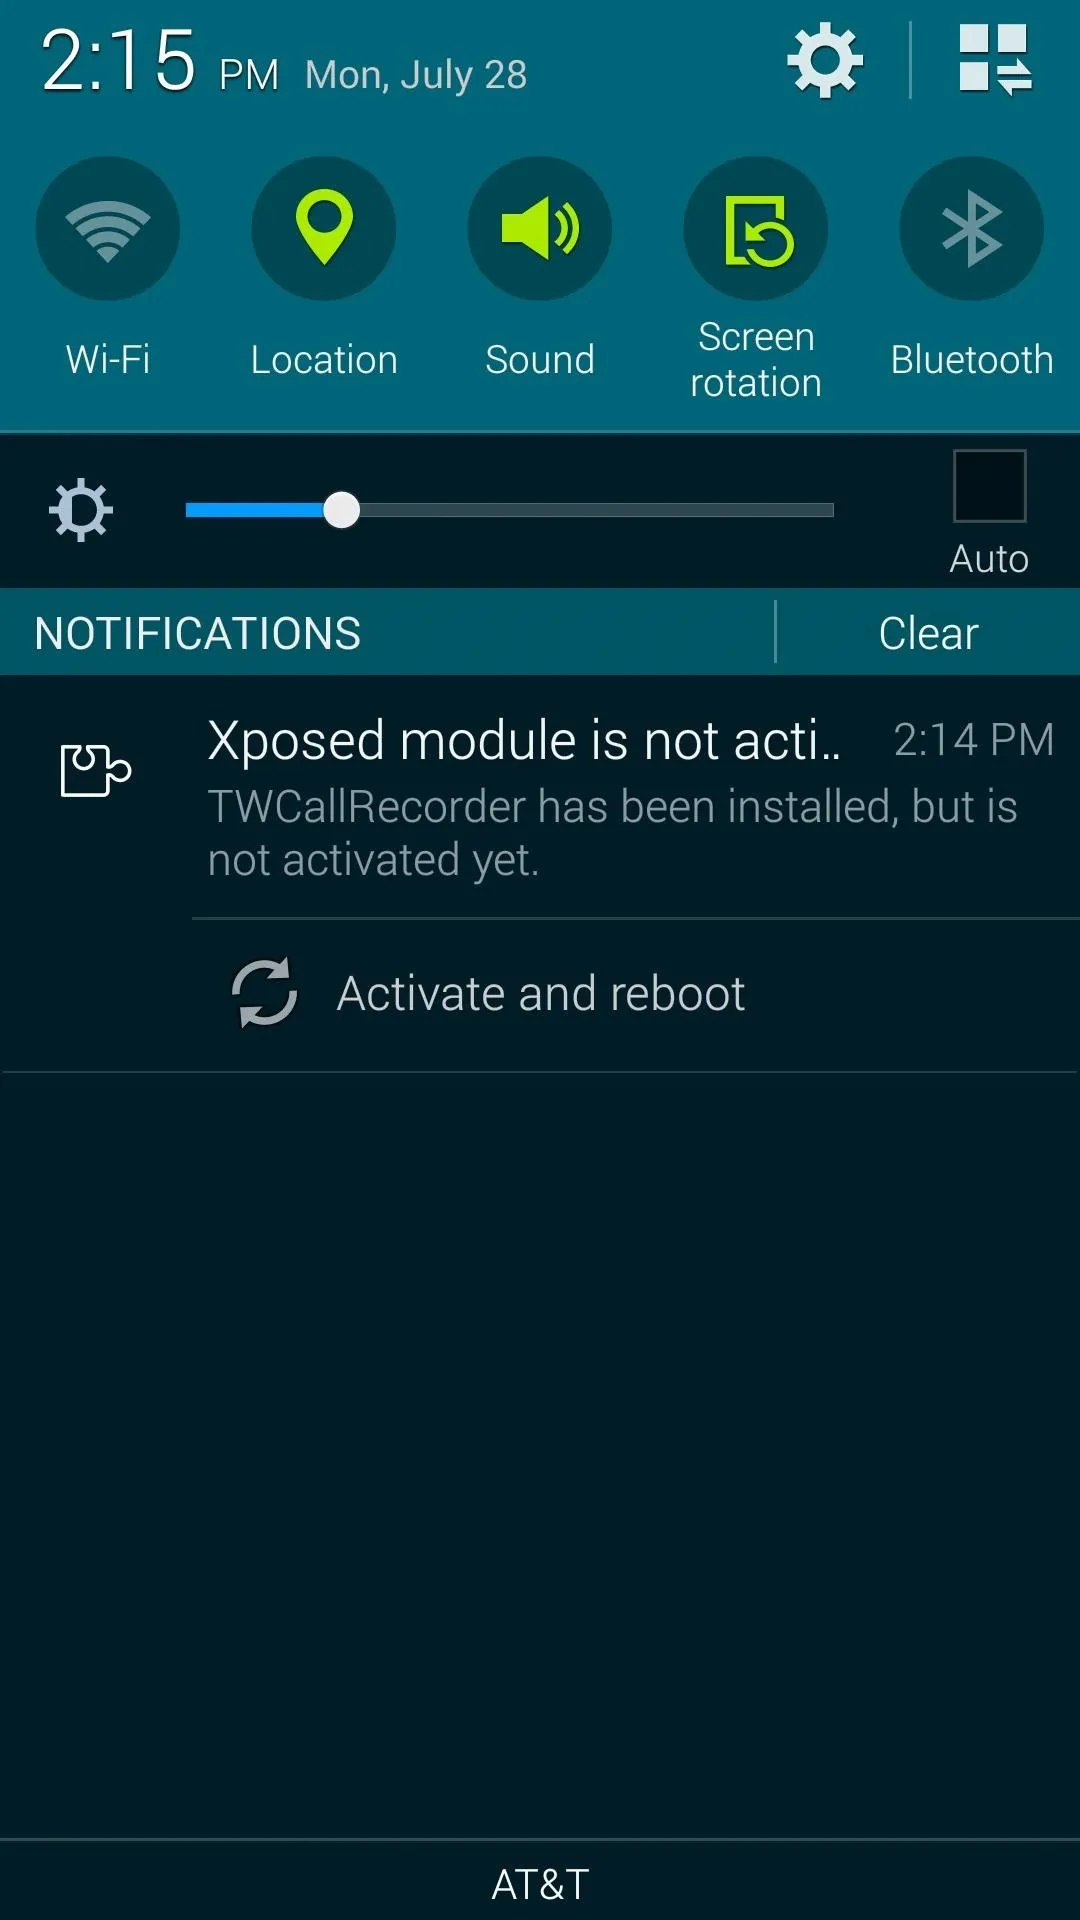
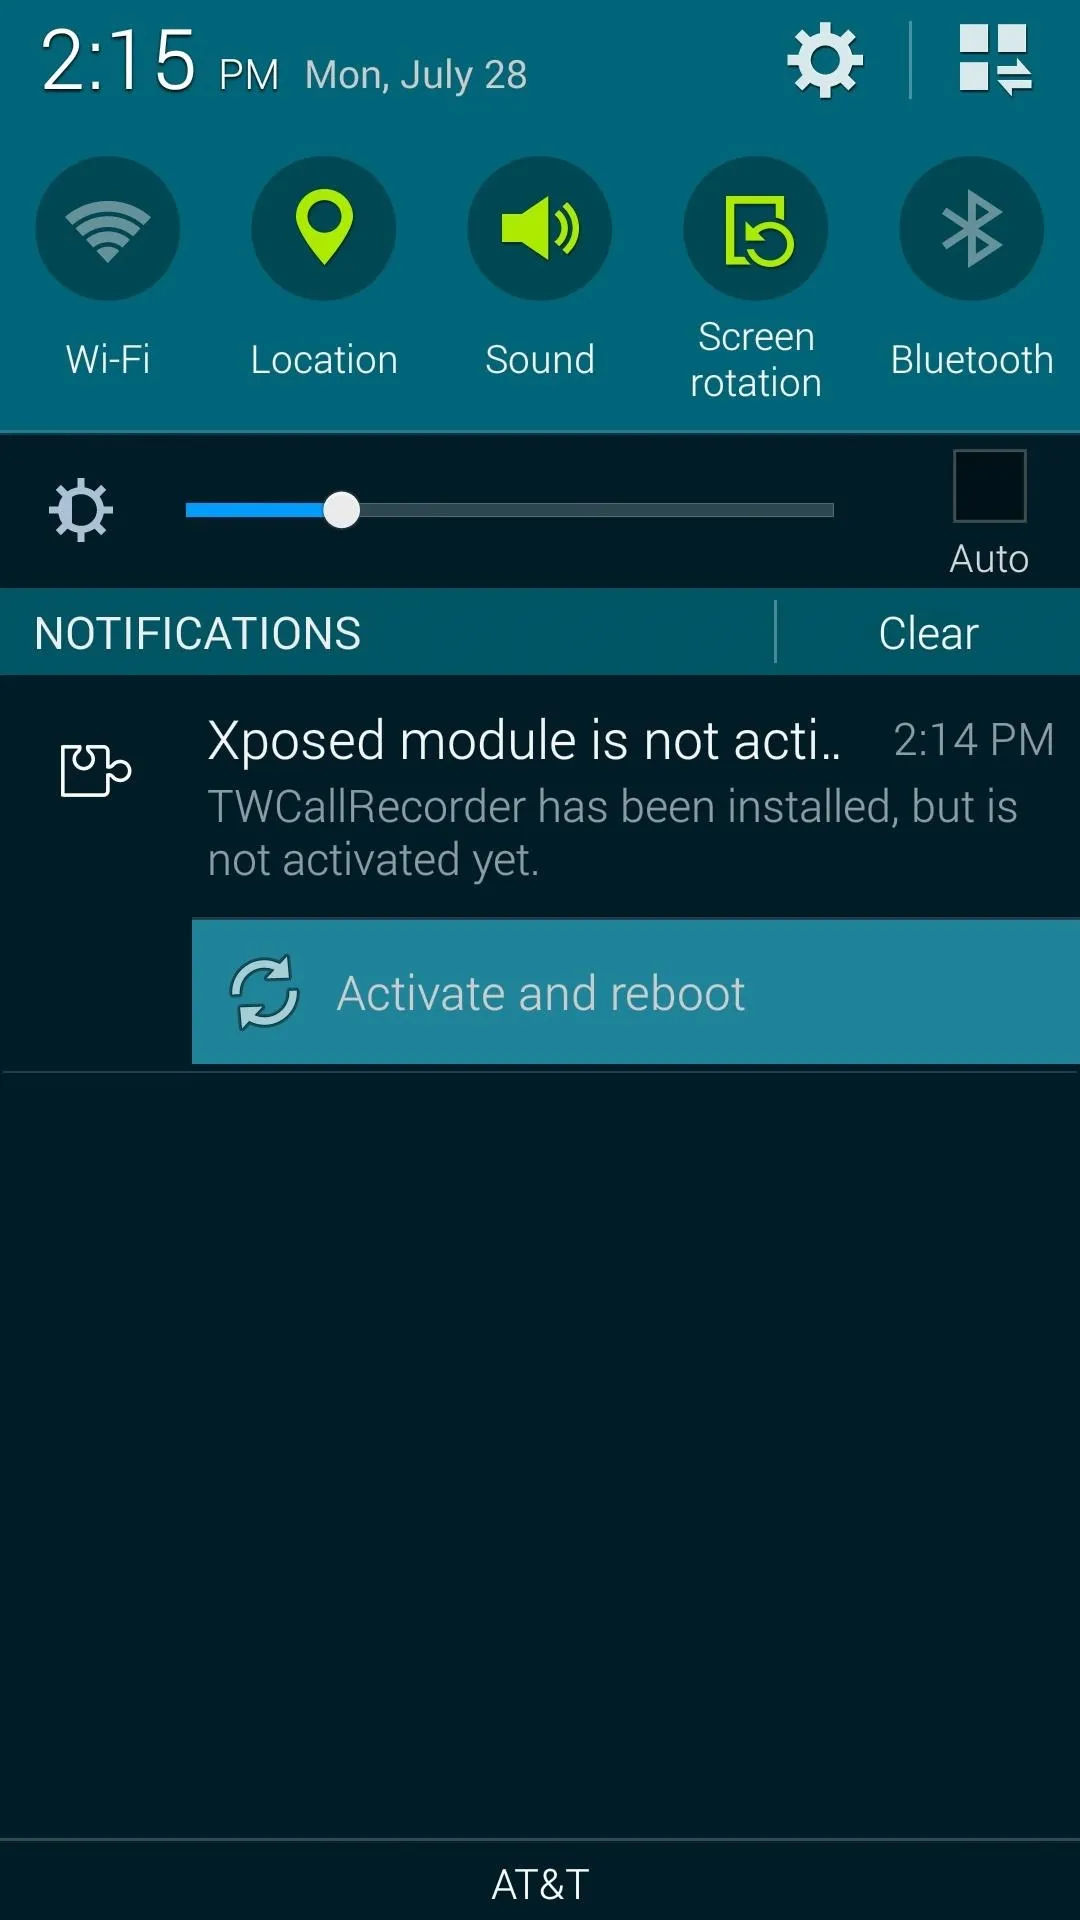
When that's finished, you'll get a notification from Xposed telling you that the module is not activated yet and that a reboot is needed. Tap the Activate and reboot button on this notification to satisfy both of these requirements.


Step 2: Configure TWCallRecorder
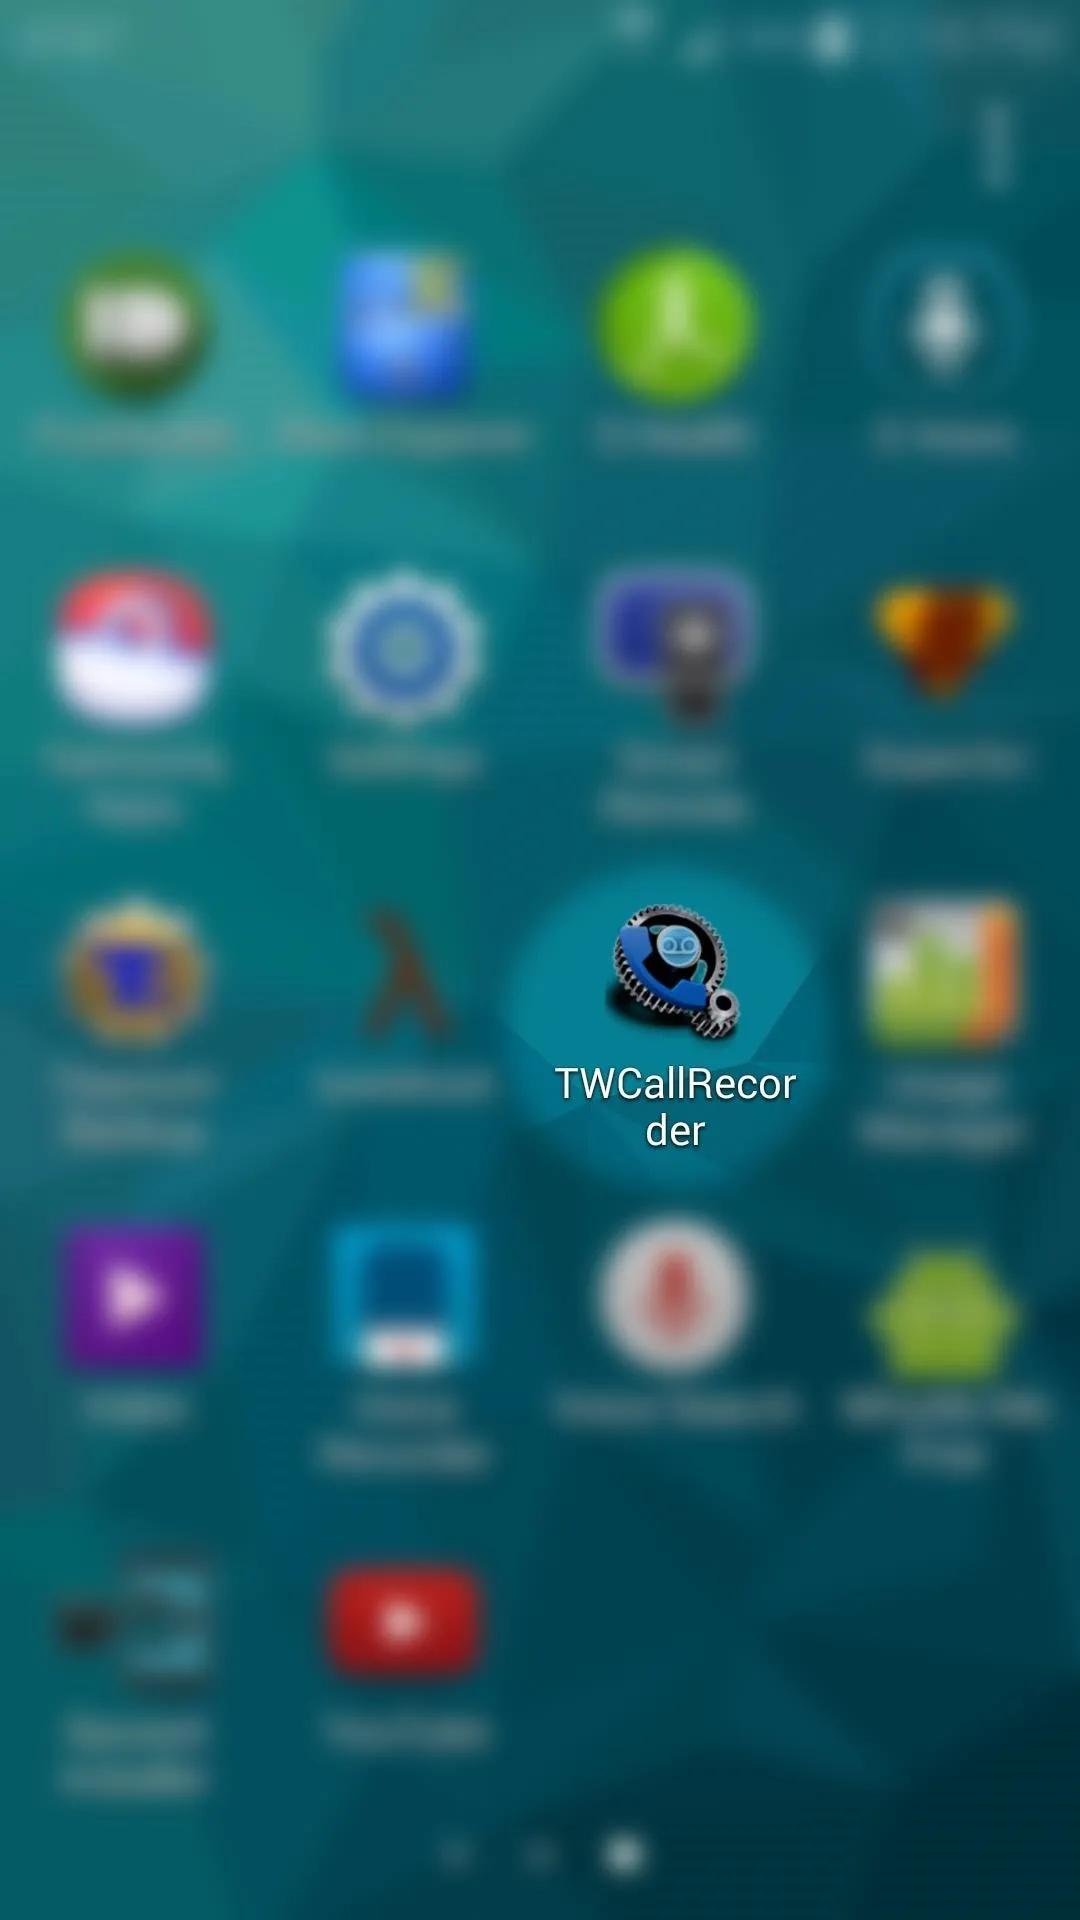
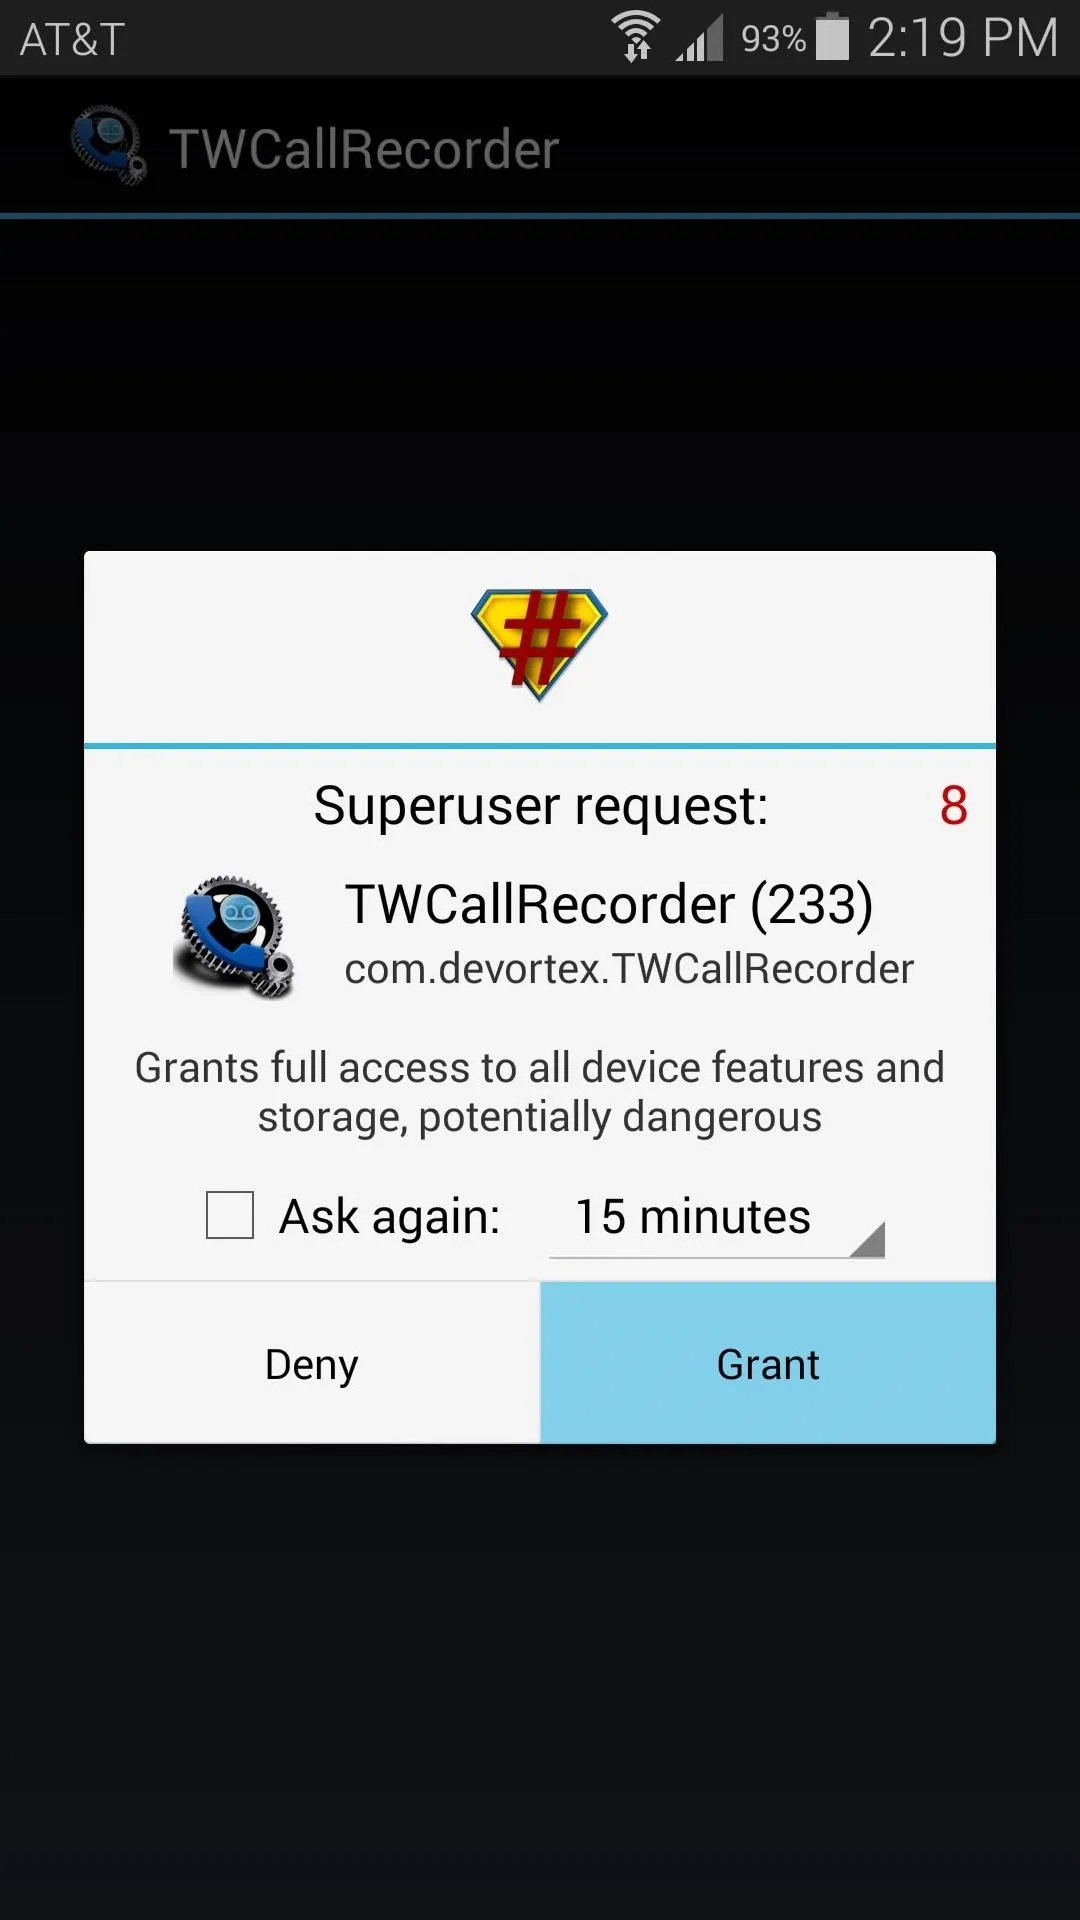
When your phone has finished booting back up, open TWCallRecorder from your app drawer and Grant it Superuser access.


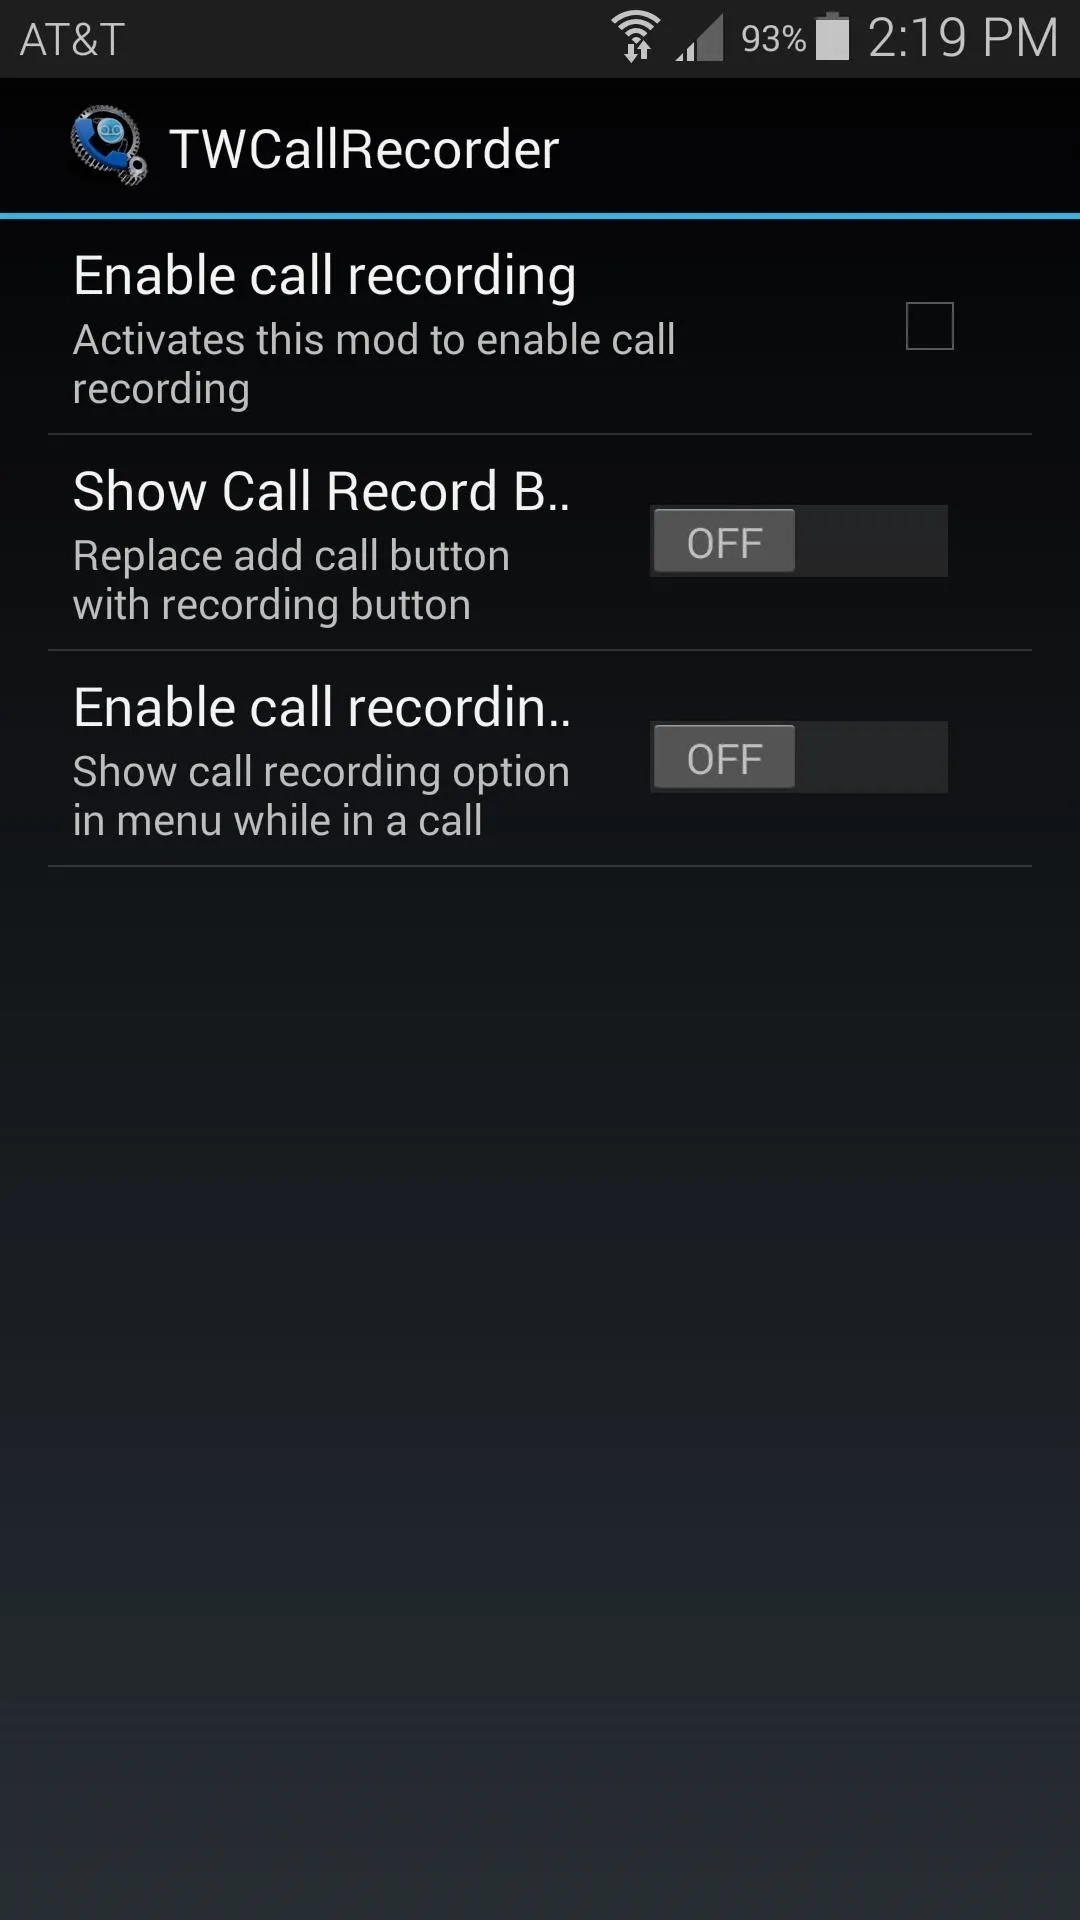
From here, enable every option that the module has to offer. The second option will attempt to replace your Add Call button with a Record button, but this feature does not work on all variants of the Galaxy S5. You will still be able to record calls through the in-call menu regardless.
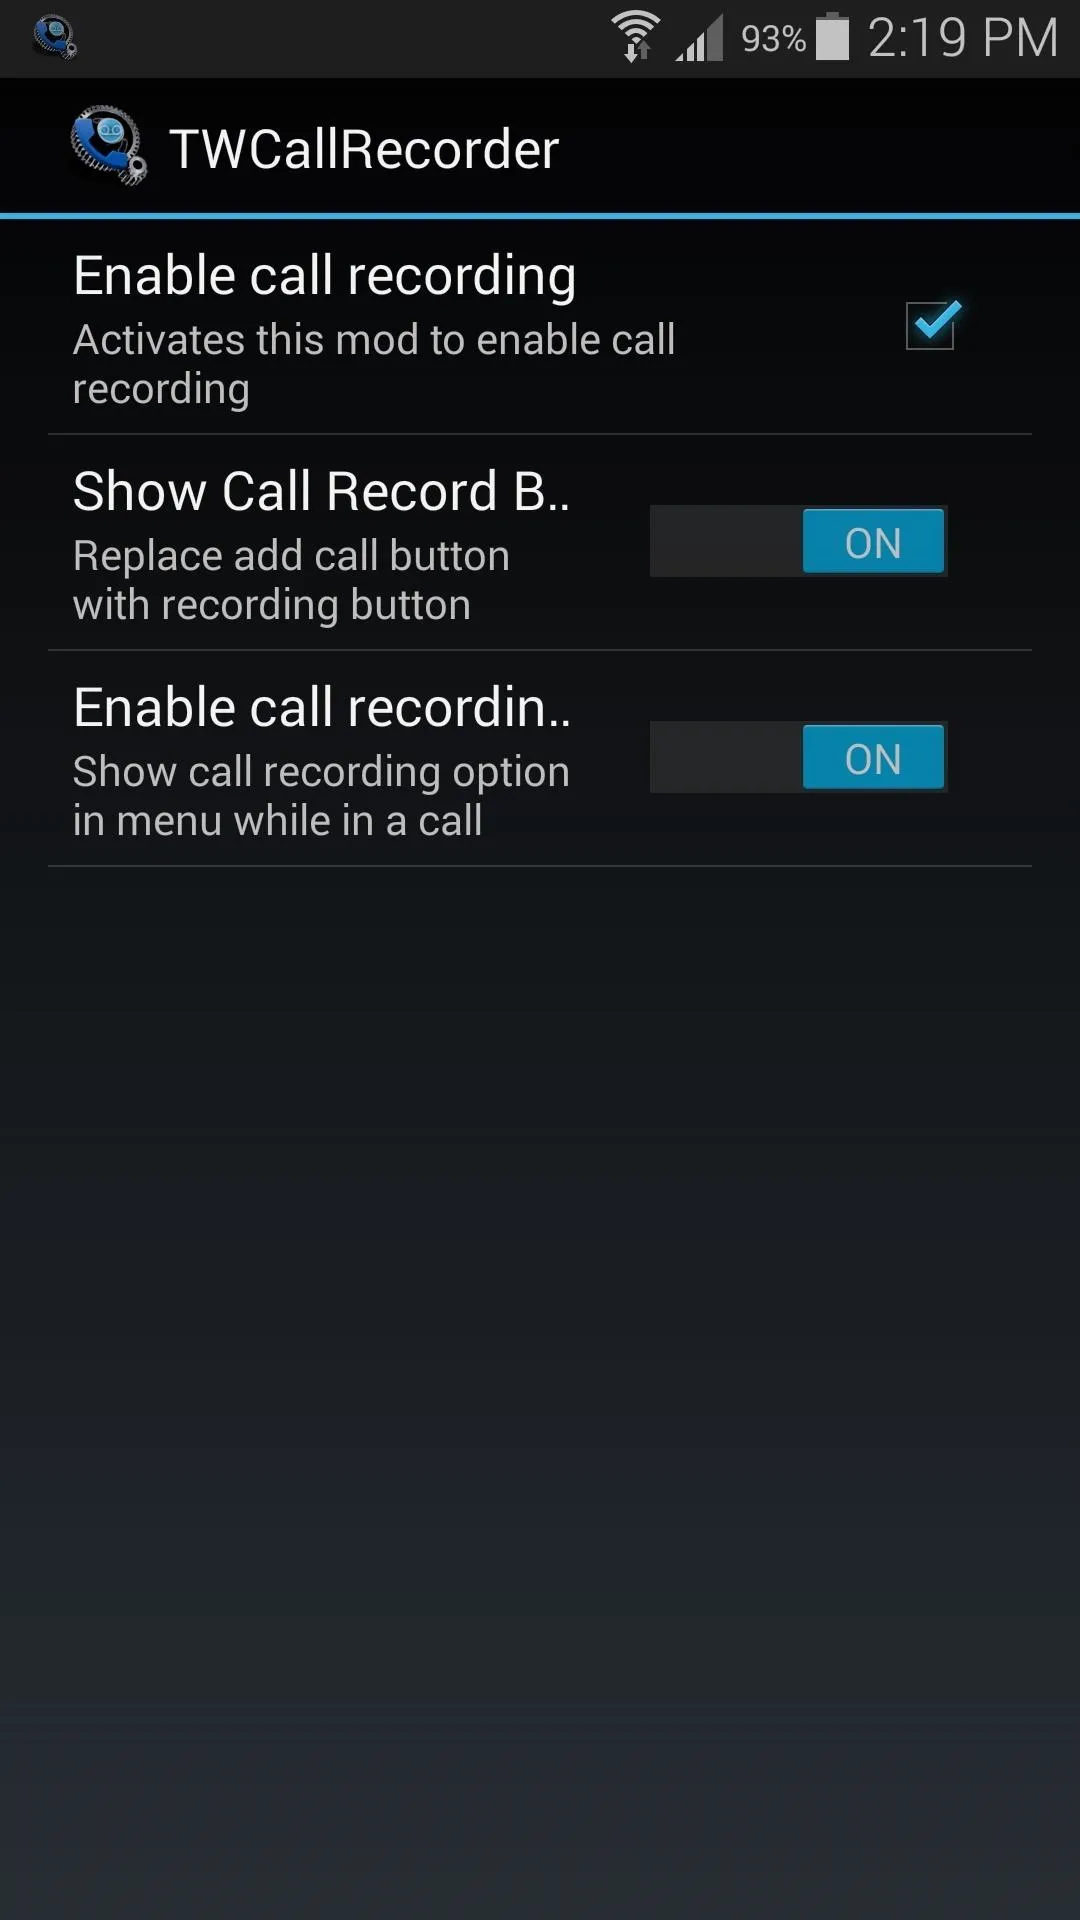


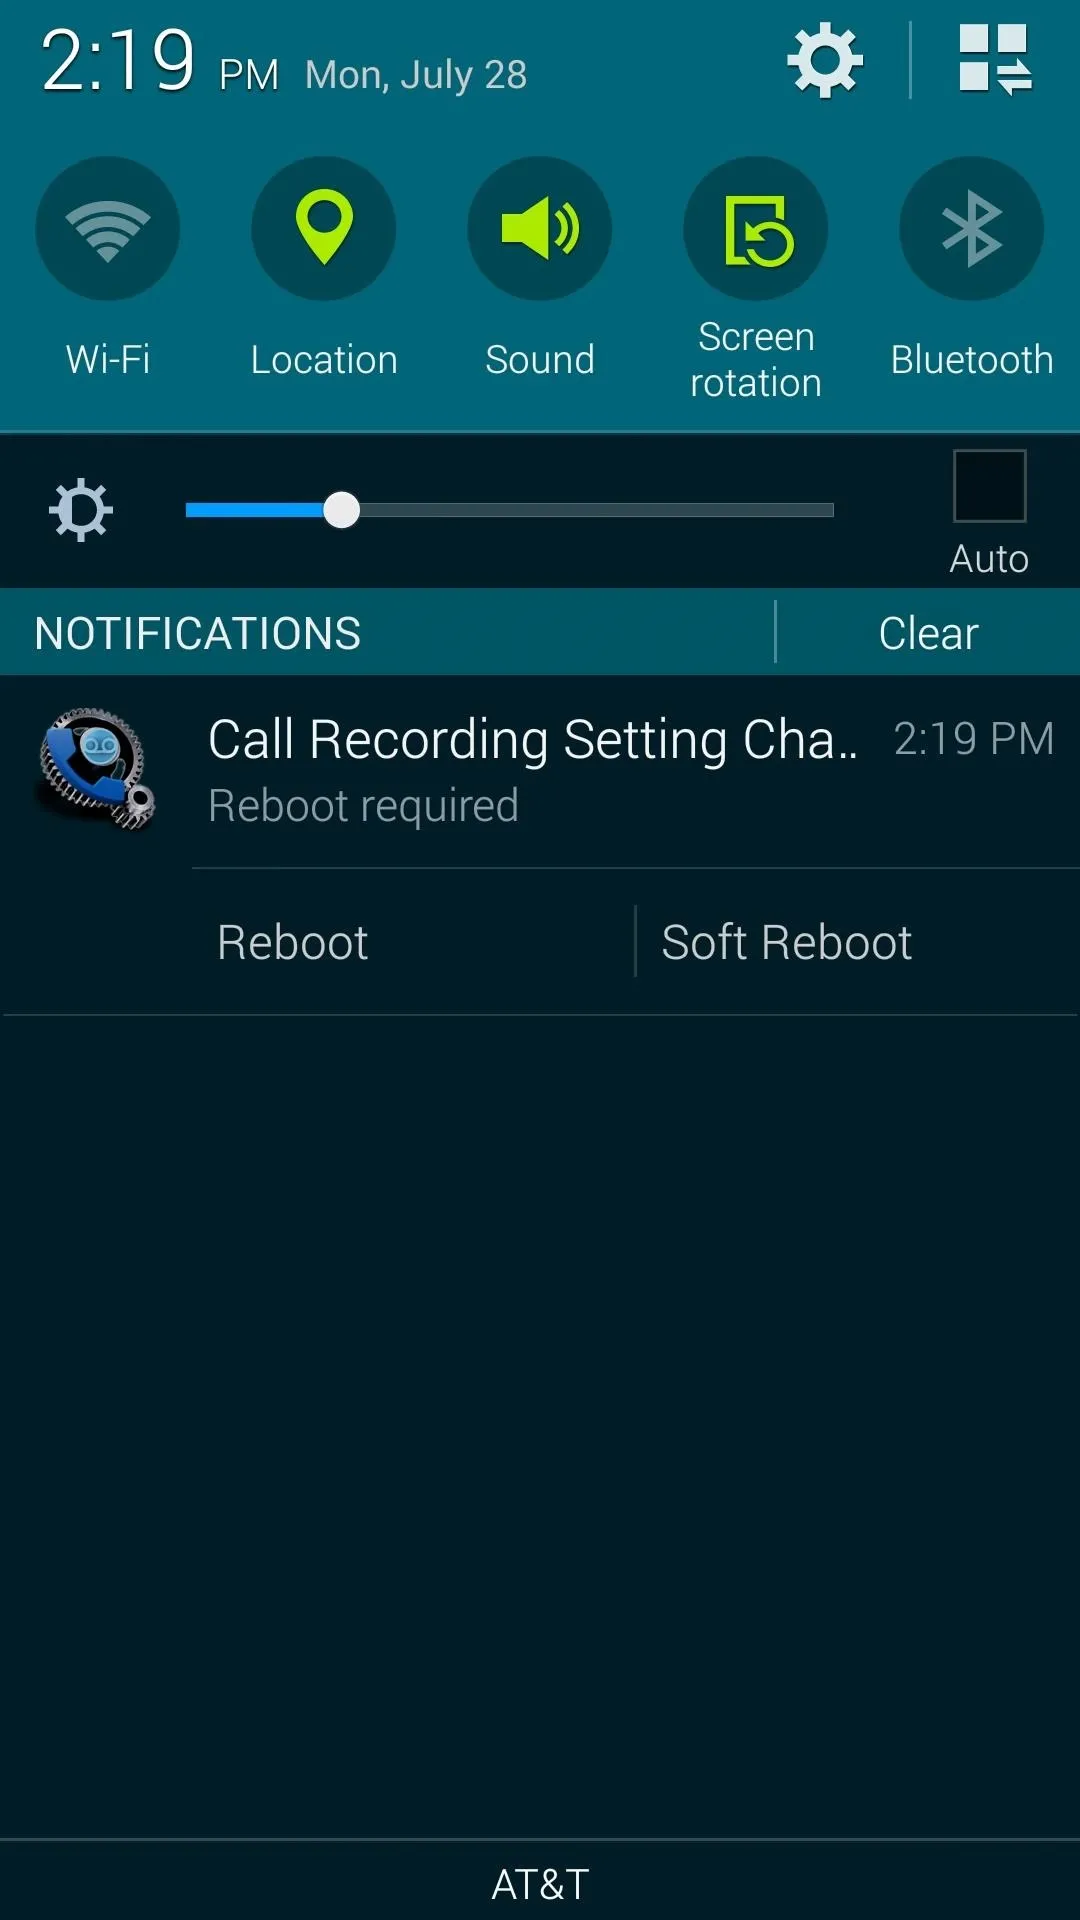
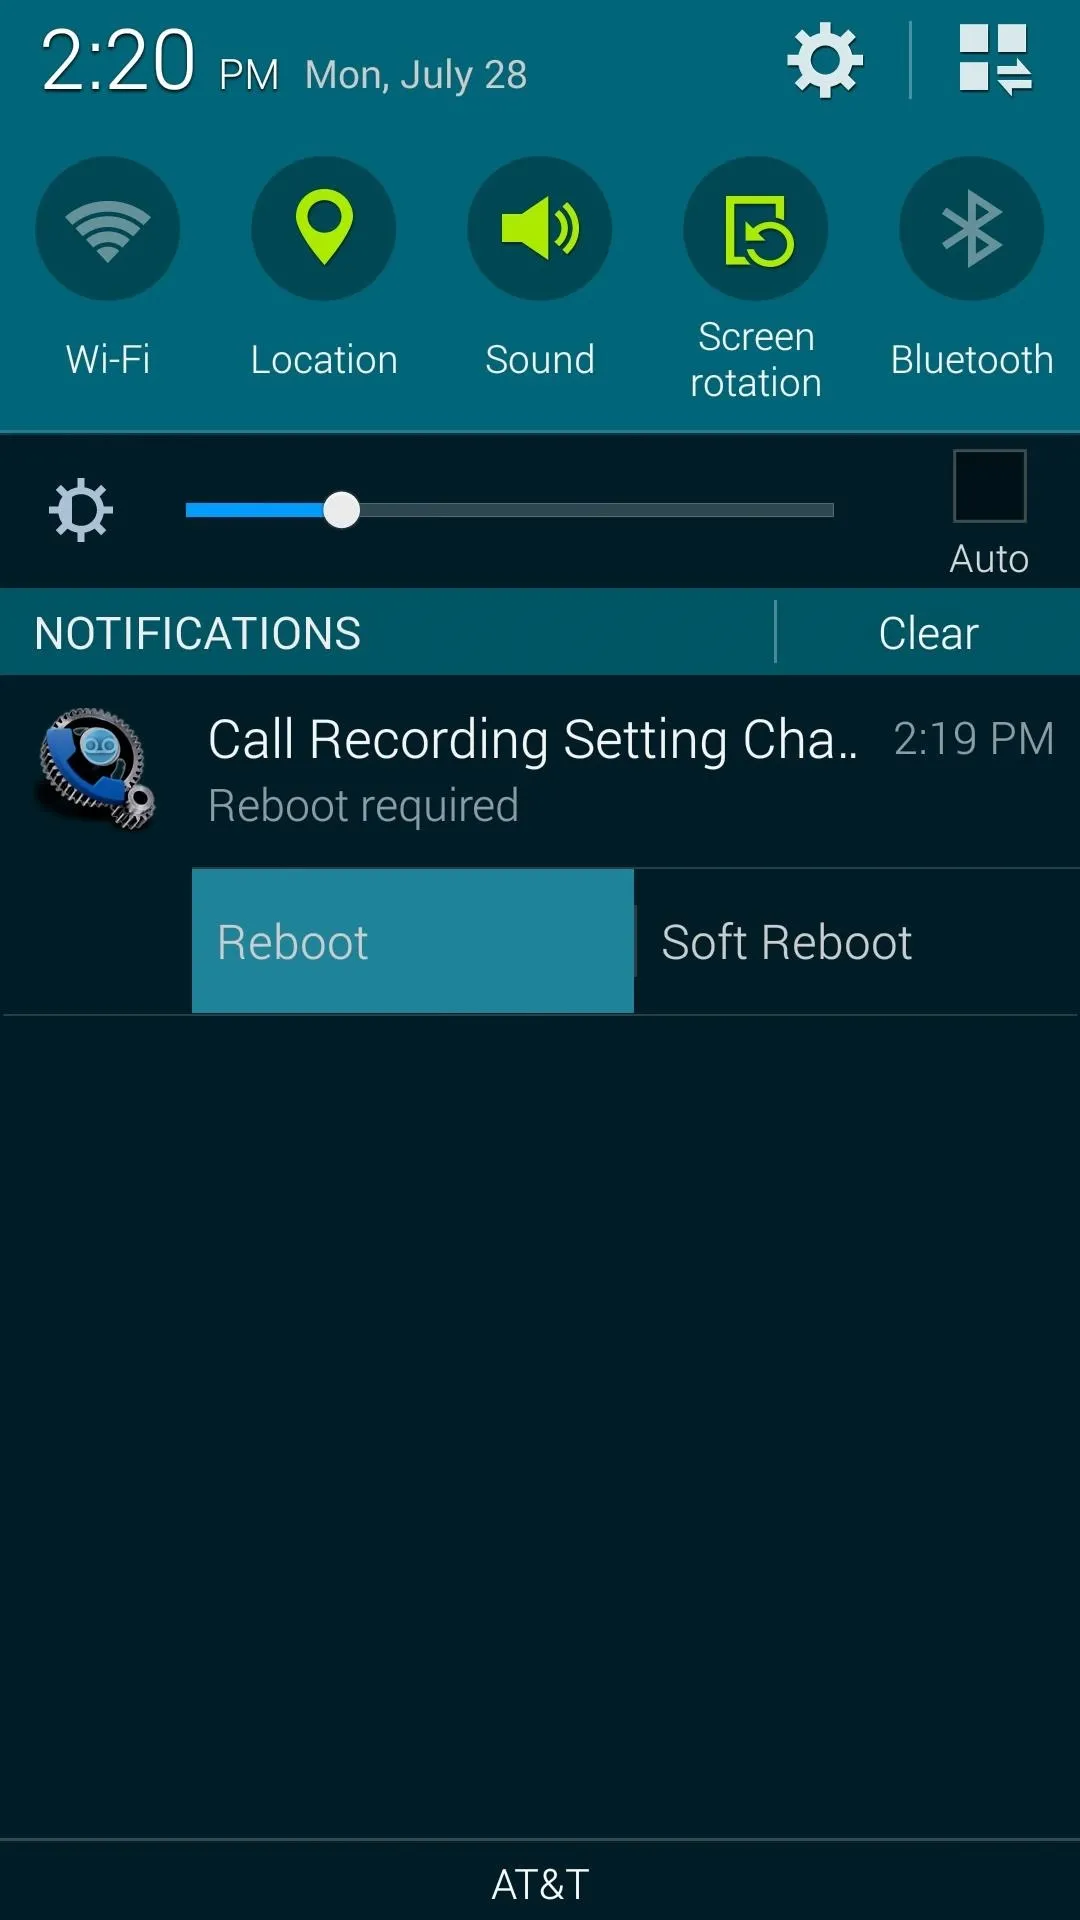
Once you've made these changes, TWCallRecorder will notify you that another reboot is needed. Just use either of the buttons on this notification to reboot your phone at this point.


Step 3: Record a Phone Call
Again, be sure that you are following the laws in your area before proceeding. But when you're certain that you've satisfied any legal requirements, recording a call could not be any easier.
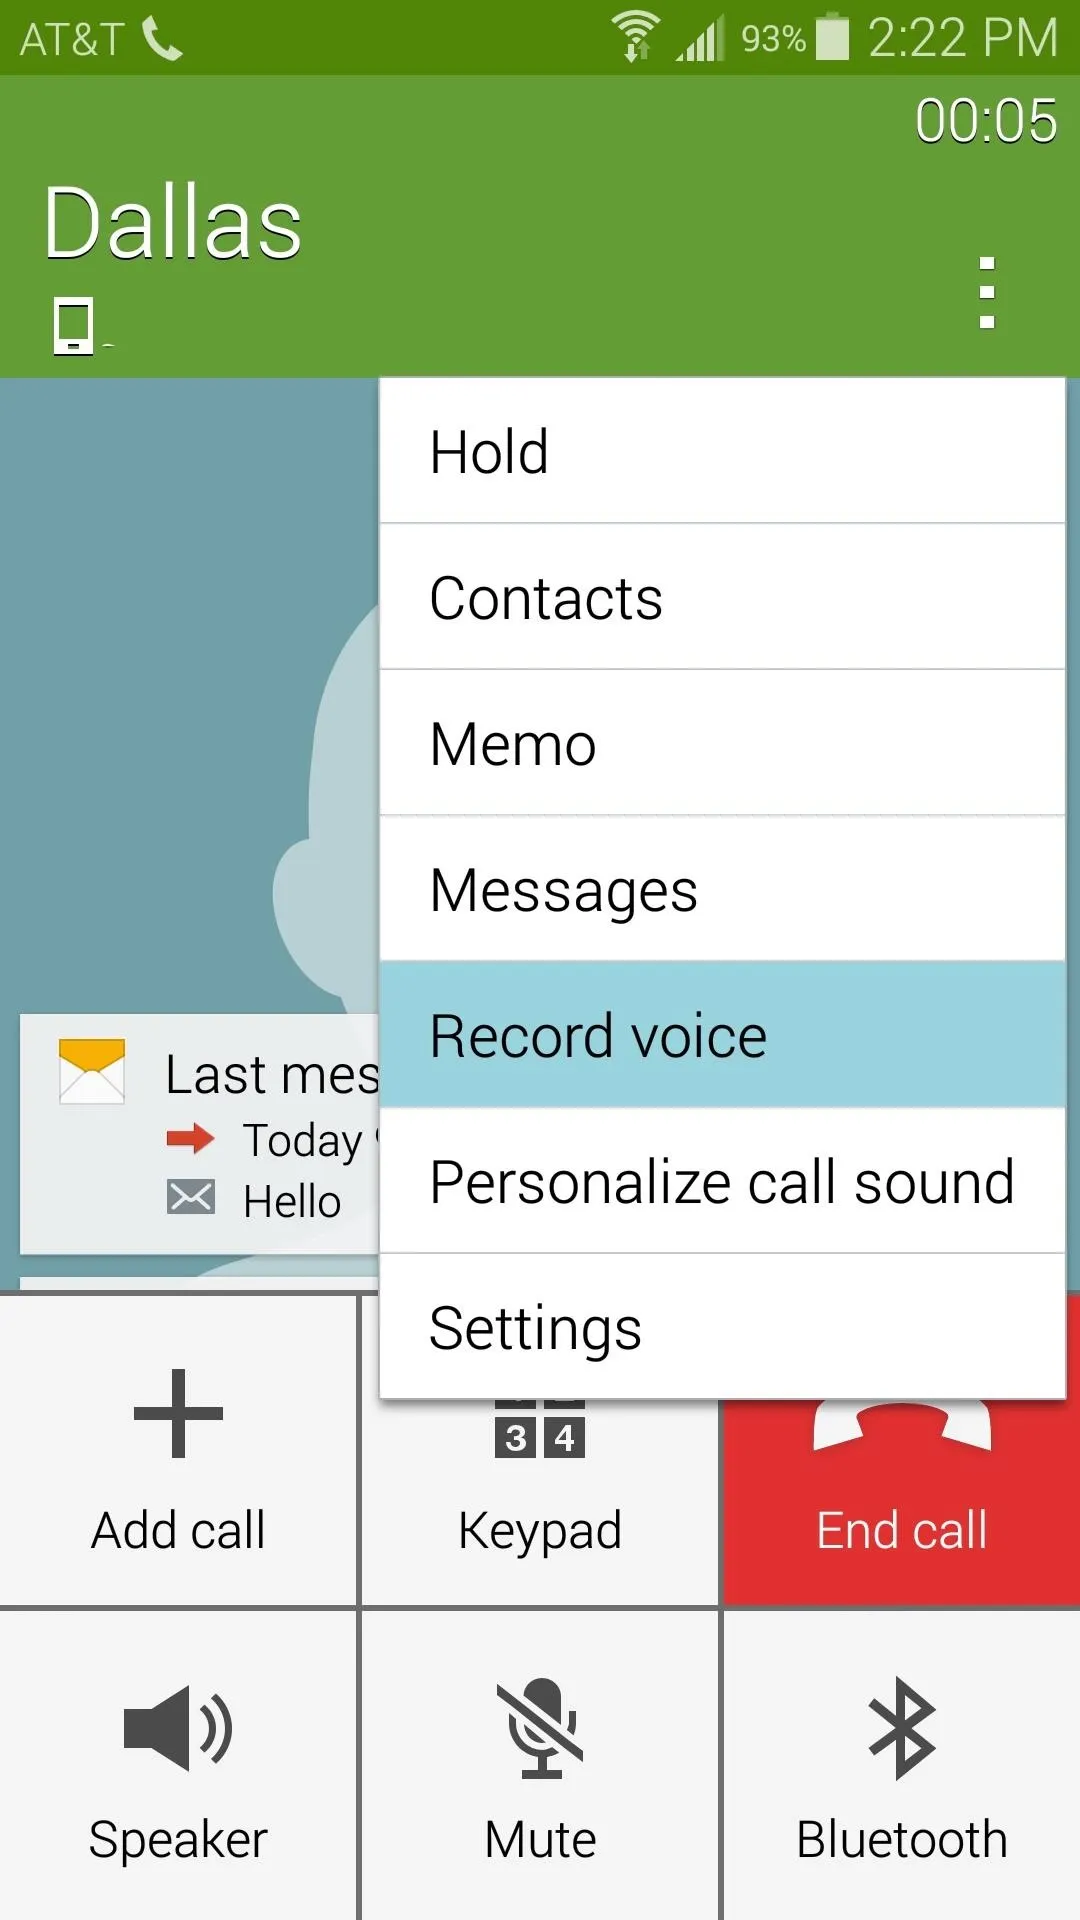
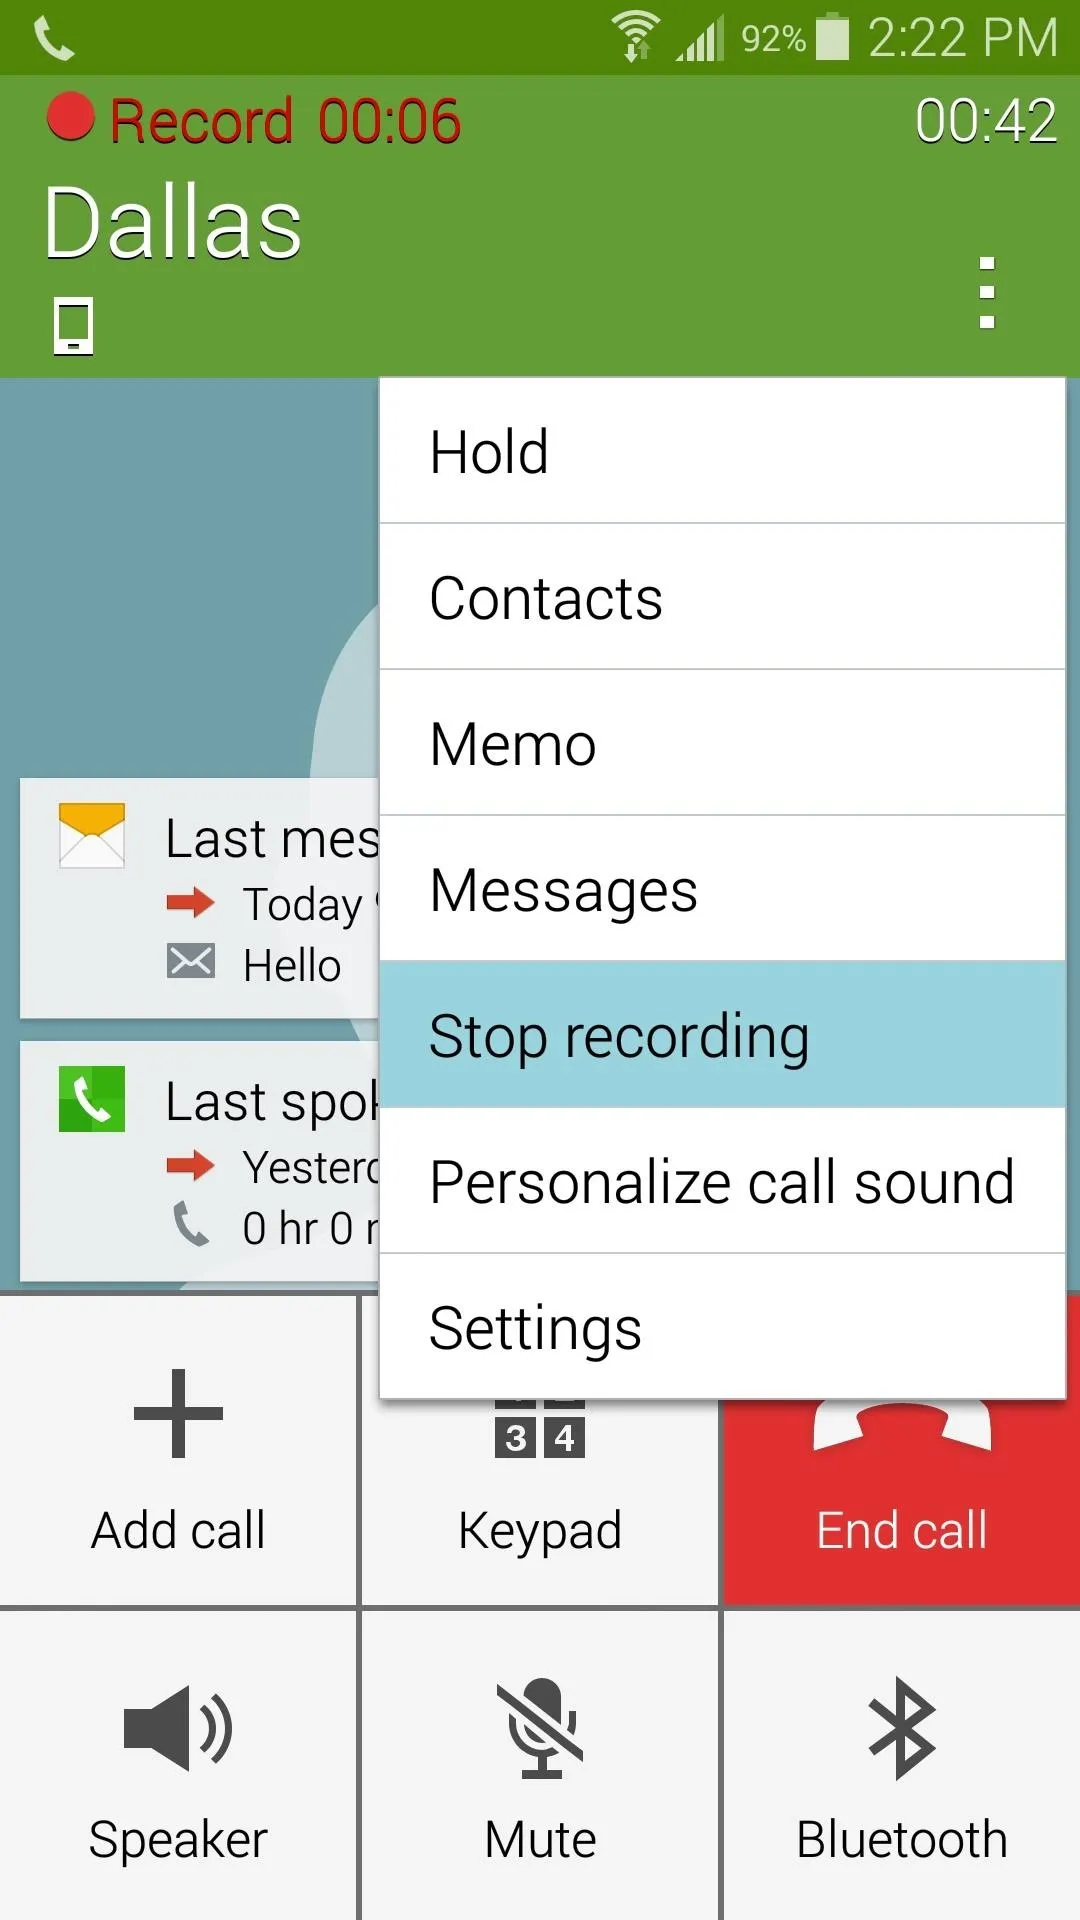
Simply start a phone call, and, depending on your variant, your Add Call button may now say Record. Tap this button, and recording will begin immediately. If this button is not present on your variant, simply hit the three-dot menu button on the call screen and select Record Voice. When you're done recording, use the same buttons to Stop Recording.


Step 4: Listen to Your Recordings
Recordings can be accessed through the Voice Recording app that comes pre-installed on Galaxy devices.

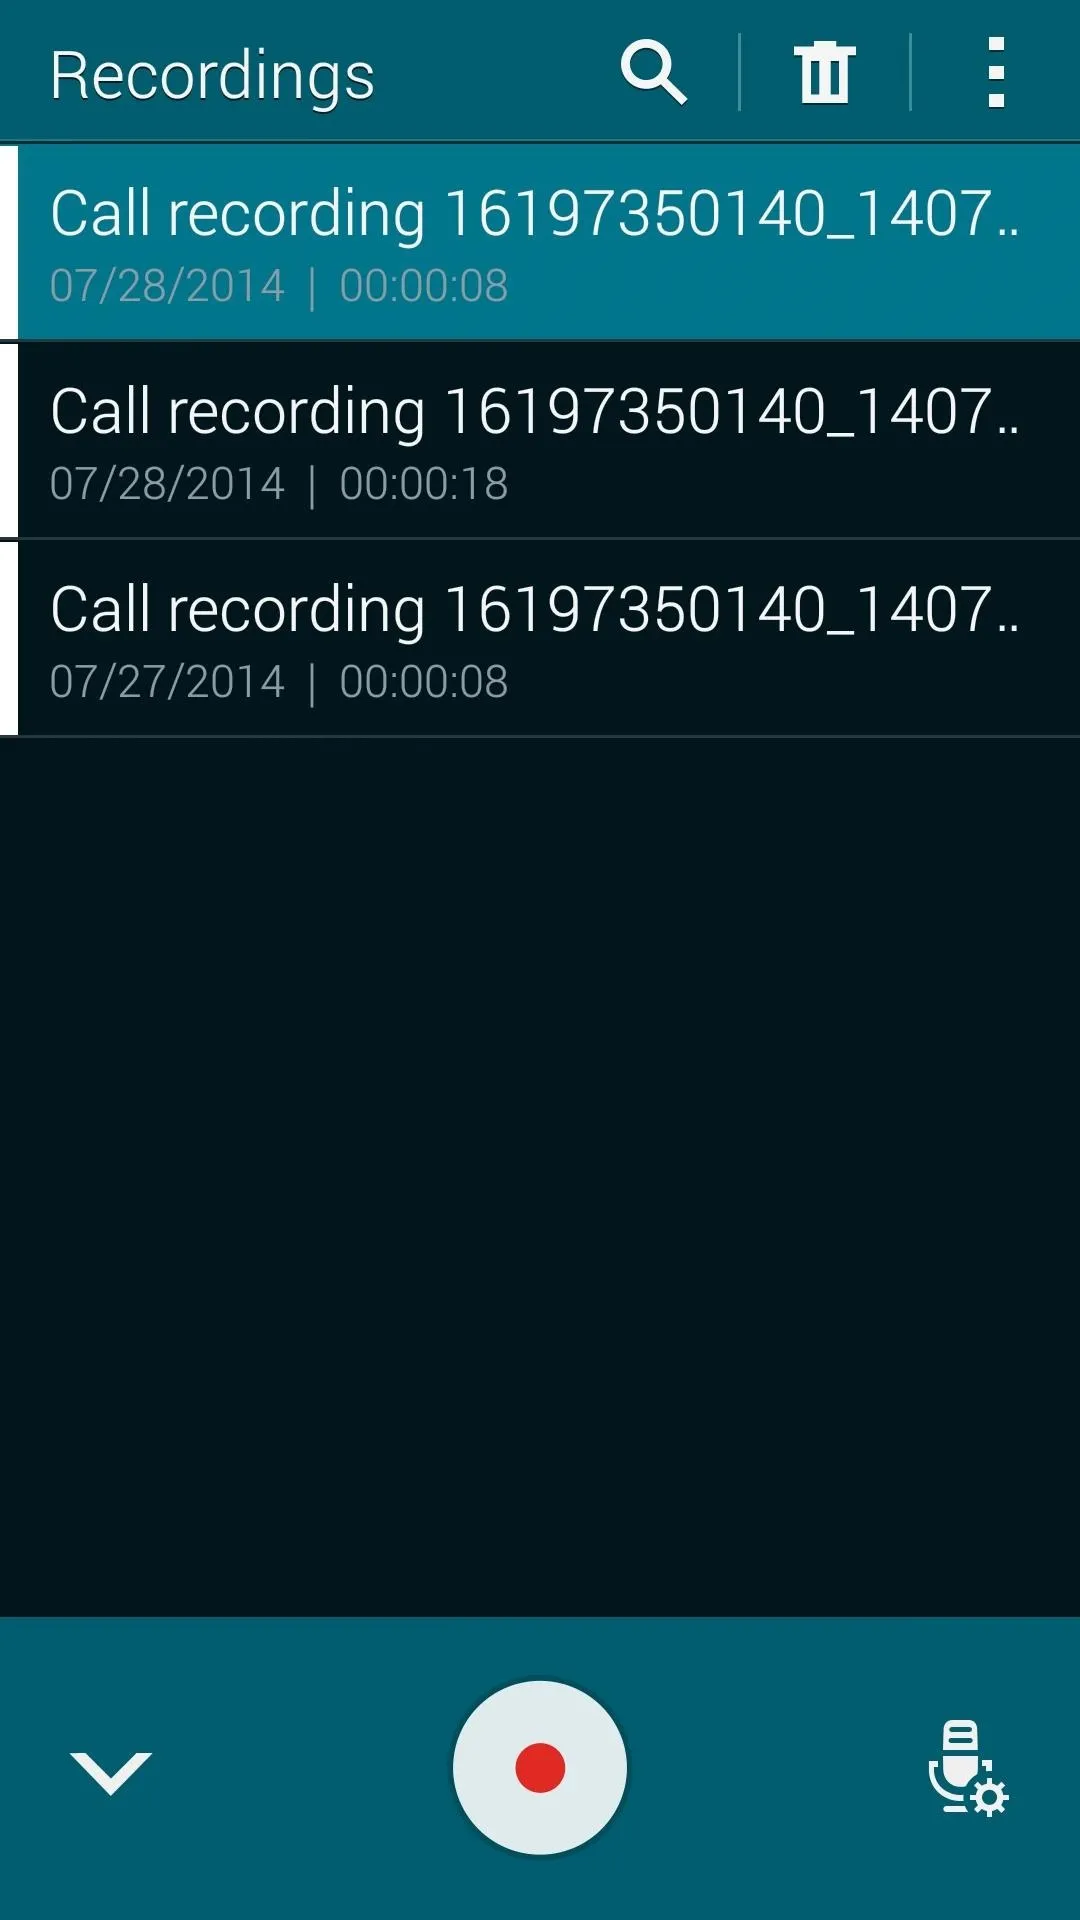


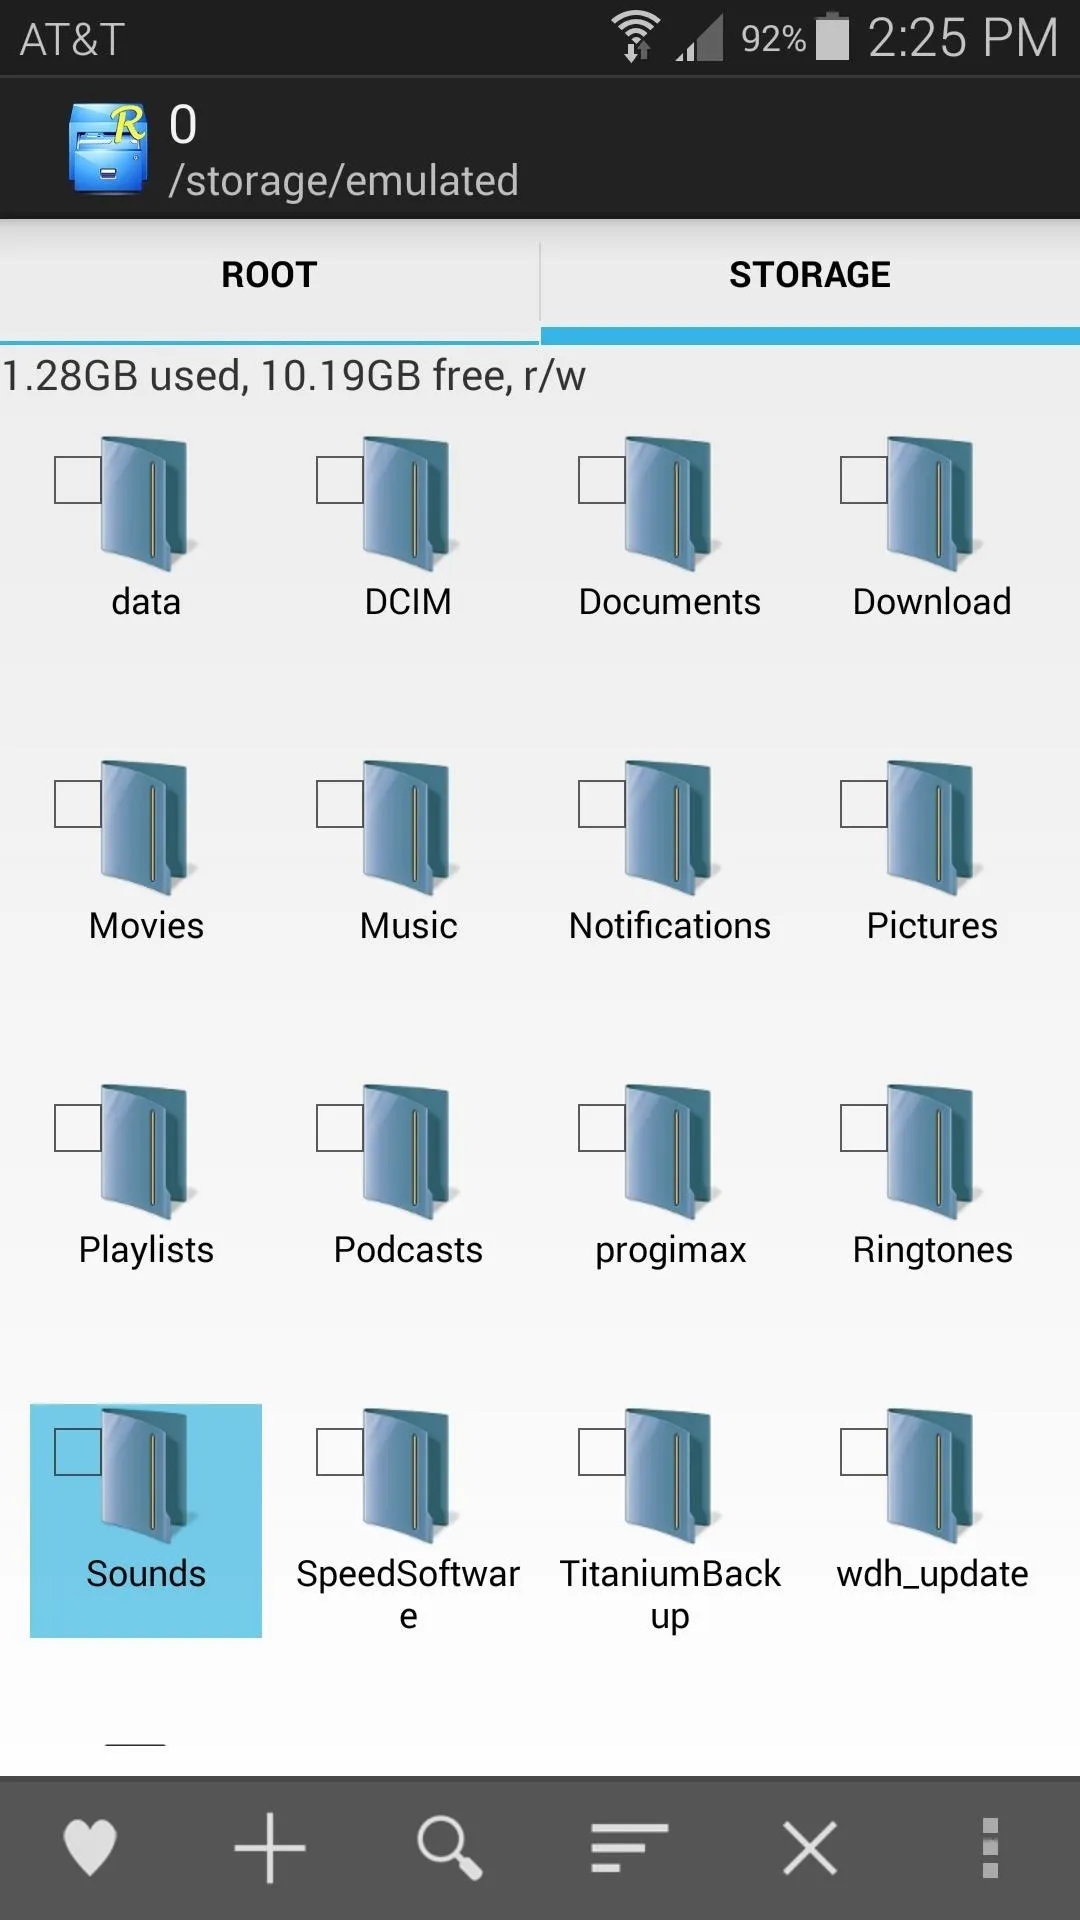
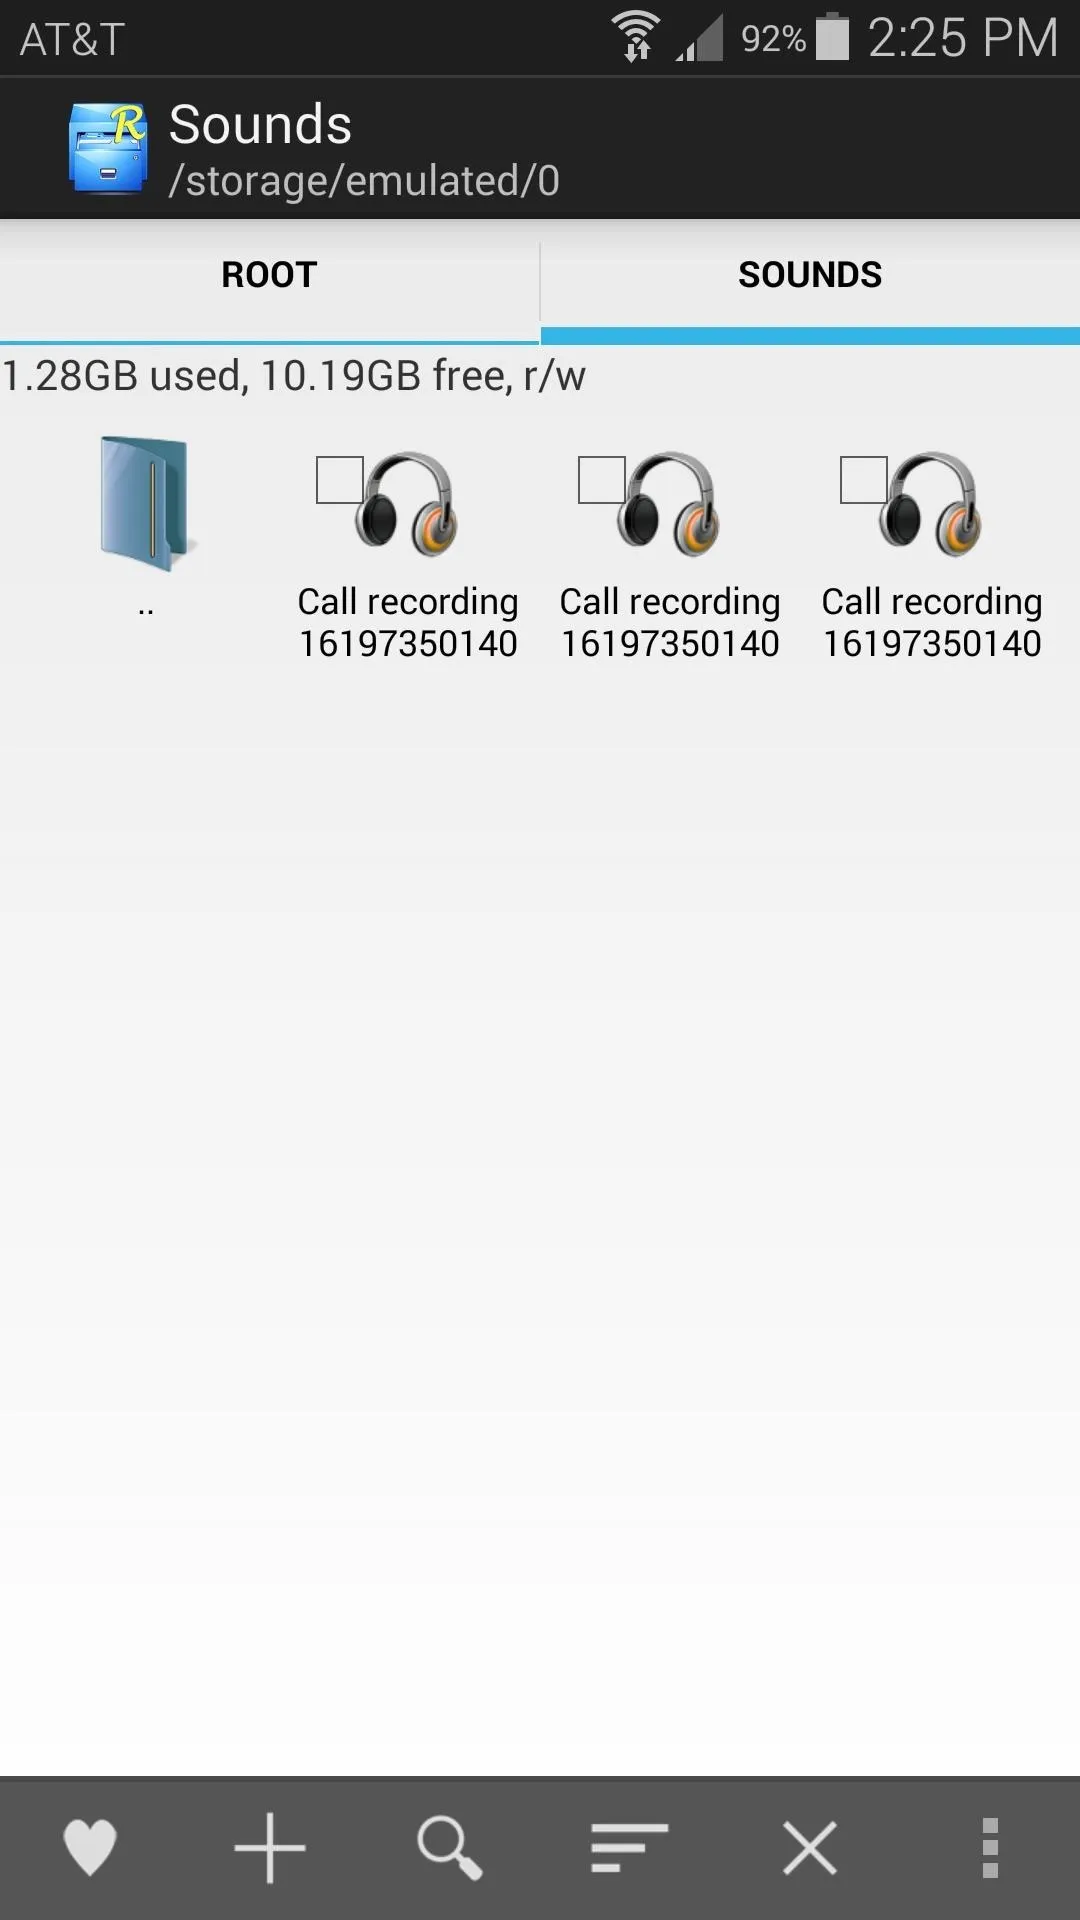
The actual sound files can be located on your SD card in the Sounds folder. They are stored in .m4a format.


Personally, while I don't plan on using this feature much myself, I'm definitely glad I've reclaimed functionality that was stripped away by my carrier. What are your thoughts? Let us know in the comments section below.
Cover image background via Shutterstock



Comments
No Comments Exist
Be the first, drop a comment!